Configure Active Directory Federation Services SAML SSO
Learn how to configure SSO with Active Directory Federation Services SAML.
| Single Sign-On (SSO) Availability | |||
|---|---|---|---|
| Cloud | Generally Available | ||
| Self-hosted Edge 3.33 or later | Generally Available | ||
| Self-hosted Stable 3.33 or later | Generally Available | ||
Use the following guide to integrate Retool with Active Directory Federation Services 3.0.
1. Create a relying party trust
Follow the Relying Party Trust wizard in Active Directory with the following settings.
- In Select Data Source, select Enter data about the relying party manually.
- In Choose Profile, select AD FS profile.
- In Configure Certificate, do not upload a certificate.
- In Configure URL, select Enable support for SAML 2.0 WebSSO Protocol. On Retool Cloud, enter
https://your-sso-url.retool/api/saml/login. On self-hosted Retool, enterhttps://your-sso-url.retool/saml/login. Replaceyour-sso-urlwith your Retool single-sign on domain. This is oftenretool.yourcompany.com. - In Configure Identifiers, add your single-sign on domain without the protocol as a Relying party trust identifier. For example, use
retool.yourcompany.cominstead ofhttps://retool.yourcompany.com. - Finish the wizard.
2. Send LDAP attributes as claims
Follow the steps to send LDAP attributes as claims.
- On the Choose rule type page, select Send LDAP Attributes as Claims.
- On the Configure claim rule page, choose Active Directory as the attribute store. Fill in the following settings.
| LDAP Attribute | Outgoing Claim Type |
|---|---|
| Email addresses | email |
| Email addresses | AD FS 1.x Email address |
| Given Name | firstName |
| Surname | lastName |
- Select Transform an Incoming Claim and select the following settings.
| Setting | Value |
|---|---|
| Incoming claim type | AD FS 1.x Email Address |
| Outgoing claim type | Name ID |
| Outgoing claim ID format |
- Select Pass through all claim values and save the settings.
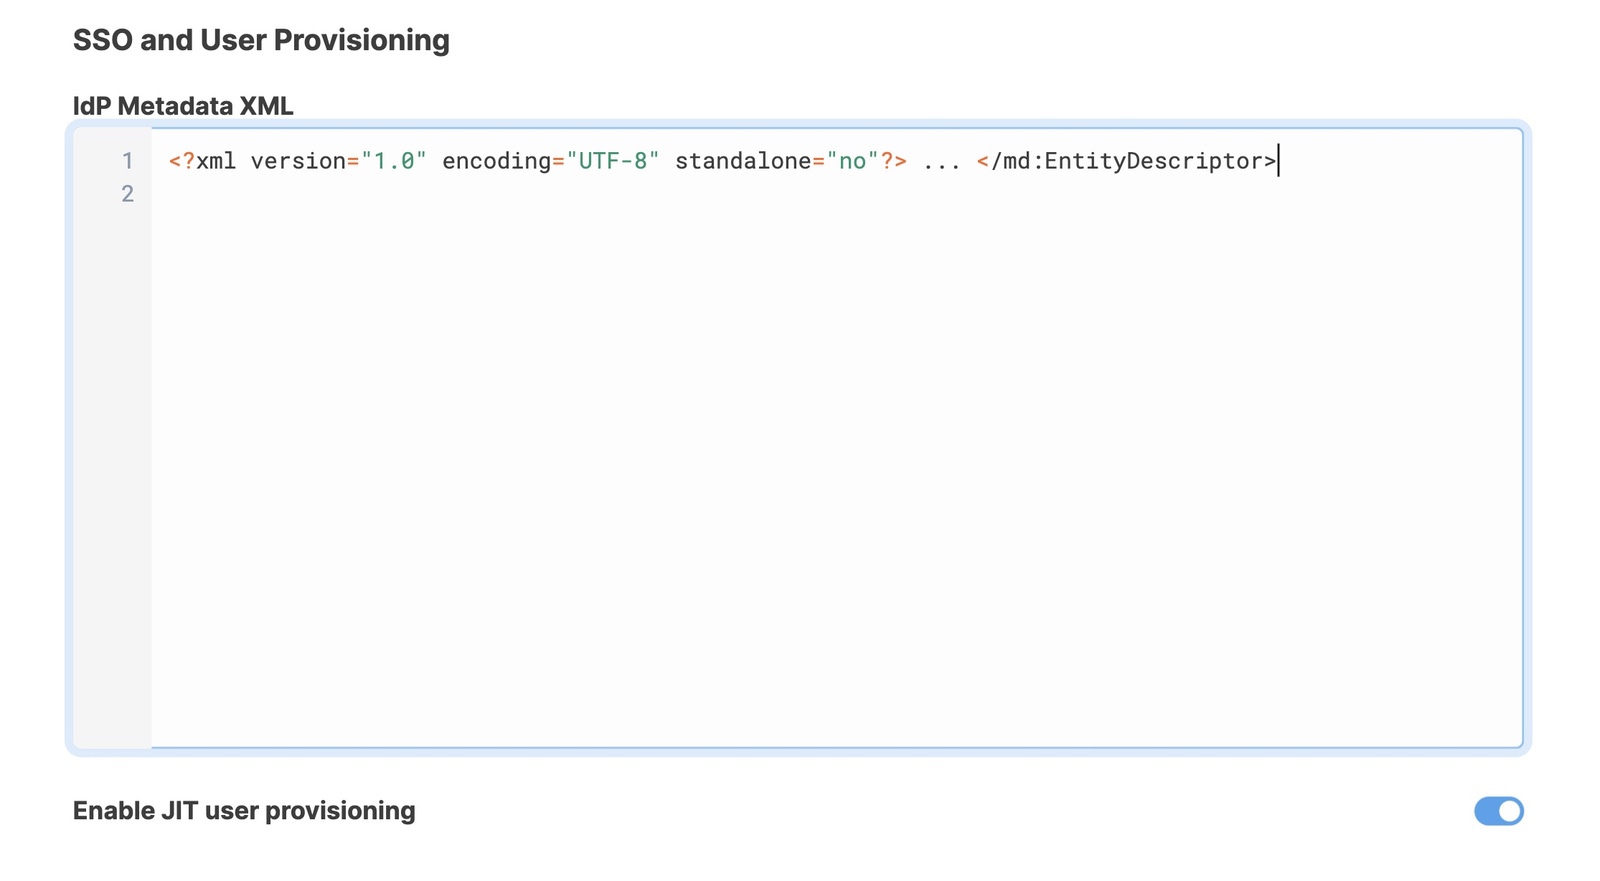
3. Configure Retool with IdP metadata
Export the metadata to an XML file from your IdP. There is usually a button to download this from your IdP dashboard. Additionally, you can often find this by navigating to https://your.identityprovider.com/federationmetadata/2007-06/federationmetadata.xml.`
Copy the entire XML file to your clipboard and log in to Retool as an admin user.
- Self-hosted Retool: Go to Settings > Advanced.
- Retool Cloud: Go to Settings > Single Sign-On (SSO), select SAML SSO, and paste the XML file contents to the Identity Provider Metadata field.
4. Test the connection
Once you've configured your settings, click Save Changes. To test the integration and its settings, click the Test Connection button.
This triggers a simulation of the SSO flow that ensures that the proper groups are mapped, the right user metadata is sent from your identity provider, and the integration works seamlessly. Clicking the Test Connection button does not change the current user's permission groups, and you won't be locked out if SSO is misconfigured.
After Retool tests the connection, a new tab opens and displays the Connection Status, Issues Detected, and Connection Details. If there are any issues, this page displays warnings and recommendations to resolve them. You can see the full response from the SSO provider in the Connection Details section.
Once you are satisfied with your configuration, log out of Retool and log back in using SSO to test the flow yourself.
If you use a self-hosted deployment and updated your environment variables, restart your Retool instance.