Prompt with Assist
Learn how to prompt Assist to edit or create classic apps.
When you're ready to use Assist, open a new or existing classic app and locate the Assist panel at the bottom of the left panel of the IDE. You can also use / to toggle the panel.
This guide outlines the Assist interface, prompting experience, and best practices. For admins who need to configure their organization to use Assist, visit the Configuration guide.
The following video provides a demo and best practices for prompting Assist:
Assist interface
The first time you use Assist, you may be prompted to accept some Terms and Conditions.
The Assist interface has several important controls:
- The welcome screen includes a series of examples that demonstrate prompts that you could use with Assist.
- Write your prompt in the input box at the bottom of the panel.
- Add resources with the icon.
- Assist is in Build mode by default. Click to switch to Ask mode.
- Click or press / to submit your prompt.
- Use a series of icons at the top of the panel to manage your Assist interactions:
- Feedback: Leave general feedback about Assist. As part of this feedback, Retool also receives your chat history and your user email address so that Retool can follow up with any questions.
- View history: View and manage chat threads. You can view, rename, and delete chat threads.
- New thread: Create a new chat thread.
- Usage: View and manage usage. Refer to the pricing page for information about Assist pricing. This icon is not present for users on an Enterprise plan. Instead, admins in these organizations can view usage information in their organization settings.
- Scroll, or use the up and down keys on your keyboard to navigate the message history.
Prepare resources
You retain full control over your resources, and Assist cannot create or modify them independently. Before prompting with Assist, create or configure all resources that you want your classic app to use.
When configuring your resource, be as detailed as possible in the Description setting on the Resource configuration page. This information is passed to Assist, and it provides valuable context on when or how the resource should be used.
When working with classic apps, Assist uses a Resource access list that identifies which resources in your organization it can use to write and modify queries. Assist can suggest adding other resources to this list, but you control what the Resource access list contains. Add resources to this list while prompting by @ mentioning them or describing them. You can also add them explicitly.
To manually add resources to the Resource access list:
- Open the Assist panel in the classic app you want to create or edit.
- Click Resource access in the input field to open the Assist resource access window.
- Identify the resources that you want to use while prompting.
Once you're done, the Resource access icon shows the number of resources you added. You can add or remove resources at any point.
Build and Ask mode
Retool supports two modes for prompting Assist:
- Ask: Assist cannot modify your classic app. Use this mode to brainstorm solutions, explore the app without making changes, and ask questions about Retool functionality.
- Build: Assist can create and edit classic apps. Use this mode when you want Assist to modify the app on your behalf. Build mode also includes all the abilities and knowledge of Ask mode.
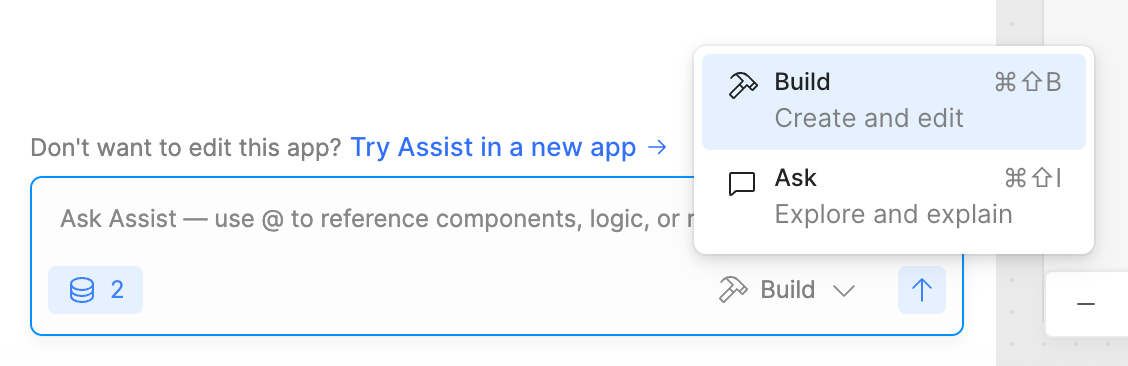
Toggle between Ask and Build mode.
Assist defaults to using Build mode. You can switch between modes at any time.
Organization admins can configure permission groups to have access to Ask and Build, or just Ask using role-based access controls. Learn more.
Prompting experience
Use the text input at the bottom of the Assist panel to enter your natural language prompt. When prompting, enter the @ symbol to explicitly reference a resource, query, or component that you want Assist to use. Refer to the best practices for more guidance on how to prompt Assist.
Click or press / to submit your prompt.
Once you prompt, Assist proceeds through several planning steps. Assist might ask clarifying questions about your prompt, such as whether you'd like to connect Retool Database or use client-side mock data.
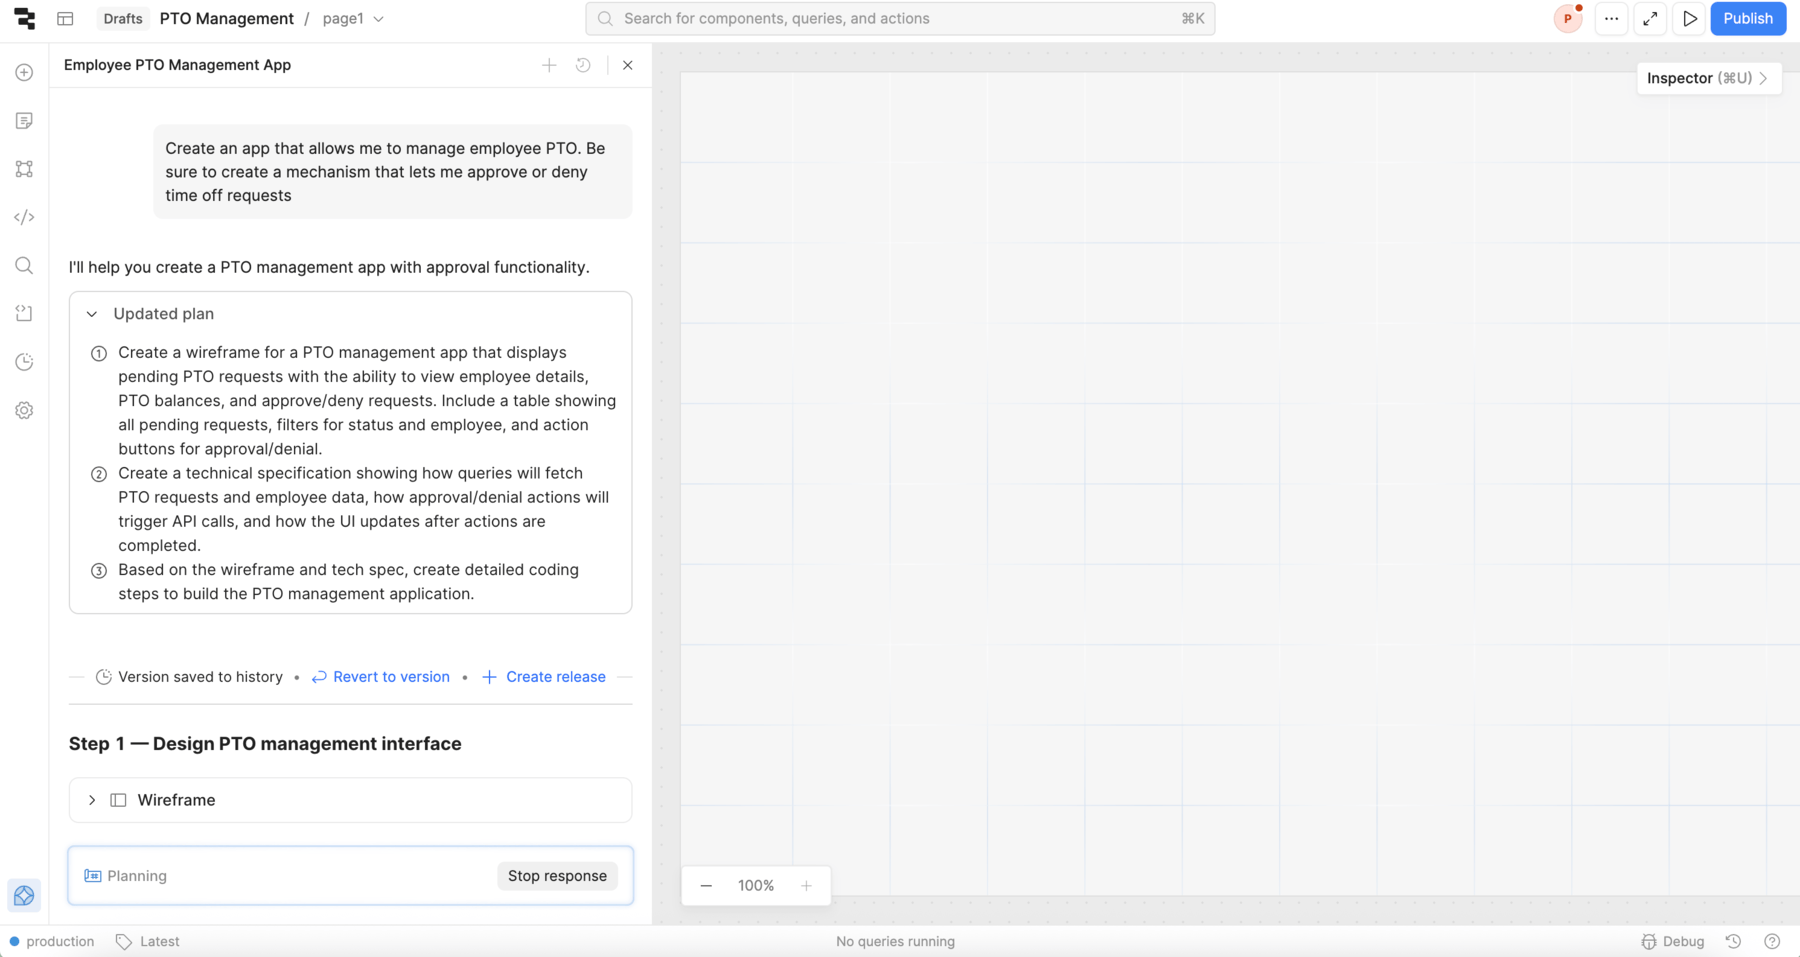
Assist's initial planning phase.
Once Assist is done planning, it proceeds with creating or editing the code, components, and styling that you requested.
Assist asks you for permission to run and save queries. You can choose to be prompted every time, or you can auto-approve queries.
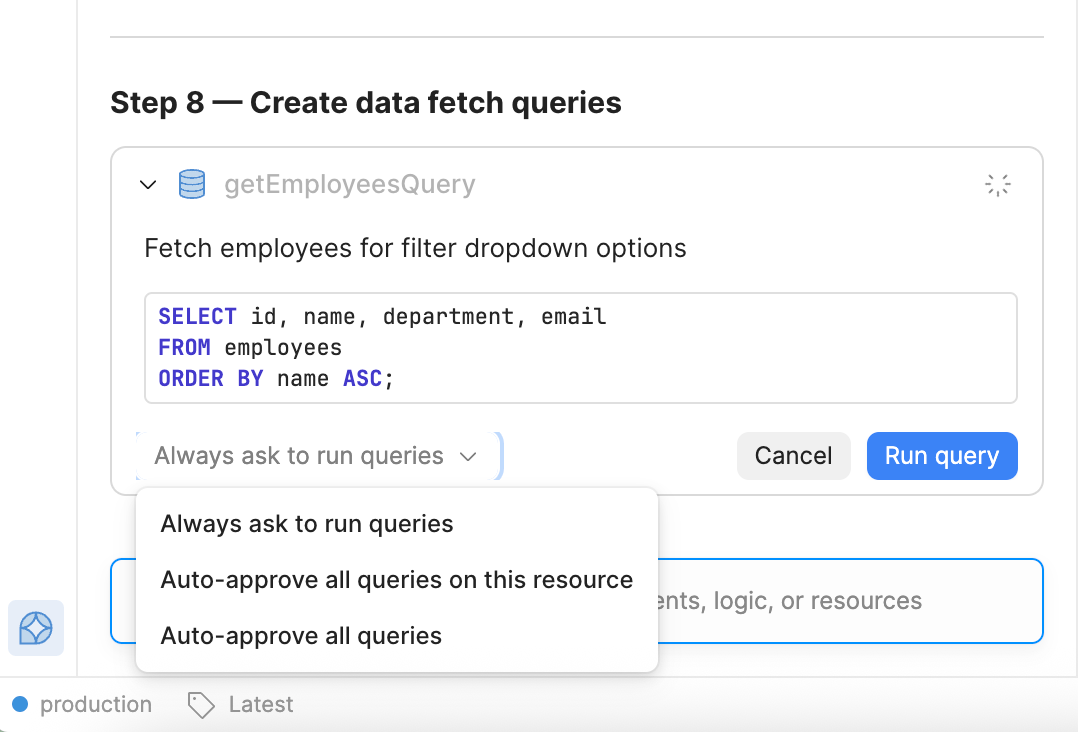
Configure how you want to approve query runs.
When it's done building, Assist sometimes provides options for what to do next. You can select one of these options, or you can write another prompt.
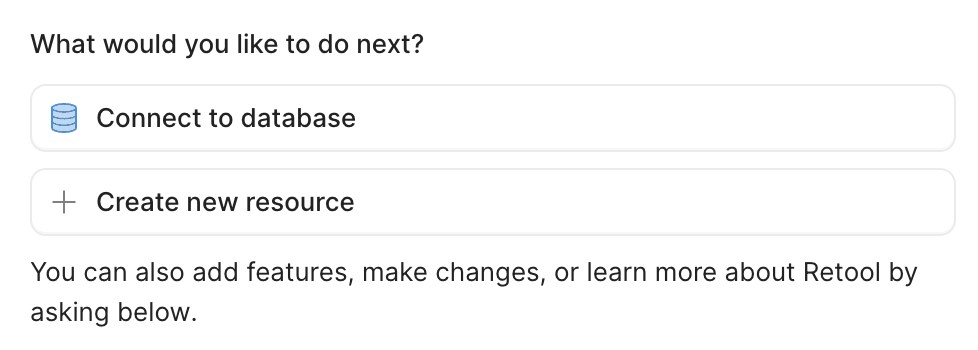
Choose what you'd like to do next.
The amount of information sent to the AI provider (the context window) increases as you build. Assist automatically summarizes long threads in order to prevent errors from a context window that is too large.
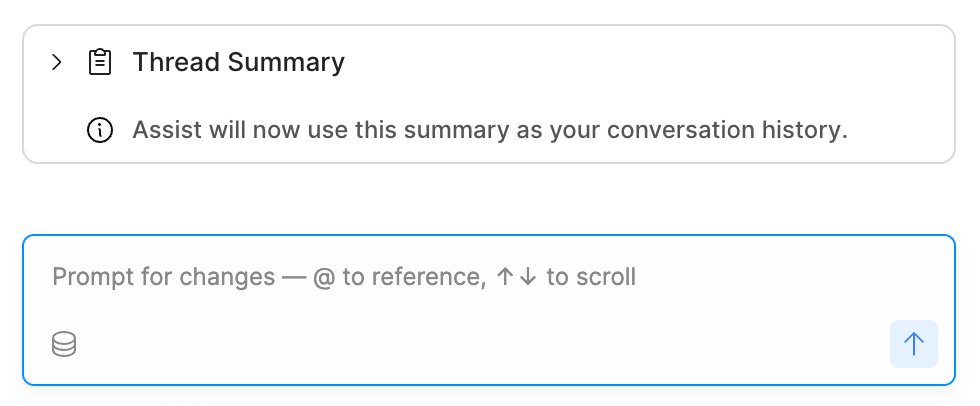
Assist summarizes long threads.
Configure theme
You can also set or change your classic app theme while prompting Assist. The experience of doing so depends on your organization's plan.
- Free and Team plans
- Business and Enterprise plans
During classic app generation, Assist guides you through selecting a theme for your app. Choose between light or dark mode and select an accent color.
You can also set a theme in your prompt. Be very clear and specific about your design intent. For example, "Create a dark mode theme with blue accent colors", or "Update the theme to match the Acme brand colors and style."
The Business and Enterprise plans support organization-level theming. Assist will help you set a theme for your classic app in one of the following ways:
- If you haven't created any organization-level themes, Assist shows a theme selector to help you choose a classic app-level theme.
- If you have organization-level themes, but no default, Assist shows a list of your organization-level themes to choose from, or you can choose an alternative theme.
- If you have organization-level themes with a default set, Assist uses the default automatically.
You can also set a theme in your prompt. Be very clear and specific about your design intent. For example, "Create a dark mode theme with blue accent colors", or "Update the theme to match the Acme brand colors and style."
Manage changes
Assist includes an integrated versioning strategy, which identifies an initial version of your classic app and creates updated versions that it saves to history as you prompt. You can view the versions in the Releases and history tab.
At any time while prompting, use the Revert to version button to undo the changes made after that point. This makes it easy to roll back changes if you change your mind.
If you are on a Business or an Enterprise plan, you can also click Create release to create a new release incorporating those changes.
Your organization admin may alternatively recommend using Source Control for change management.
Prompting best practices
Consider the following best practices for writing effective Assist prompts.
Reference content from your organization
You can @ mention resources, code, and components in your prompt.
Give as much context as possible
Be as specific as you can about the type of app you want to create or the edits you want to make. The more detail you include about what you're trying to build, the better Assist can do on the first pass.
Iterate and refine
If the first output isn't exactly what you expected, add more info or adjust your prompt. You can also manually edit your app and come back to Assist to continue where you left off. Working with Assist is designed to be an iterative process.
Switch between Ask and Build mode
Use Ask mode when you want Assist to answer questions, explain how a part of your app works, or recommend an approach — without making any changes. Switch to Build mode when you're ready for Assist to modify the app. You can toggle between modes using the dropdown in the Assist panel.
Ask mode is especially useful before starting a large build: ask Assist to describe the current app structure or evaluate an approach, then switch to Build mode once you're aligned.
Be specific about resource nuances
Databases (Retool Database, Postgres, MySQL, etc.) can be queried or modified using similar patterns, so Assist can reliably generate SQL queries. On the other hand, API request structures and specifications can vary widely between endpoints. Giving details about how your system is configured, or pasting API documentation into your prompt helps Assist understand the structure.
When configuring your resource, be as detailed as possible in the Description setting on the Resource configuration page. If you're using a REST API specification, consider connecting an OpenAPI or Swagger specification. This information is passed to Assist, and it provides valuable context on when or how the resource should be used.
Plan before you build
For complex apps, ask Assist to create a wireframe or technical spec before writing any code. Reviewing the plan gives you a chance to correct the approach before Assist starts making changes.
Scope requests to one feature at a time
Assist works through tasks in steps, pausing to check in as it goes. Breaking a large request into smaller, focused prompts, such as one feature or section at a time, gives you more control and leads to more complete results than asking Assist to build an entire app in a single message.
Ask Assist to wire up event handlers
When building or editing features that create, update, or delete data, explicitly ask Assist to wire up all event handlers. This ensures mutations are followed by the right data refreshes and UI updates.