Configure Okta SAML SSO
Learn how to configure SSO using Okta SAML.
To configure Okta SAML SSO, you must:
- Be in Admin mode in Okta.
- Have group names that match exactly between Okta and SAML.
- Have admin permissions in Retool.
- For cloud instances, the ability to create a custom SAML application.
Configuration
- Self-hosted
- Cloud
- In your Okta admin dashboard, click Add Application.
- Search for
Retooland follow the wizard. - Navigate to the Okta application you created. Click on the Sign On tab, then Actions > View IdP Metadata in the SAML Signing Certificates section.
- Save the page as an XML file. Consult Okta's documentation to confirm how to view the IdP metadata.
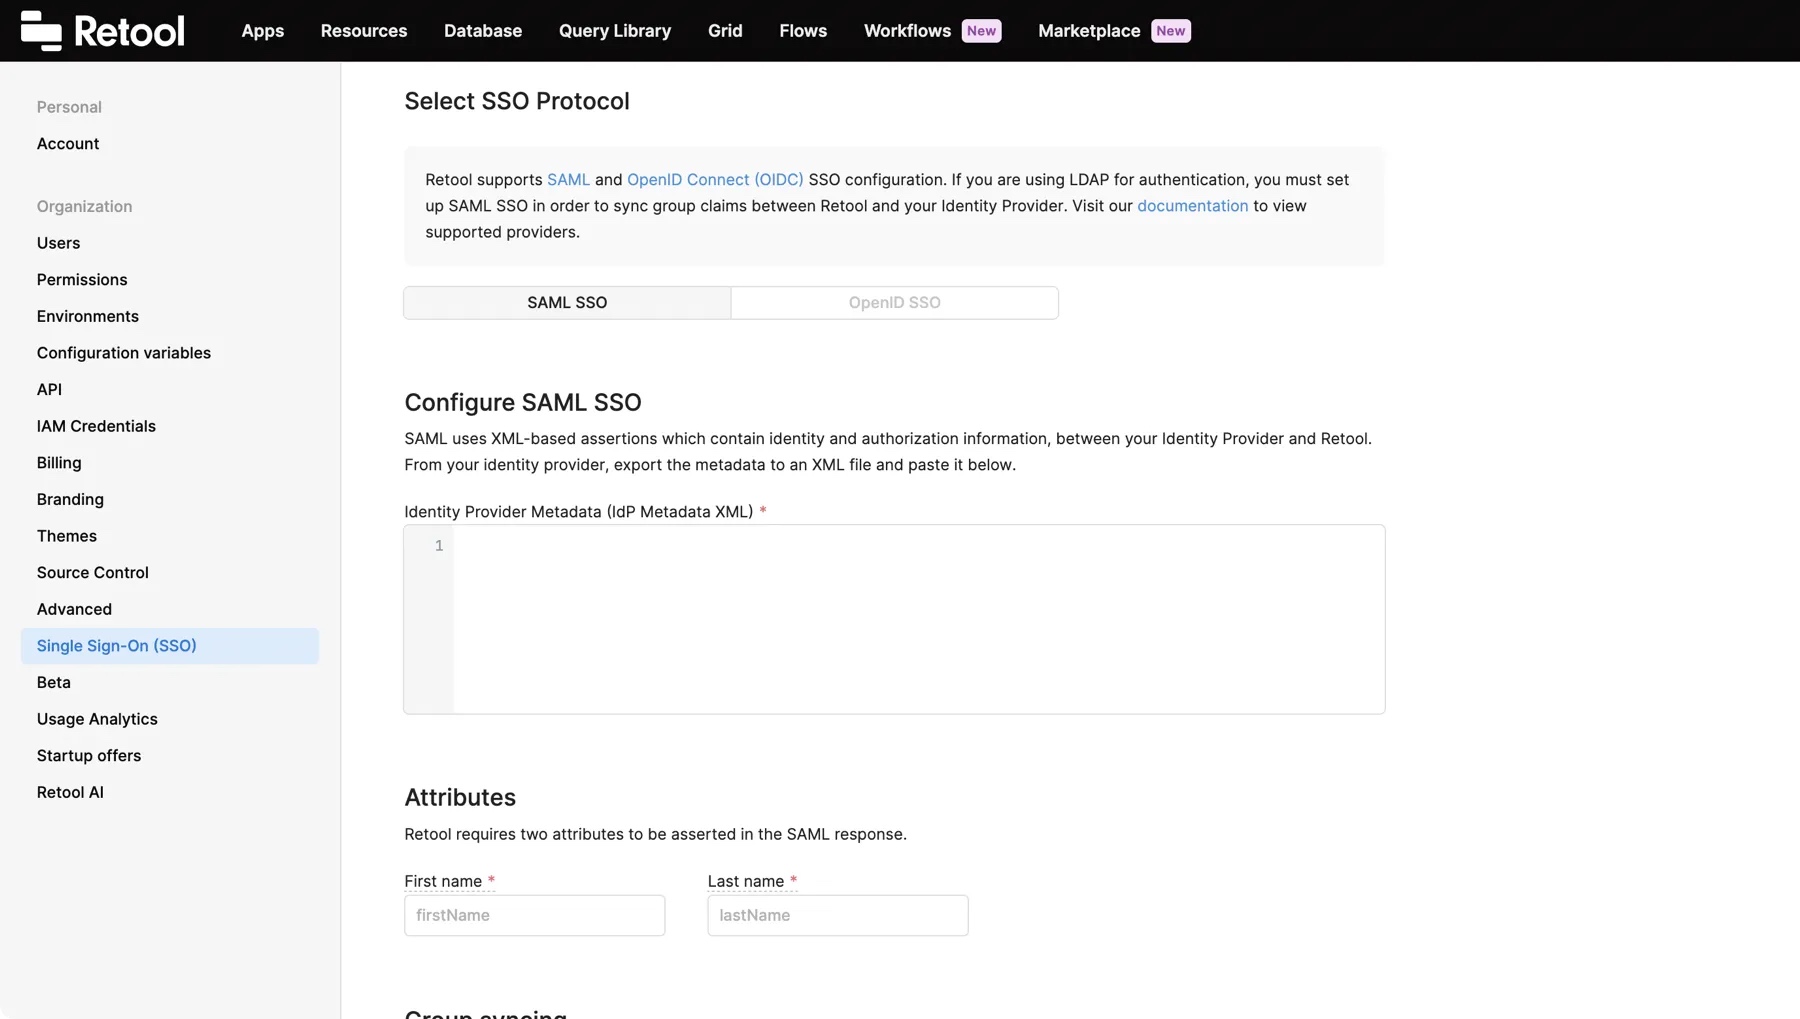
- Copy the contents of the XML file and log in to your Retool instance. Go to the Single-Sign On (SSO) > Custom SSO settings, select SAML SSO, and paste the XML file contents to the Identity Provider Metadata field.
- If not set already, assign your app to your user in Okta.
- Create a custom SAML application in Okta. Use the following settings.
| Setting | Value |
|---|---|
| Single sign-on URL | <your-org-domain>/api/saml/login |
| Audience URI (SP Entity ID) | your-org-domain-without-https |
firstName attribute | user.firstName |
lastName attribute | user.lastName |
email attribute | user.email |
- In the Feedback tab, check I'm a software vendor. I'd like to integrate my app with Okta.
- In your app's settings, go to the Sign On tab. Under SAML Signing Certificates > SHA-2, click Actions > View IdP metadata.
- Copy the contents of the XML file and log in to Retool. Go to the Single-Sign On (SSO) settings, select SAML SSO, and paste the XML file contents to the Identity Provider Metadata field.
- On the same page, enter
firstNameandlastNamein the Attributes section. - In your Okta app under Assignments, assign users or groups to your app.
Test the connection
Once you've configured your settings, click Save Changes. To test the integration and its settings, click the Test Connection button.
This triggers a simulation of the SSO flow that ensures that the proper groups are mapped, the right user metadata is sent from your identity provider, and the integration works seamlessly. Clicking the Test Connection button does not change the current user's permission groups, and you won't be locked out if SSO is misconfigured.
After Retool tests the connection, a new tab opens and displays the Connection Status, Issues Detected, and Connection Details. If there are any issues, this page displays warnings and recommendations to resolve them. You can see the full response from the SSO provider in the Connection Details section.
Once you are satisfied with your configuration, log out of Retool and log back in using SSO to test the flow yourself.
If you use a self-hosted instance and updated your environment variables, restart your Retool instance.