Manage table data in Retool Database
Learn how to edit a table's data or schema in Retool Database.
You can manage data for your Retool Database tables using the editor. The spreadsheet-like interface enables you to add, edit, and remove rows without needing to write SQL statements.
Add a row
Click Add in the toolbar and select Add row. You can also use the keyboard shortcut Mod Return to quickly add new rows.
Edit row data
Double-click on a cell to edit its value. The editor presents different input options depending on the field type. For example, editing a Checkbox field value (i.e., the BOOL PostgreSQL column type) presents the choice of setting TRUE or FALSE.
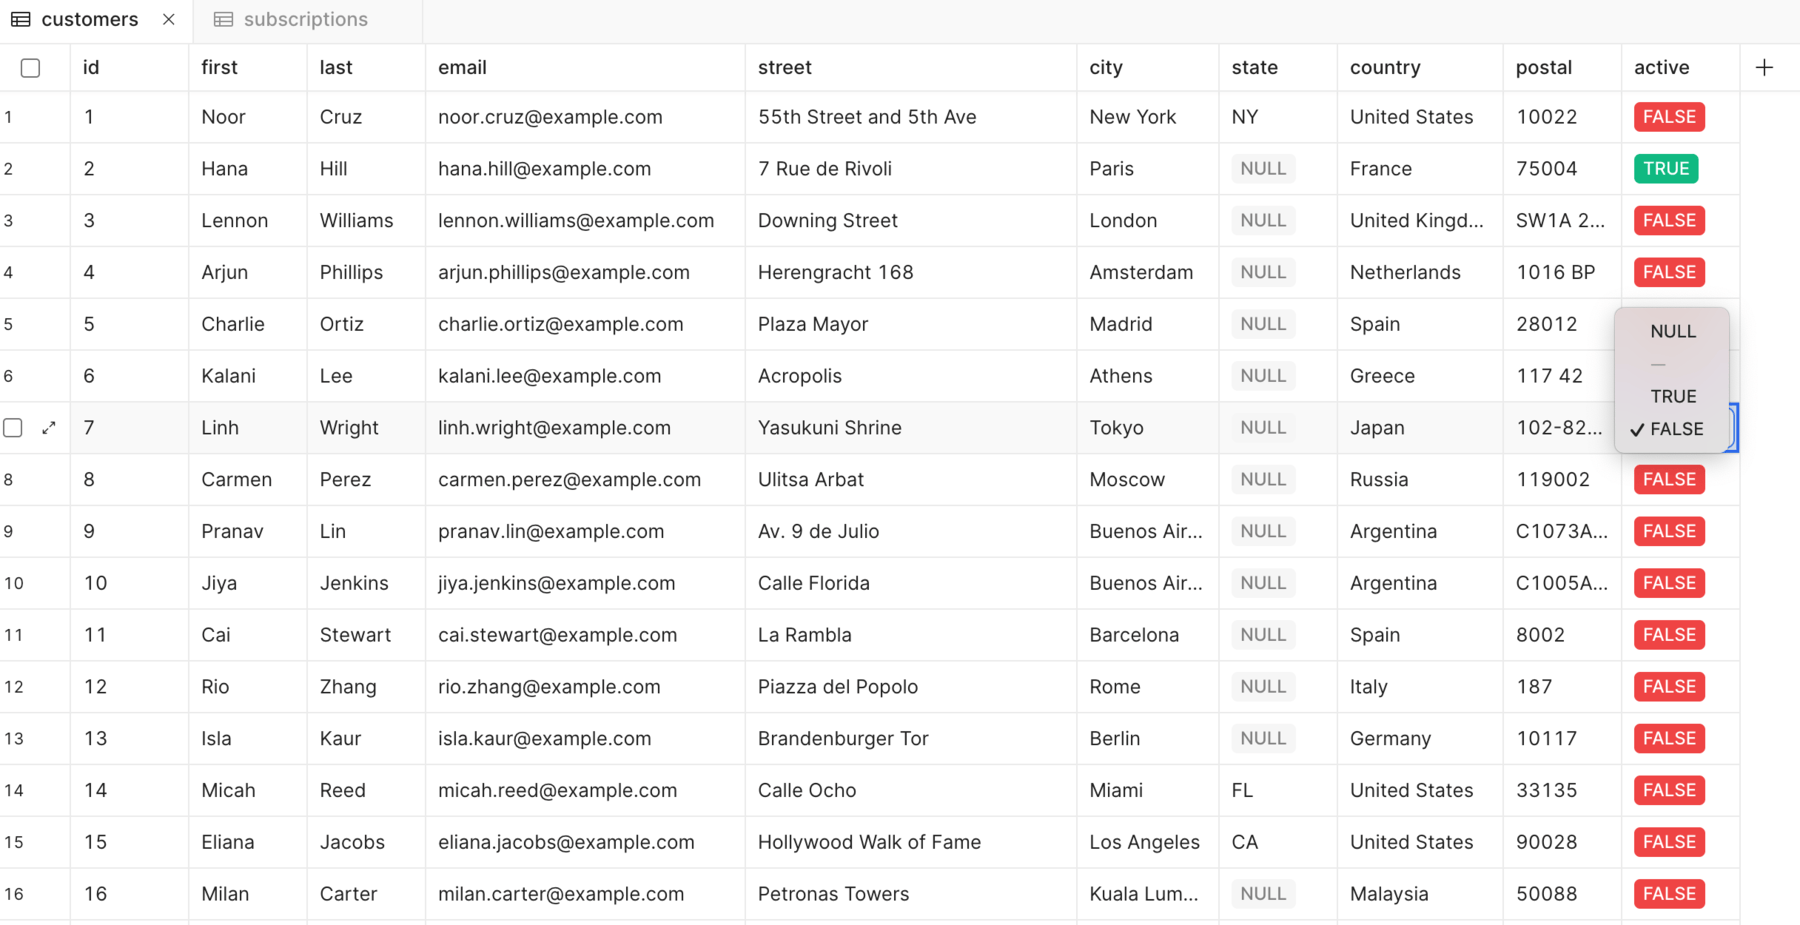
Edit a cell value.
Delete rows
To delete rows of data, select them using the checkbox and click the red Delete button at the bottom of the window.
Deleting a field permanently removes it and any data it contains from the table. You should export table data before making any significant changes.