Amazon S3 query tutorial
Learn how to interact with S3 data.
You can connect to Amazon S3 or S3-compatible services by creating a resource in Retool. Once complete, you can write app or workflow queries to interact with S3 bucket data.
You select the action type for S3 queries that determines what action the query performs, such as listing all files or uploading data.
List all files in a bucket
Select List all files in a bucket to retrieve a list of all files. This contains information about each file, such as the file key.
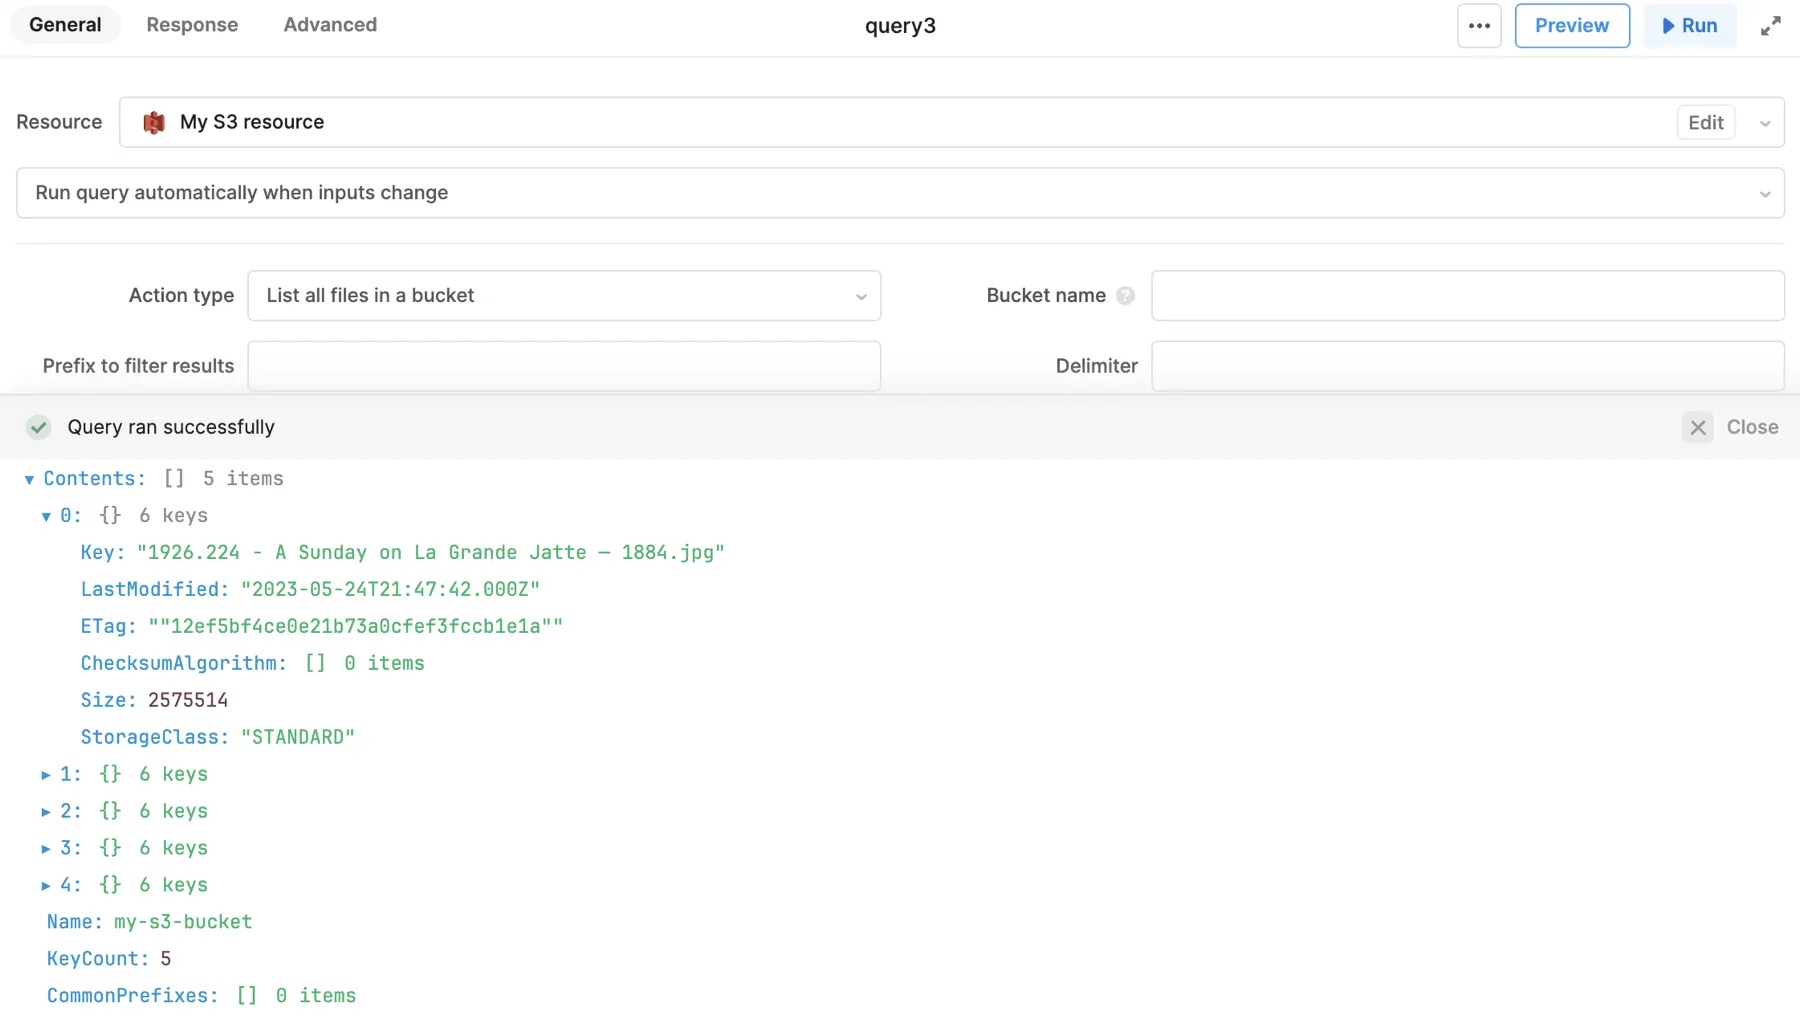
You can use Prefix to filter results so only file keys that start with the same string are returned. In general, use prefixes to filter directory structure, such as images/. You can enter values directly into this field or reference component values like {{ textInput.value }}.
Read a file from S3
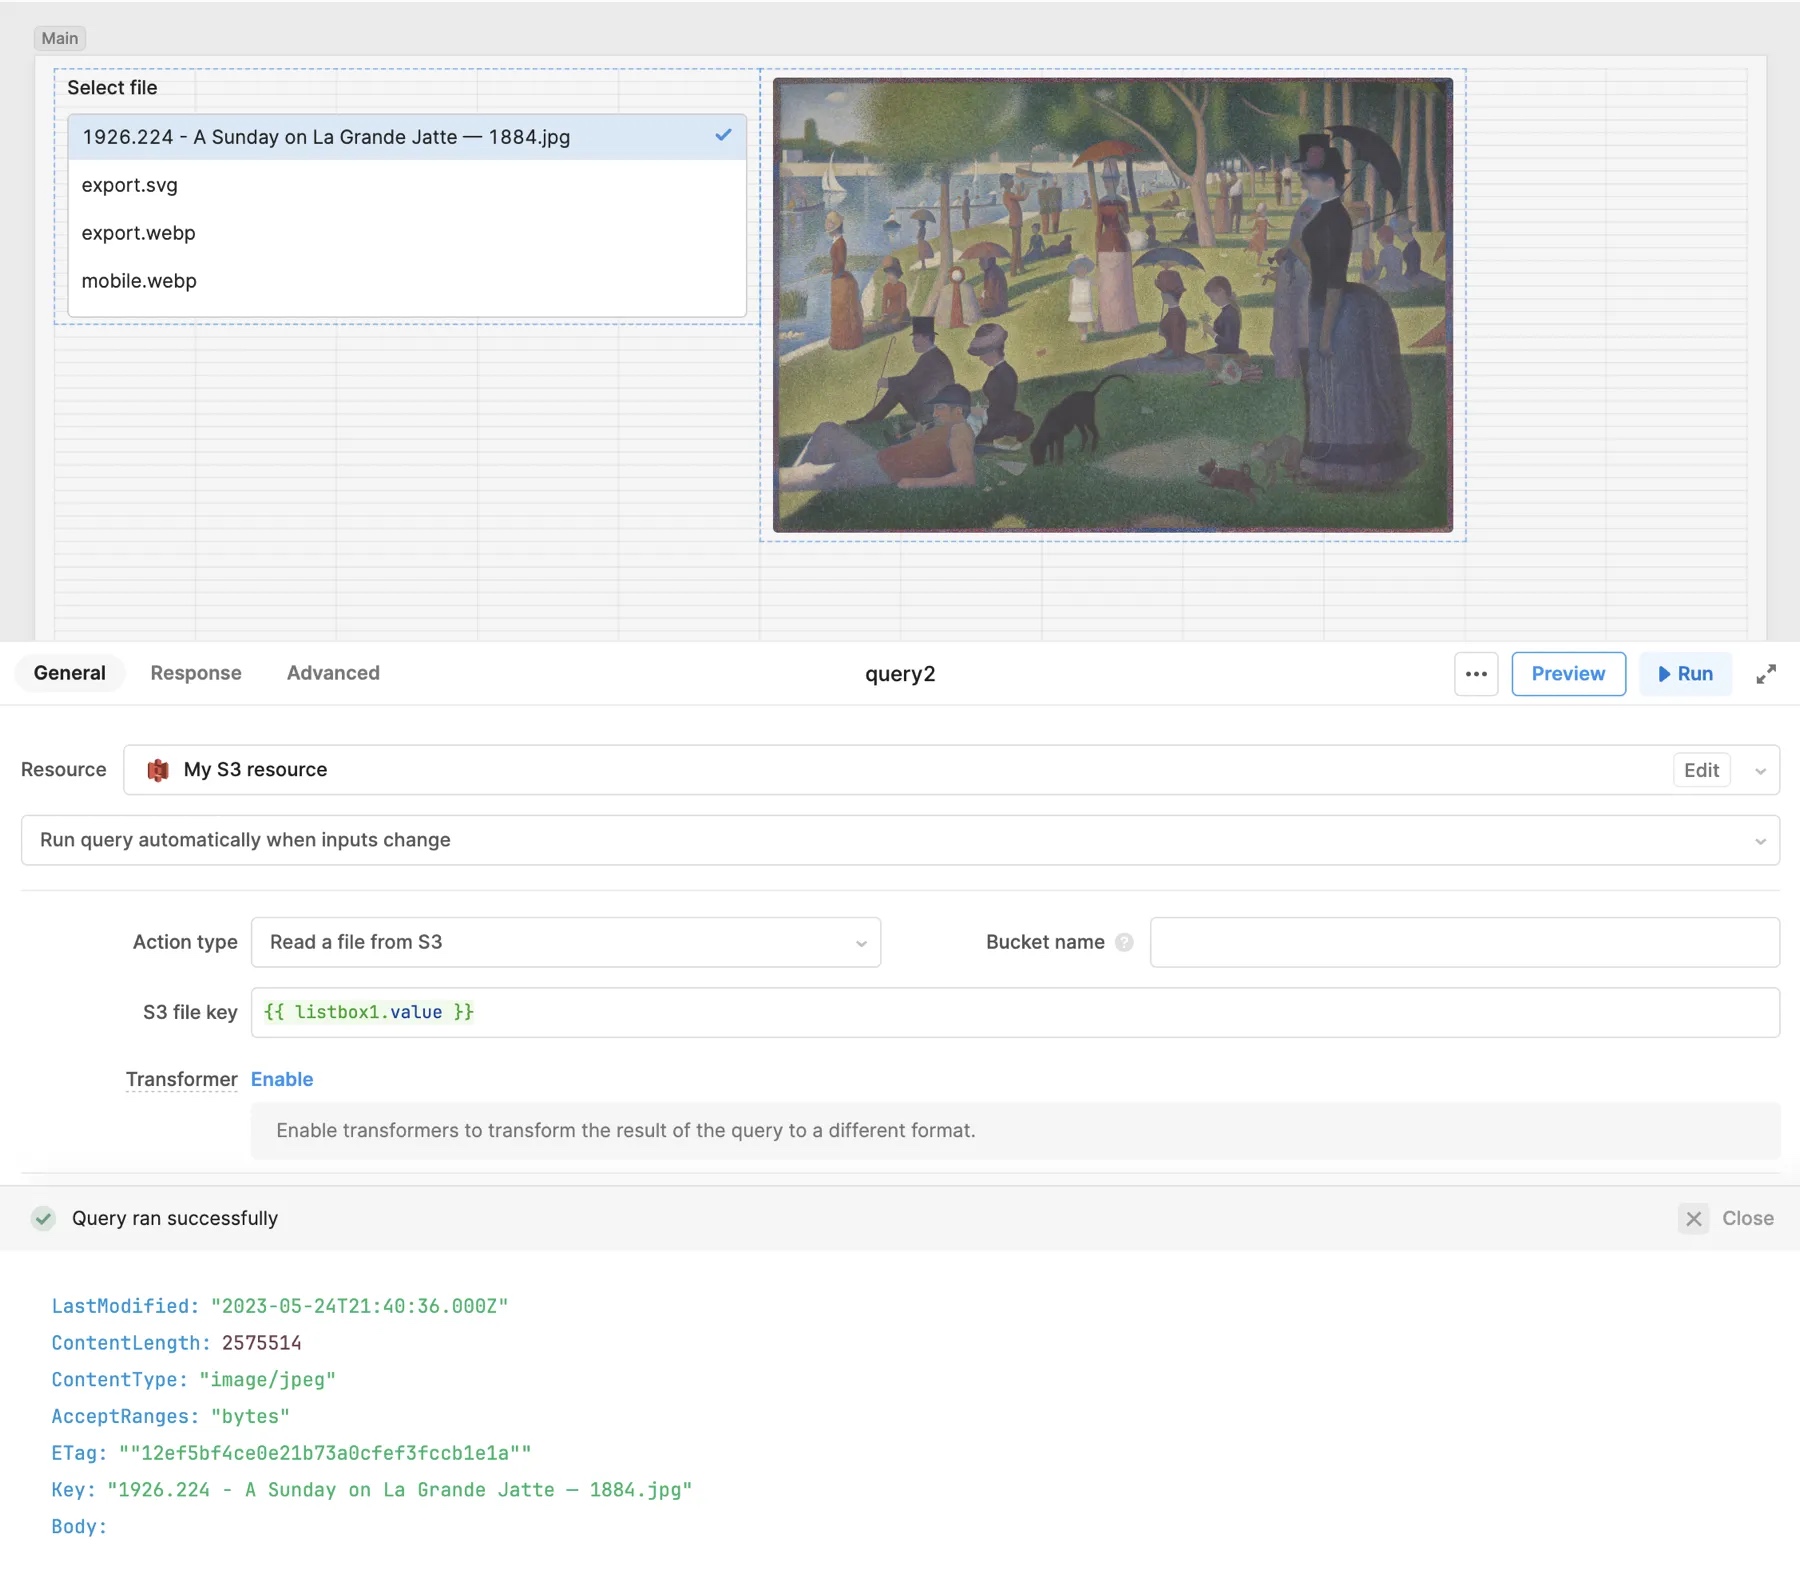
Select Read a file from S3 to retrieve the contents of a specified file. You set the value of S3 file key to the corresponding key of the file to retrieve. The content of the file is Base64-encoded.
For example, you can configure a Listbox component to use data from a query that lists all images in S3. The selected file is retrieved from S3 using {{ listbox1.value }} as the S3 file key, then displayed using the Image component.
Download a file from S3
Select Download a file from S3 to retrieve a specified file from the S3 bucket. This action is similar to Read a file from S3 but the file is downloaded by the browser instead of being made available by the query.
Generate a signed URL
Select Generate a signed URL to retrieve a direct link to the file. You specify the operation name that the URL supports, such as GET or PUT, along with any operation options to include.
For example, you can select a file from a list and generate a signed URL for it that expires in 60 seconds. Set the Operation name to Get object and Operation options to the following:
- Connector Version 1.0
- Connector Version 2.0
{
  Key: {{ listBox1.value }},
  Expires: 60
}
{
  Key: {{ listBox1.value }},
  expiresIn: 60
}
The signed URL can be used by anyone to download the file, but is no longer valid after 60 seconds.
Upload data
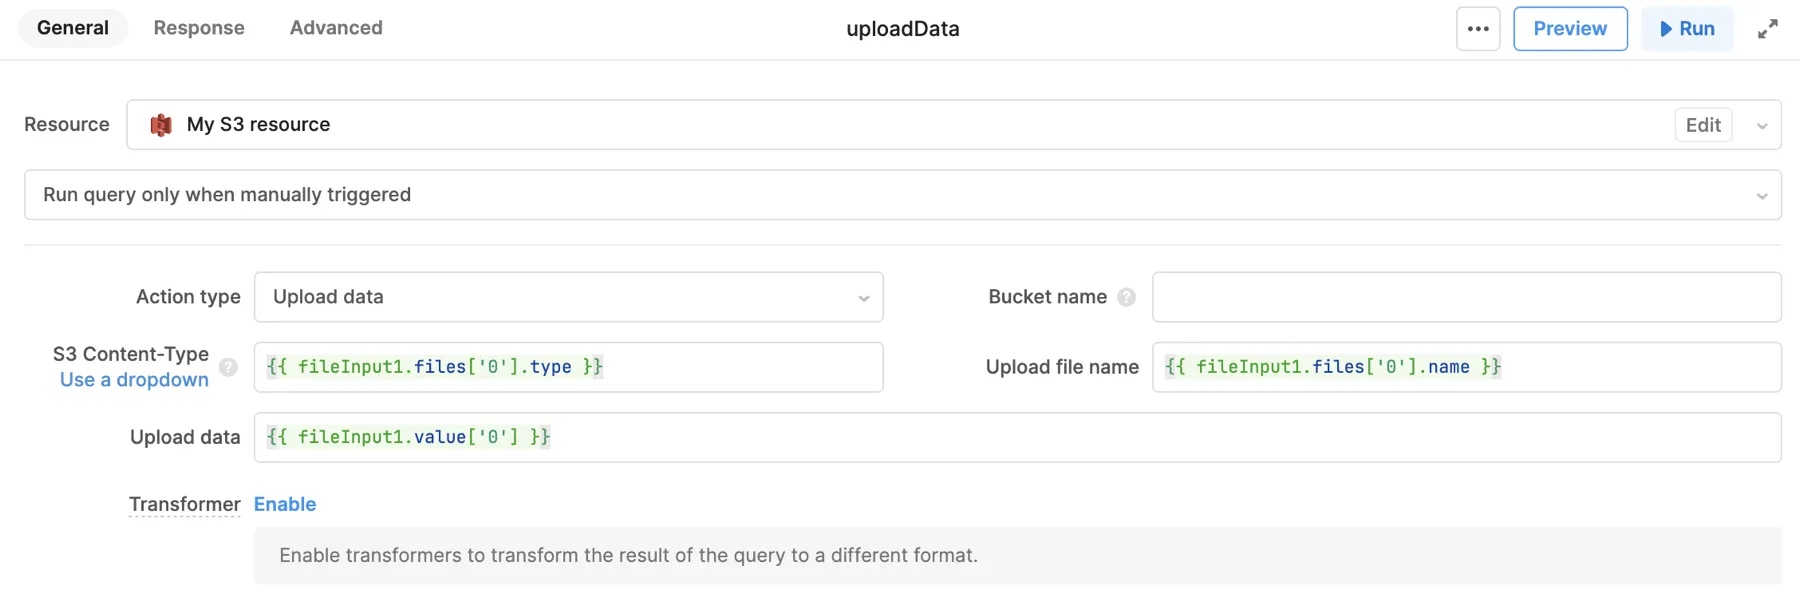
Select Upload data to upload data to the S3 bucket. You configure the following settings when writing an upload query:
| Action type | Description |
|---|---|
| S3 Content-Type | The MIME type for the uploaded file. You can select a MIME type for common file types, such as CSV and JSON, or specify a custom value. |
| Upload file name | The file name for the uploaded data. |
| Upload data | The base64-encoded data to upload. |
The File Button, File Dropzone, and File Input components for web apps return base64-encoded values and MIME types for selected files.
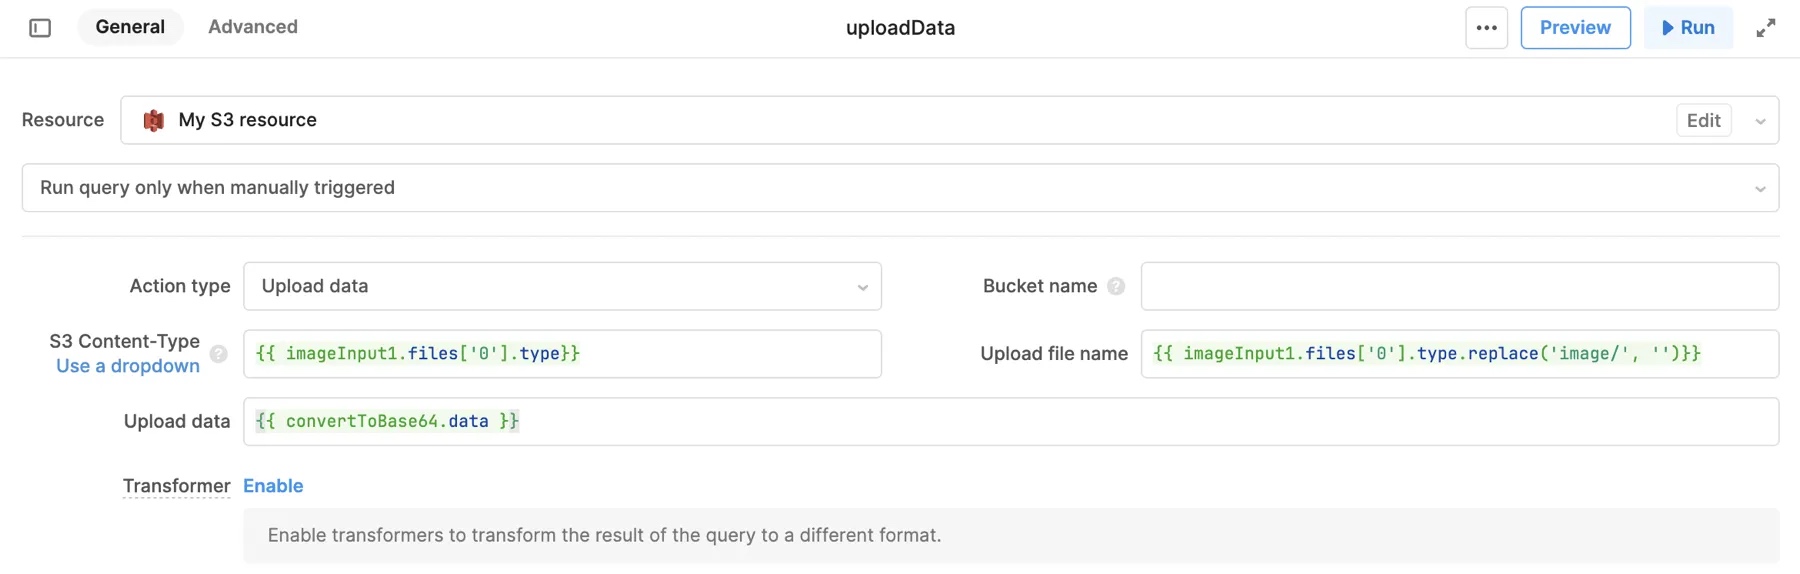
The Image Input component for Retool Mobile apps returns blob values and MIME types for selected files. Use utils.getDataByObjectURL in a JavaScript query first to convert blobs into Base64-encoded values.
return utils.getDataByObjectURL(imageInput1.value[0]);
Copy a file to a new location
Select Copy a file to a new location to copy a file and save it to another location. You provide the key of the file to copy as Copy source, and the key of the file to create as Destination file key.
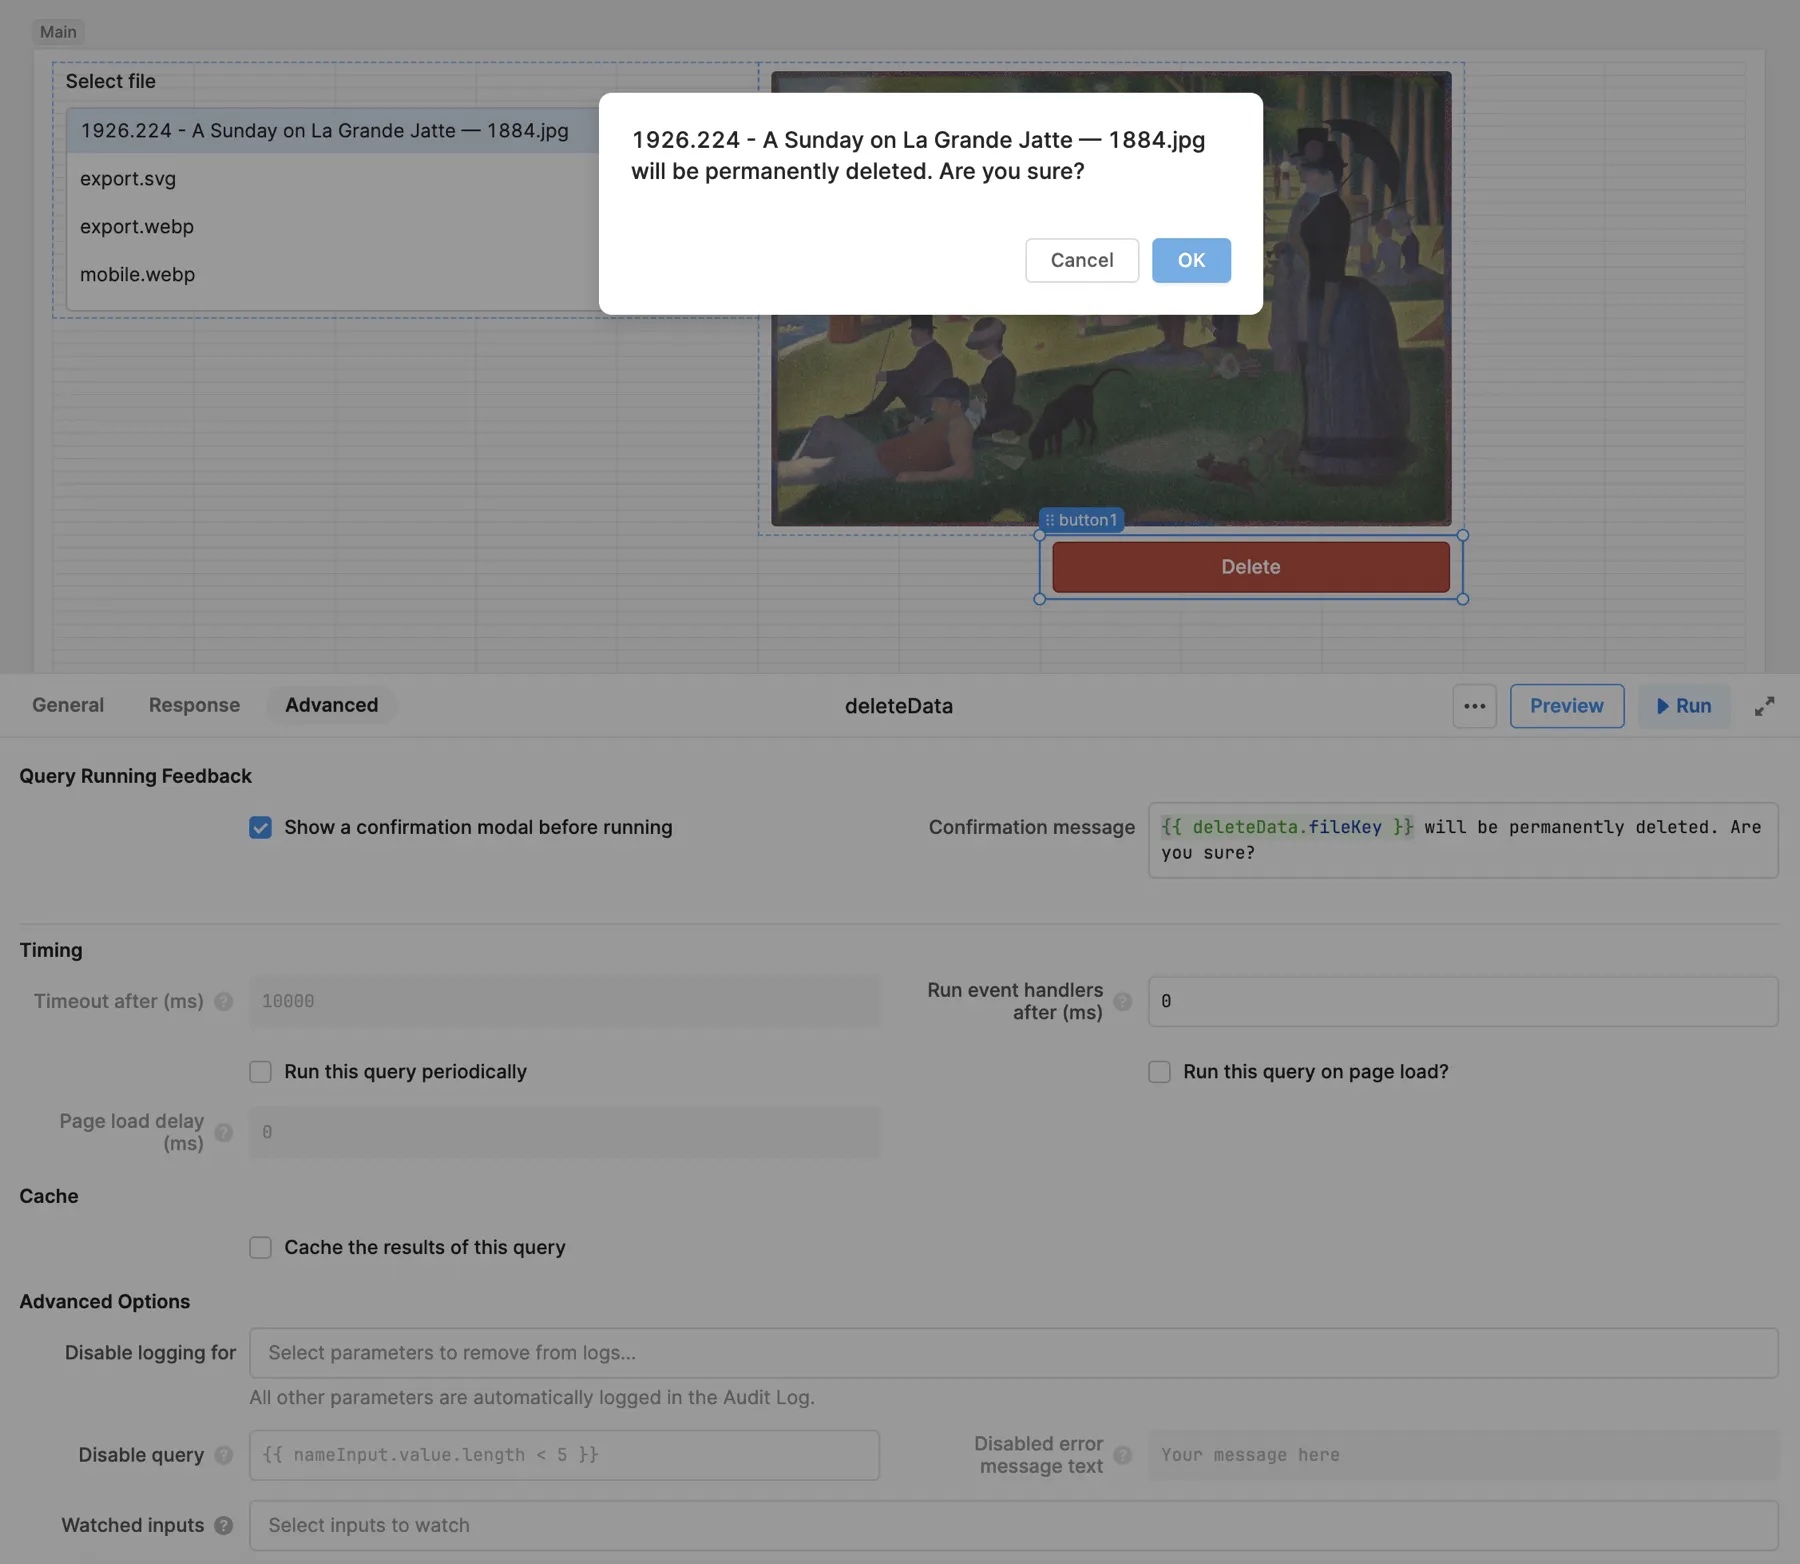
Delete a file from S3
Select Delete a file from S3 to delete the specified file from the S3 bucket. To prevent accidental deletion, you can enable Show a confirmation modal before running in the Advanced tab of the query. You can also reference the current file key the query would delete in the Confirmation message:
{{ deleteData.fileKey }} will be permanently deleted. Are you sure?
Get, delete, or update tags on a file from S3
Select Get tags on a file from S3 to get all tags for the specified file. Tags are returned as key-value pairs. Select Delete tags on a file from S3 to remove all tags from the specified file.
Select Update tags on a file from S3 to update the specified tags or add new ones. Set Tag Set with key-value pairs for the required tags.