Insert CSV data into a database
Learn how to build an app that writes a CSV file to a database.
You can use Retool's File Button and Table components to upload CSVs and insert their rows into your database.
1. Upload files
Start by dragging in a File Button component from the right panel. Toggle on Parse files in the Inspector.
This button now automatically parses CSV and JSON, which you can test by uploading a file. If you don't have a CSV ready, you can download the sample file used in this guide. Parsed files are stored in fileButton1.parsedValue, and content from a single file in fileButton1.parsedValue[0].
2. Render uploaded rows
You can now render your CSV rows into a Table component. Create a new Table component, then pull in data from the File Button. In the table's Inspector, change Data source to {{ fileButton1.parsedValue[0] }}.
You may need to clear out columns from the demo data before you upload your CSV. Select ... next to Columns in the Inspector, then Clear columns.
3. Insert rows into your database
In this step, rows in your first table are inserted into your database when a user selects them.
First, add an Action button to each row, so you can choose which rows to insert. In the Actions section of the Inspector, select +. Name it Insert into DB.
Next, create another query and name it insertIntoDB. Select your database as the Resource type. This example uses Retool Database to store data.
Use GUI mode in the query to enable safe writes to your database, and select your table. This example uses the books table. Set the following parameters:
- Action type: Insert a record
- Changeset type: Object
- Changeset value: table1.selectedRow
If it's safe to do so for your database, select Save & Run to test this query.
Finally, connect the Insert into DB action to the query by adding insertIntoDB as an event handler to the action. This inserts a record into the database based on the selected row in the uploaded CSV table. You can modify this query later to perform a bulk upload and use data from the entire table.
4. Verify uploaded data
To verify the data is uploaded properly, create a Table component containing its records. Drag a Table component onto the canvas.
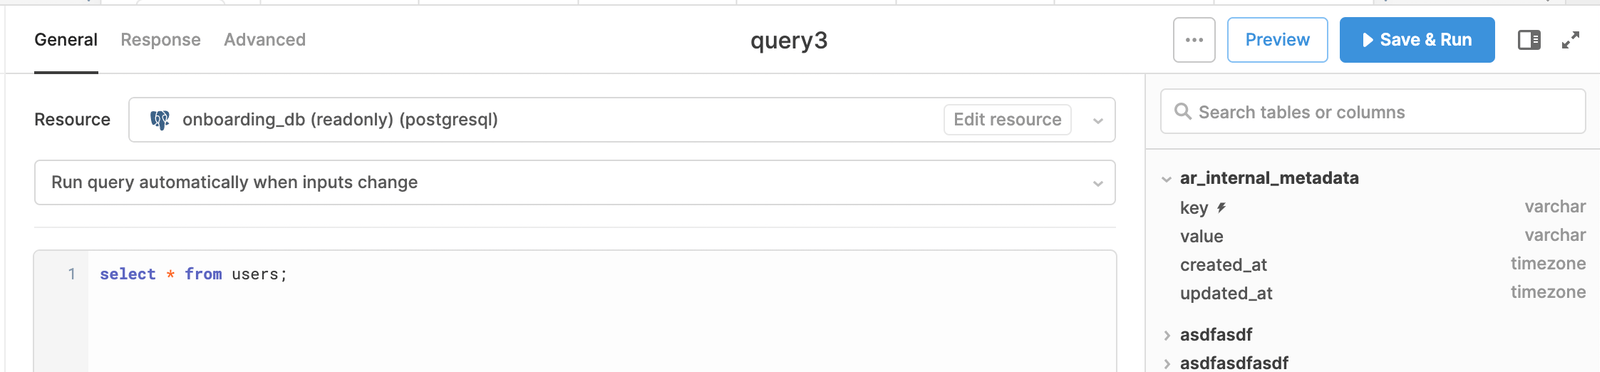
Create a SQL query to retrieve your database records, then set this SQL query as the Data source for your new table.
select * from books order by id desc;
Finally, you can selectively disable the Upload button for rows that are already uploaded. In the Copy to DB action, set the Disabled field to {{ table3.data.find(i => i.id === currentSourceRow.id )}}. This disables the Copy to DB function for rows whose IDs are already present in the books database.