Multi-instance releases for apps
Learn how to create and manage releases across instances
Multi-instance releases for apps use git tags and manifests to manage app releases across instances. Refer to the overview for more information about the difference between multi-instance releases for apps and classic apps.
At this time, GitHub is the only Source Control Manager (SCM) that is supported for apps. Others are being added.
How releases are represented
Retool stores each release as a git tag. Each instance's manifest records which release version of each app is live on that instance.
Git tags
When you tag a release, Retool tags a dedicated commit that captures your app exactly as it was at that version. This commit is a tagged root commit and isn't part of any branch's history. The tag keeps the release permanent and trackable, and the commit reuses files already in your repository rather than duplicating them, so releases don't cause the repository to grow.
Manifests
A manifest maps each protected app to a release version (or latest) on that instance. Manifests are stored in the manifests/ directory of the Source Control repository. Per-instance manifests let each instance publish a different release version from the same repository.
Each manifest is a YAML file with the following structure:
version: 1.0.0        # manifest format version, not a release version
name: prod            # the manifest's name
apps-v2:
  - uuid: <source-control-uuid>
    release: 1.2.0    # publishes a tagged release
  - uuid: <source-control-uuid>
    release: latest   # publishes the current working version
version: The manifest file format version.name: The name of the manifest.apps-v2: A list of protected apps. Each entry has auuidthat identifies the app and areleaseversion to publish on the instance. Thereleasevalue is a semantic version (such as1.2.0) orlatest.
Repository structure
Protected app source is stored in the apps-v2/ directory. Manifests are stored as yaml files.
.
├─ apps-v2/
│   ├─ <app-id>/  # protected app source
│   └─ ...
└─ manifests/
    ├─ dev.yaml
    └─ prod.yaml
Synced apps
When two instances both include the same app, Retool marks the unique identifiers of each app as related. This mapping is retained even when apps are unprotected. This means if you unprotect an app in one instance, and reprotect it later, Retool recognizes that the app was previously protected and syncs it with the app on the other instance. This mapping does not apply to classic apps.
Requirements
To use multi-instance releases for apps:
- You must be using Source Control to protect apps.
- The Source Control configuration must be the same across all instances, such as source control provider, repository, and branch.
- Enable multi-instance releases. Navigate to Settings > Source control > Edit settings and turn on Enable multi-instance releases. Click Save.
1. Create a manifest
Each instance needs its own manifest file stored in the manifests/ directory of the Source Control repository. The manifest determines the release version published on the instance. You create and manage manifests in your organization's Source Control settings.
To create a manifest:
- Navigate to your organization's Settings > Source Control page.
- Click Create manifest in the Releases pane.
- Enter a name to use for the manifest.
- Click Create branch with release manifest. Retool then creates a branch and commits the new manifest to it.
- Click Open pull request to start a new pull request.
2. Select the manifest for an instance
A manifest determines which releases to publish on an instance. You assign each manifest to each instance. To configure an instance to use a specific manifest:
- Sign in to a specific instance (e.g.,
dev). - Navigate to Settings > Source Control.
- Click Edit config in the Releases pane on the right.
- Select the manifest to associate with the instance (e.g.,
dev).
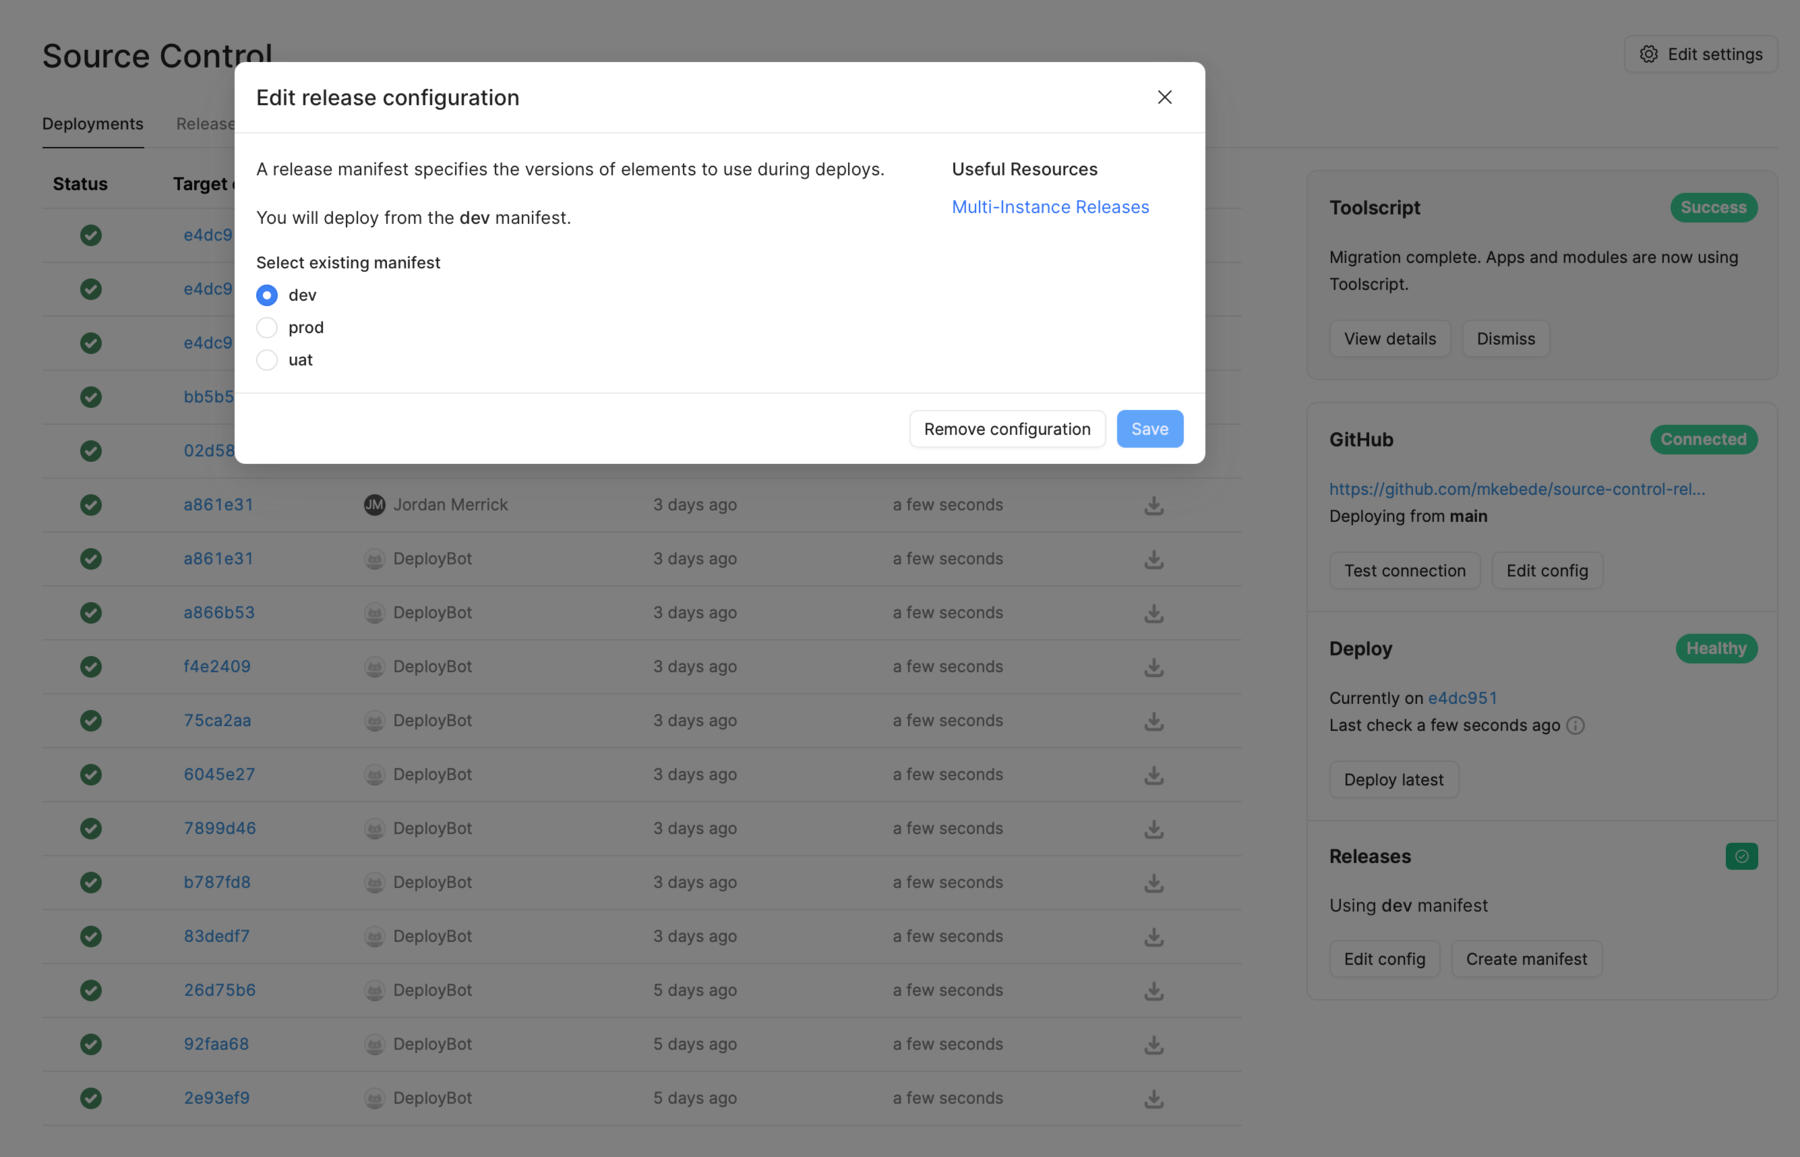
Once complete, the instance will then publish the release versions associated with the manifest. For example:
| Instance | Manifest |
|---|---|
| Development | dev |
| User testing | uat |
| Production | prod |
In the example above, the releases defined in the dev manifest are published to the Development instance.
3. Tag a release
By default, published changes to your app are visible to all users who have View access to that app. Leverage release tagging to apply semantic versioning to your app releases, and configure publishing behavior to show users a particular release.
- During publishing
- From Change History
- While publishing your app, expand the Tags & publishing section.
- Choose whether you want to tag your changes as a Major, Minor, or Patch release.
- In response to Which tag should be pinned for publishing?, choose:
- Latest changes: The latest published changes are automatically shown to app users.
- Current tag: The currently published tag will remain published.
- This tag: These changes will be tagged as a new release, and all end users of your app will see this version.
- Click to open the Change History pane. Switch to the Publish History tab, which shows all published versions.
- Find your desired published version, and click the icon.
- In the Tag changes modal that opens, choose whether you want to tag your changes as a Major, Minor, or Patch release.
- In response to Which tag should be pinned for publishing?, choose:
- Latest changes: The latest published changes are automatically shown to app users.
- This tag: These changes will be tagged as a new release, and all end users of your app will see this version.
- Click Tag changes.
Configure publishing behavior
After tagging changes as a release, you can configure your app's publishing behavior from the footer of the Change History > Publish history tab at any time. In response to Which tag should be pinned for publishing?, choose:
- Always publish latest changes: The latest published changes are automatically shown to app users.
- Select from a list of tagged releases.
4. Manage releases
You can manage multi-instance app and workflow releases and manifests from the Source Control settings page. The Releases tab is a graphical interface for managing all release manifests. It contains a list of all protected apps and workflows, and the release version deployed to each instance. Each column corresponds to each instance that uses multi-instance releases.
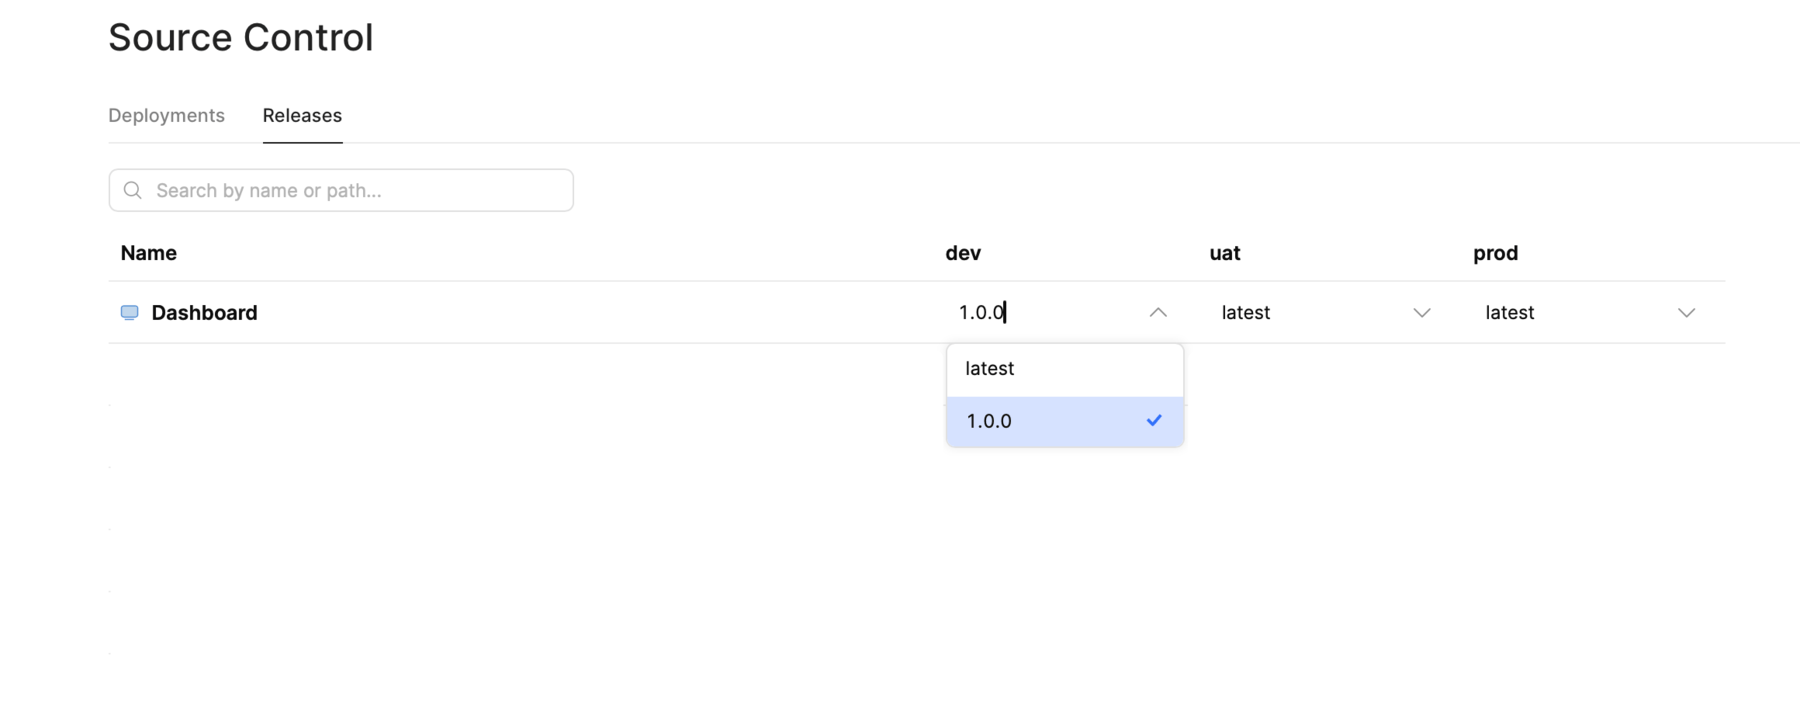
View and manage all apps and workflows.
To change the deployed release version of an app, classic app, or workflow for any instance:
- Click on the version number in the column and select the release to use. You can make multiple changes, if required.
- Click Review to review and confirm the changes.
- Click Create pull request to start a new pull request.
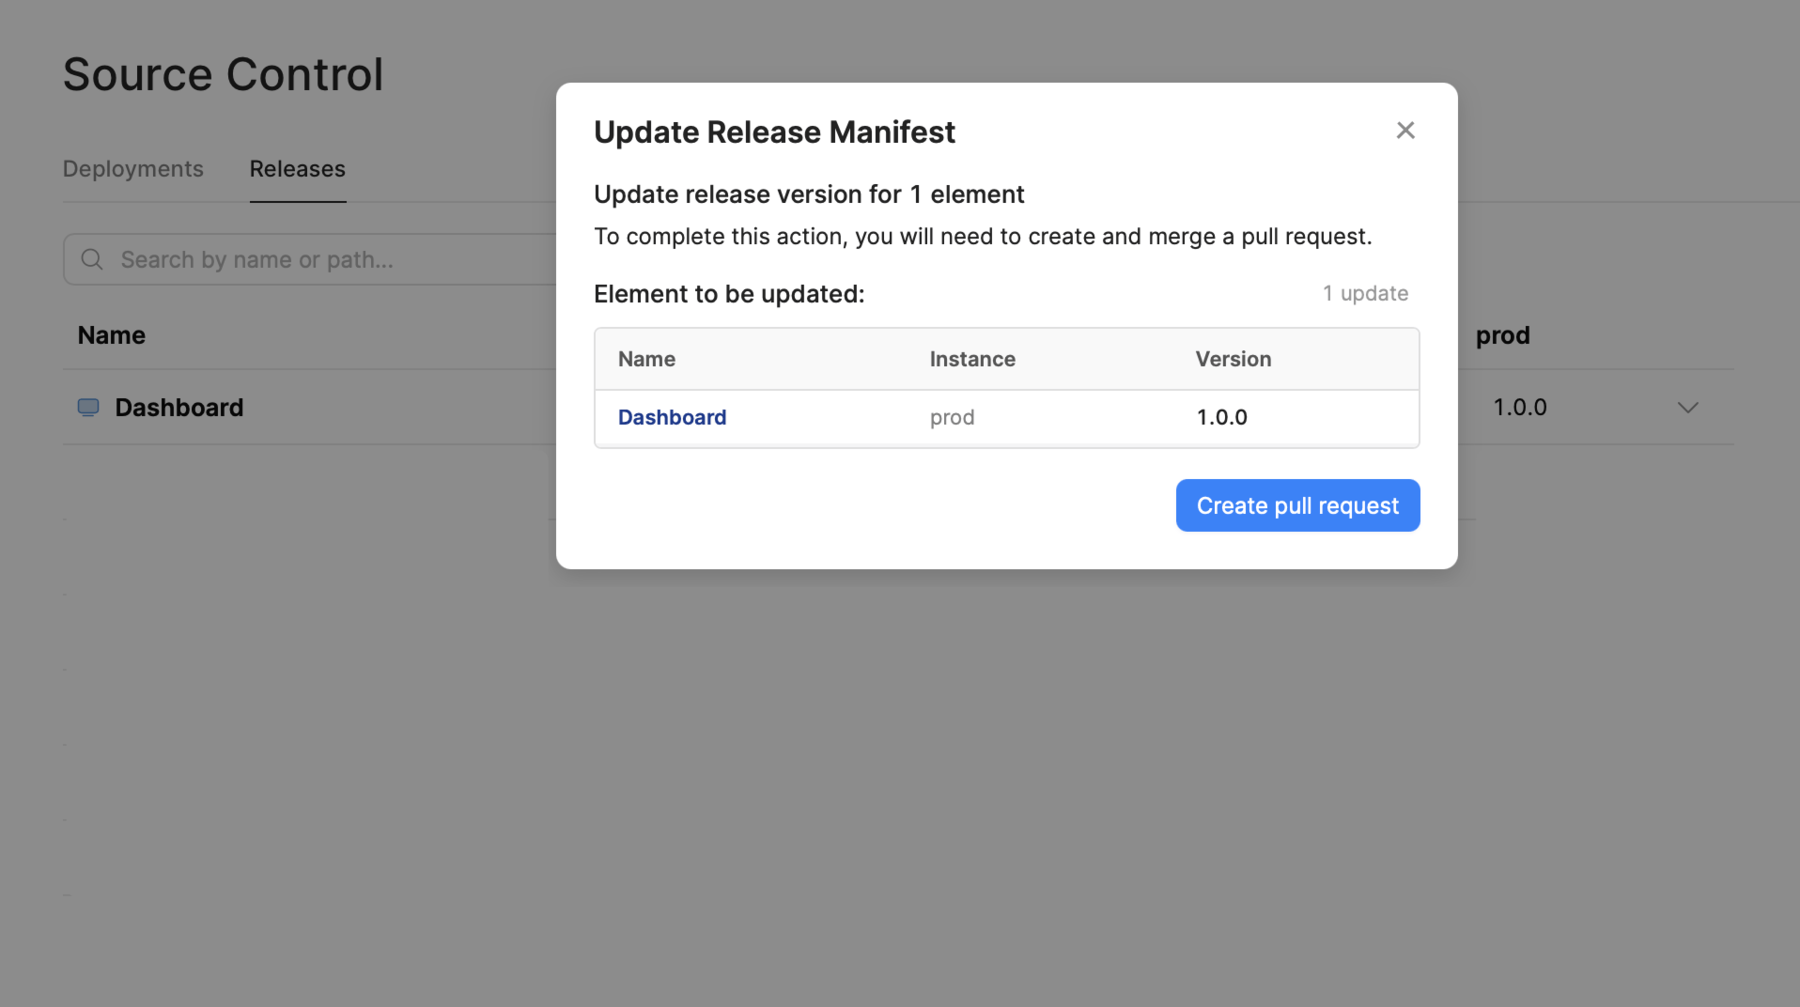
Manage releases with the API
In addition, you can manage releases using the Retool API.