Source Control quickstart
Learn about the fundamental concepts of Source Control for managing changes in Retool.
| Source Control Availability | |||
|---|---|---|---|
| Cloud | Generally Available | ||
| Self-hosted Edge 3.36 or later | Generally Available | ||
| Self-hosted Stable 3.33 or later | Generally Available | ||
This guide serves as an introduction to Source Control. It covers many of the concepts and terminology you would come across when using version control to manage apps, workflows, and more. After reading this page, you should have a good understanding of the fundamentals for using Source Control.
Introduction
Source Control enables organizations to manage changes using remote source control management (SCM) providers, such as GitHub, GitLab, AWS CodeCommit, Bitbucket, and Azure Repos. Using this distributed approach, your users can:
- Protect changes to apps, workflows, queries, resources, and themes.
- Work collaboratively on apps.
- Review changes using Toolscript—a readable, JSX-like markup language.
- Sync changes across multiple instances.
Version control and protection
Source Control provides a distributed approach to managing your organization using a remote repository. Users can check in (protect) apps, workflows, queries, resources, and themes. Once protected, all changes are made on branches. Users can create multiple branches and work collaboratively on changes.
All of this occurs within Retool. Reviewers then use the source control provider (e.g., GitHub) to review the pull request. Once merged, Retool deploys the changes automatically.
- 1. Protect an app
- 2. Create a branch
- 3. Commit changes and create pull request
Monitor deployment status
The Deployment Dashboard provides details about recent deployments triggered by Source Control. It includes details about your instance's Source Control configuration.
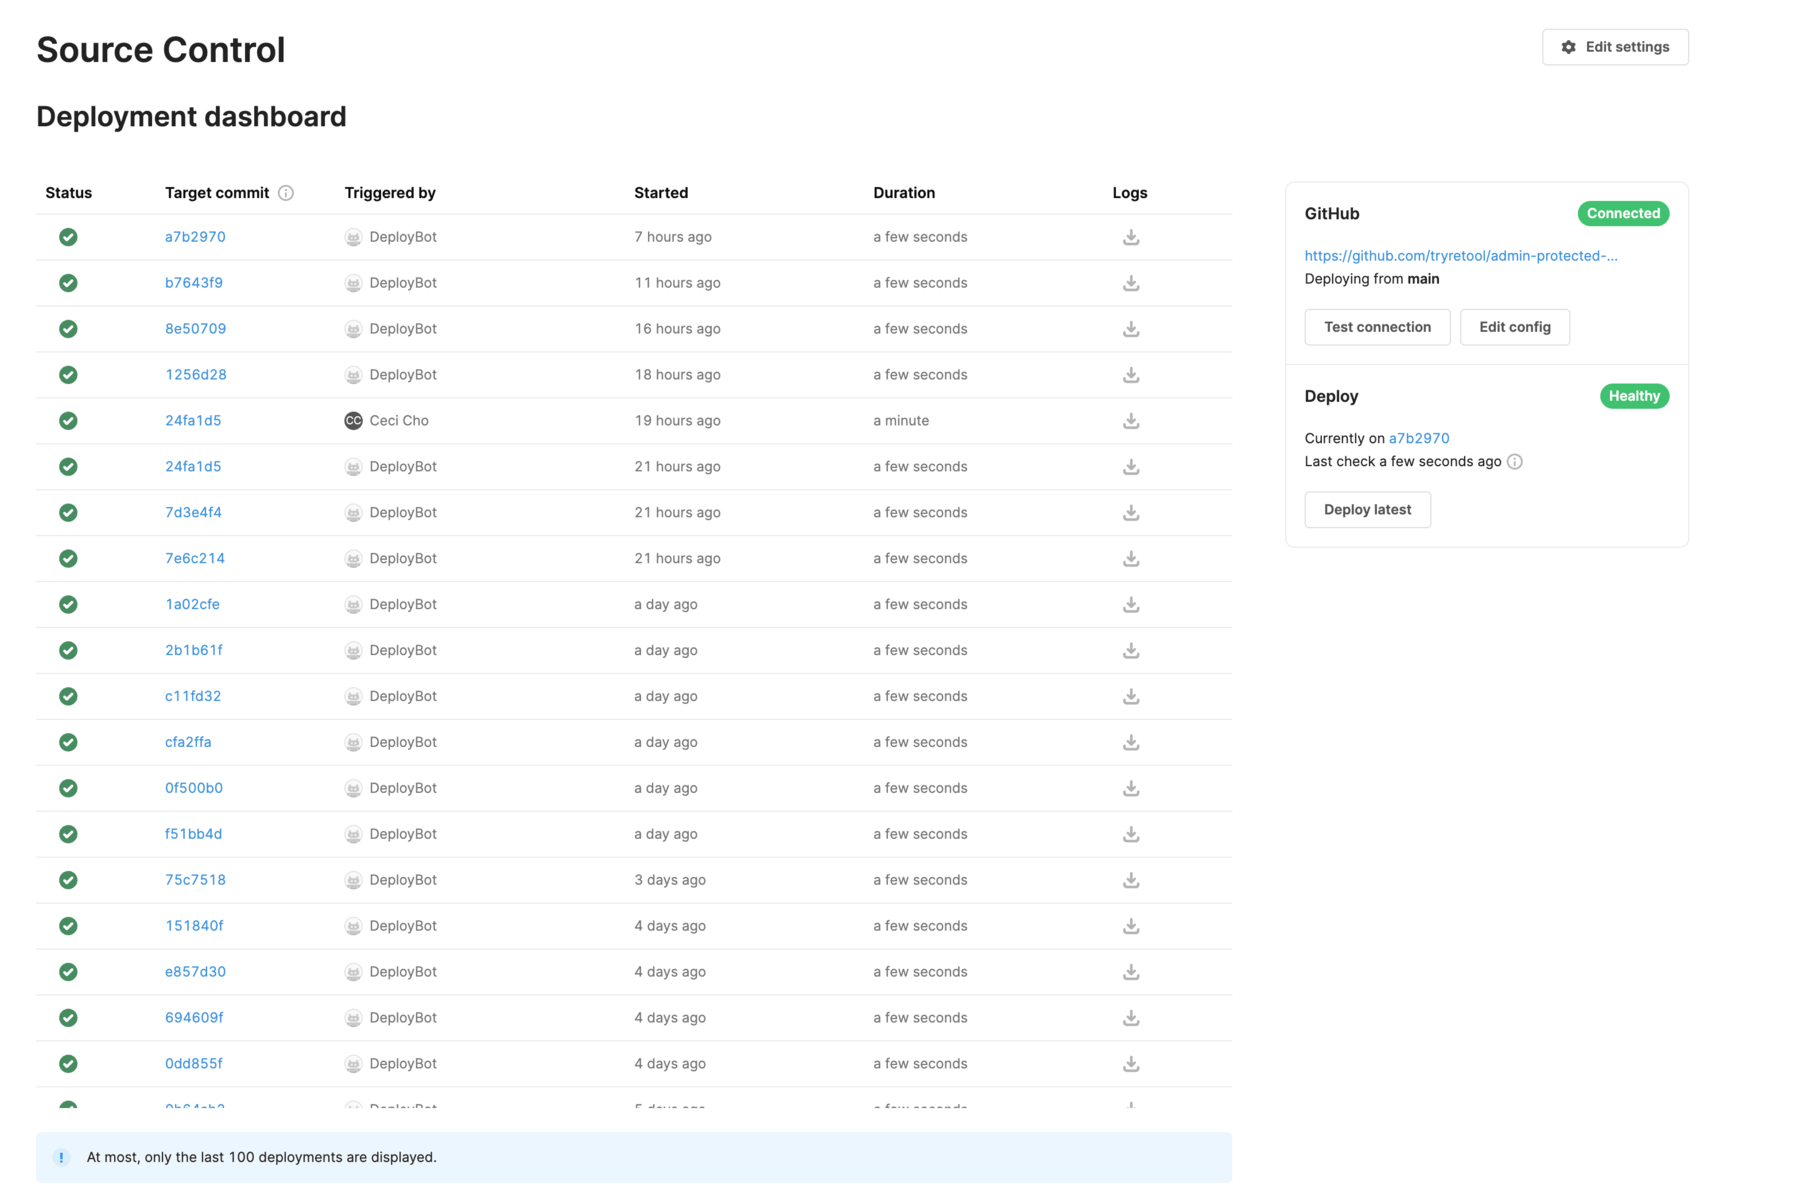
As with any version control system, you can roll back changes by reverting to an earlier commit.
Collaborate on app changes
Collaborative branches enables multiple users to make app changes on the same branch.
Get started
Set up Source Control using a supported SCM provider.