Set up and manage your Retool organization from the Overview page
Enterprise admins can use the Overview page to set up and manage their organization.
Admins on Enterprise plan accounts can use the Overview page in Settings as a central place to set up a Retool organization, track configuration progress, and respond to pending user requests.
The Overview page shows:
- Stats for your organization's total users, apps, workflows, and AI credit usage.
- A Get started module that walks you through initial setup.
- An Action center panel for alerts and pending requests.
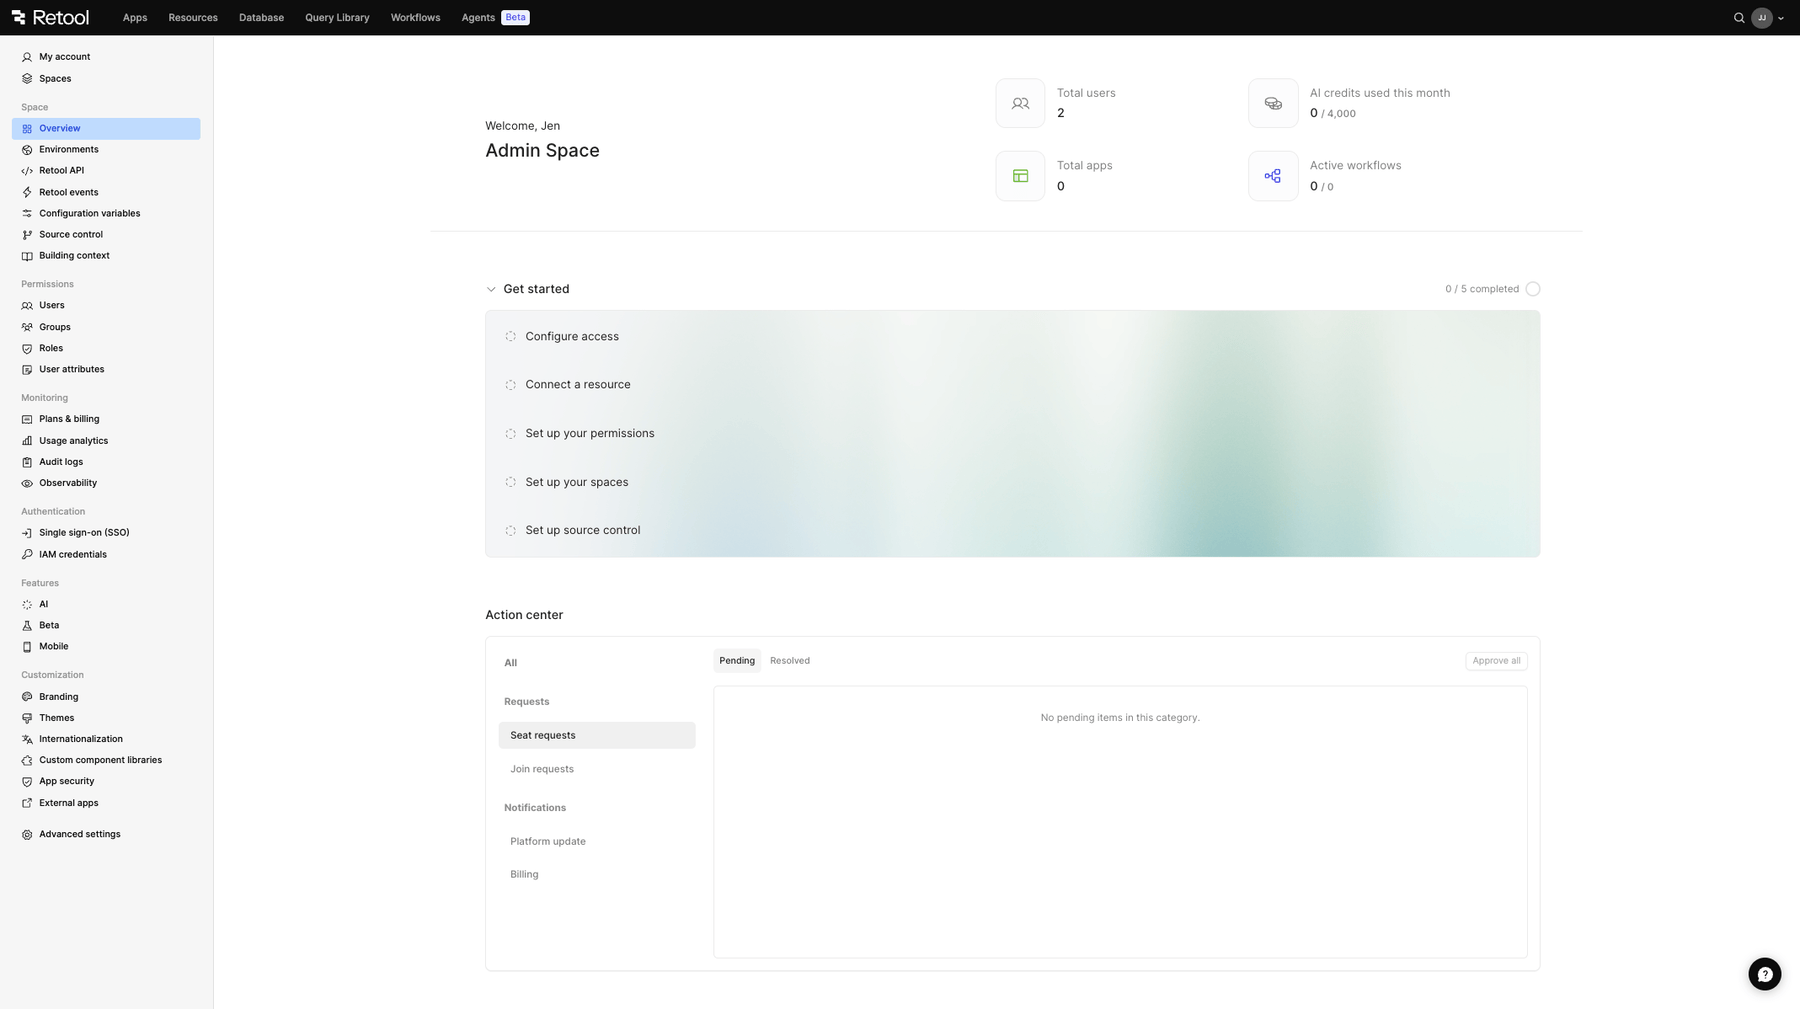
Overview page
Get started
The Get started section walks administrators through the initial steps needed to set up a Retool organization. Select Configure on each step to open a wizard that guides you through the configuration process. If a step does not apply to your organization, click the contextual menu (...) and select Mark as not relevant to exclude it from your setup steps. You can mark a step as relevant again at any time.
Once you complete a step (or mark it not relevant), you can jump straight to the corresponding settings page at any time.
The Get started section is hidden once you complete or dismiss every step.
Configure access
Connect an identity provider so your team can sign in with SSO, or invite your first users if you don't use SSO yet. See Single sign-on for the full range of supported identity providers and configuration options.
Connect a resource
Bring your data into Retool by connecting your first resource, or import resources directly from AWS. See Data sources for a complete list of supported resource types.
Set up your permissions
Create a folder and a permission group, then assign a role to that group to control who can view, edit, and own your apps, workflows, agents, and resources. You can choose an existing role, create a custom role, or start from Retool's suggested role for new groups.
This step is only available to organizations with object roles enabled. If object roles are not enabled for your organization, this step will be hidden. The object permissions feature is not available on self-hosted instances. Refer to Object roles for more information.
Once you have completed the permissions set up step, you can verify that it worked by clicking on the step and selecting Go to roles.
See Permissions for more information about groups, roles, and role-based access control.
Set up your spaces
Split your organization into isolated child spaces for different teams or environments. Choose to set up custom spaces or a Dev/Staging/Prod environment split, name each space, and optionally copy your existing SSO settings to the new spaces before creating them. See Spaces tutorial for the full setup and configuration guide, including how to create multiple spaces at once.
Set up source control
Connect Retool to a Git provider so you can track changes to your apps and workflows and roll back safely. See Source control for supported providers and setup steps.
Set up usage analytics
This step only appears for self-hosted deployments. Add a usage analytics access token to track adoption and activity across your Retool deployment. See Usage analytics for how to obtain and configure the token.
Action center
The Action center panel on the Overview page surfaces a list of alerts and pending requests that require admin action, so you can respond without leaving the page. This includes Requests and Notifications:
- Seat upgrade requests: Requests from users who need a builder seat to publish apps, edit workflows, or deploy agents.
- Join requests: Requests from users who request access to your organization.
- Suggested users: Users that members suggest inviting.
- Platform update: Notifications for newer Retool stable release or patch versions that are available for your instance, with links to the release notes. These notifications only apply to self-hosted deployments. Instances running an edge release, and air-gapped instances, do not receive them.
- Billing: Notifications about payment problems and usage limits. This includes a failed payment that will downgrade (or has already downgraded) your organization, a payment method that needs updating to meet regional requirements, and when your organization approaches or reaches its included AI credit, agent, or workflow usage. Each one links to Settings > Billing.
Requests and notifications clear differently. A request resolves for every admin as soon as any one of them responds, whereas a notification only clears for the admin who opens it.
You can Approve or Deny a request for individual users or select Approve all for multiple requests. Users approved for join or suggested-user requests receive an email invitation to join your organization. Users approved for seat upgrade requests receive an email confirmation that their seat type has been updated.