Configure Source Control with Bitbucket
Learn how to set up Source Control with Bitbucket.
| Source Control Availability | |||
|---|---|---|---|
| Cloud | Generally Available | ||
| Self-hosted Edge 3.36 or later | Generally Available | ||
| Self-hosted Stable 3.33 or later | Generally Available | ||
You can use Source Control with Bitbucket Cloud to manage changes with pull requests.
Source Control does not currently support self-hosted Bitbucket Data Center instances.
Setup instructions
- In your
docker.envfile, setDISABLE_GIT_SYNCING=trueandVERSION_CONTROL_LOCKED=false. - In the Settings > Advanced tab in Retool, remove the repository URL and branch name from your Git Syncing configuration.
Prerequisites
This guide requires access to a Bitbucket account with permissions to create workspaces and repositories.
1. Create a new Bitbucket workspace and repository
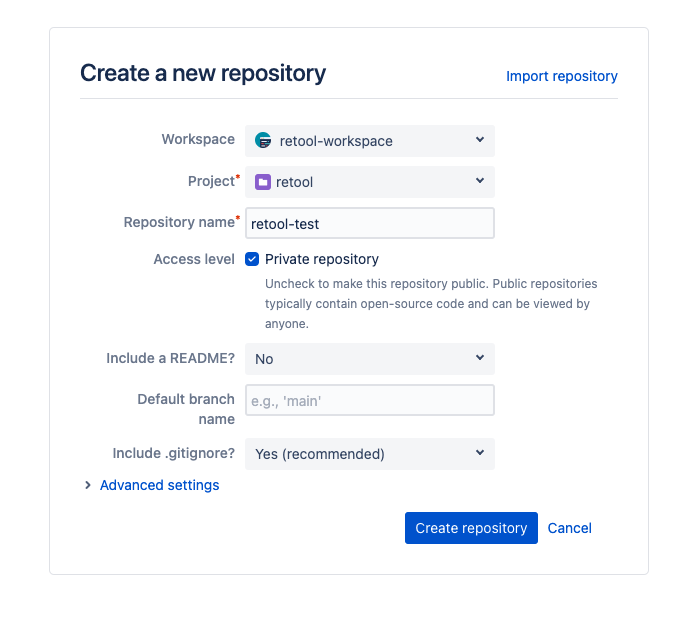
- Create a Bitbucket workspace for your Retool repository.
- Create a Git repository in Bitbucket for your Retool apps.
2. Create an access token for the repository
- Create a Bitbucket access token for the repository.
- Under Scopes > Repositories, select Read, Write, Admin, and Delete. This gives the access token the ability to access and modify the repository containing your Retool apps.
3. Configure Bitbucket repository settings
- Cloud and self-hosted instances on version 3.18 and later
- Self-hosted instances on version 2.105 and later
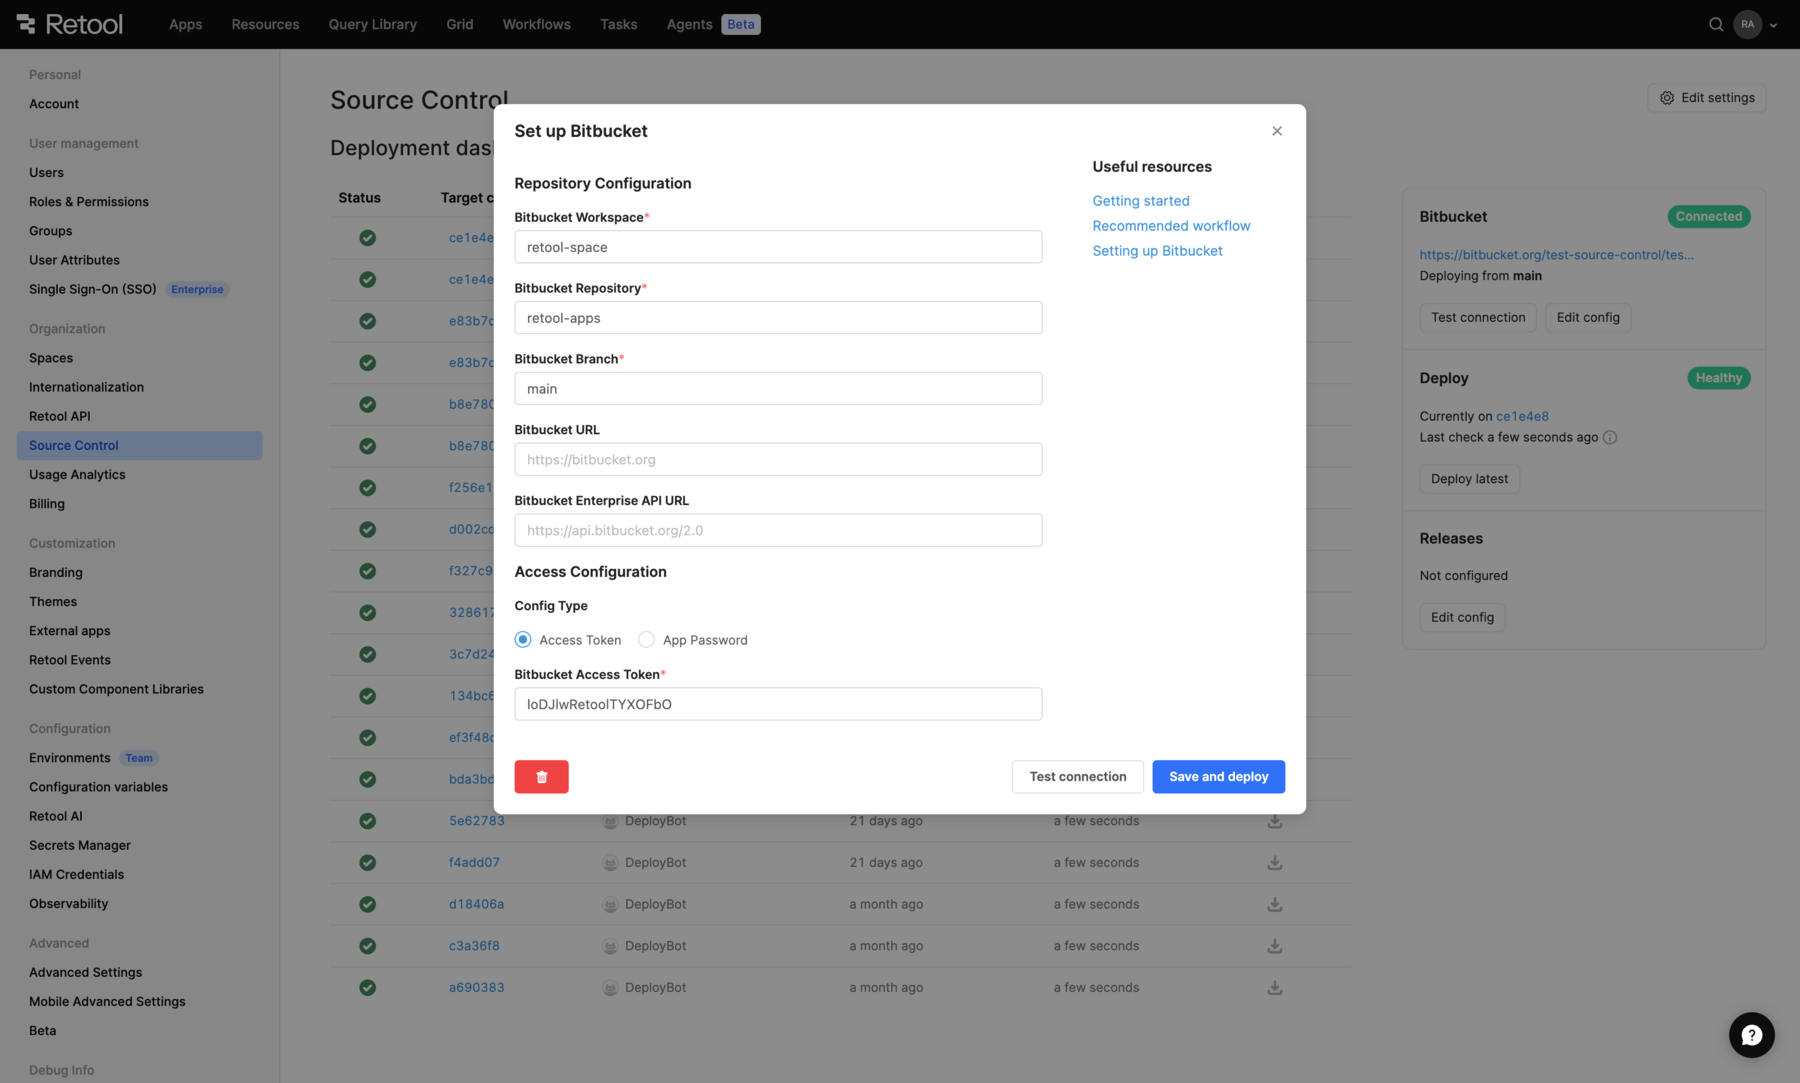
Go to the Source Control settings, and select Set up Bitbucket. Enter the following settings.
| Setting | Description | Example |
|---|---|---|
| Bitbucket Workspace | The name of the workspace you created for the Retool repository. This variable is case-sensitive. | retool-workspace |
| Bitbucket Repository | The repo name in step 2. | retool-apps |
| Bitbucket Branch | Retool automatically tracks changes to this branch | main |
| Bitbucket URL | The domain used to access your self-hosted Bitbucket instance. | https://bitbucket.org/ |
| Bitbucket Enterprise API URL | The REST API route for your self-hosted Bitbucket instance. Defaults to https://api.bitbucket.org/2.0. | https://api.bitbucket.org/2.0 |
| Bitbucket Access Token | The access token you created. | loDJlwRetoolTYXOFbO |
Set the following environment variables on your Retool instance on the api and jobs-runner containers.
| Variable | Description | Example |
|---|---|---|
BITBUCKET_TOKEN | The access token you generated in step 2. | loDJlwRetoolTYXOFbO |
BITBUCKET_WORKSPACE | The workspace name in step 2. This variable is case-sensitive. | retool-space |
BITBUCKET_REPO | The repo name in step 2 | retool-apps |
BITBUCKET_MAIN_BRANCH | Retool automatically tracks changes to this branch | main |
If you use your own SSL certificates, set the SSL_CERT_FILE and NODE_EXTRA_CA_CERTS environment variables on the jobs-runner and api containers to the path to your SSL certificate.
Secure credential management
The Bitbucket Access Token field supports embedded expressions for secure credential management.
| Embedded expressions in Source Control credentials Availability | |||
|---|---|---|---|
| Cloud | Public beta | ||
| Self-hosted Edge 3.338 or later | Public beta | ||
| Self-hosted Stable Expected in an upcoming release. | |||
Toggle the Template variables in Source Control config feature flag in Settings > Beta to enable this feature.
- You can reference configuration variables:
{{ environment.variables.MY_KEY_OR_TOKEN }} - On self-hosted instances, you can also reference secrets from secrets managers:
{{ secrets.MY_SECRET.KEY }}
The UI includes autocomplete and validation to help you use embedded expressions correctly.
4. Test your configuration
After you set up your environment variables, if you’re an admin on your Retool instance, you can visit Settings > Source Control.
If your Bitbucket environment is correctly configured, the page will show your Bitbucket commits in the Deployment Dashboard section. You can also click the Test connection button, which sends a request to test the connection.

If you don't see the Deployment Dashboard and your Bitbucket commits on Settings > Source Control, check that your environment variables are correctly configured.
What's next?
You are now ready to use source control. Learn how to create branches, pull requests, merging changes, and use other source control features in the getting started guide.