Row-level Security
The following examples use the Retool DB and Retool Query Editor to implement basic row-level security based on the current user.
Steps
The following steps focus on accessing the Retool platform to demonstrate enabling row-level access controls.
Create a Retool account and login
Create a Retool account and login to your account as shown below.
Create a table in RetoolDB using CSV files
In this step of the laboratory, two comma separated value files will be used to populate a Retool Database creating two separate tables. The following files need to be downloaded to your computer, in order to perform the following steps.
Once the files are downloaded, we can create tables in the database:
- In the Retool Home Screen, select Database.
- In Retool Database, select Import CSV > Into a new table.
- Select file billing.csv.
- Verify your table appears as the following:

- Select Create table and the table will update as shown in the following figure.
- Repeat the process and create a table by importing the billing_users.csv file.
Row-level security using mapping table
In the first example we will demonstrate how you control access at the row-level of a table using a mapping table, billing_users. If you examine the billing table, the team_id identifies which teams are able to access that particular row of information. Within the billing_users table, the user is identified by their email and associated to a team_id.
Create query using JOIN
In this step, we will create a query that matches the team_id column in the billing and billing_users table. By using a JOIN, we are implementing row-level access to only information that matches the team_id and email.
- Select App > Create > App
- Update the app name to
row-level-security. - Select Code > + > Resource query
- Select Retool Database
- Rename the query to
queryUsingMappingTable - Enter the following query into the editor:
SELECT * FROM billing
    as a INNER JOIN
    (SELECT team_id from billing_users where email = {{ current_user.email }})
    as b ON a.team_id = b.team_id;
To ensure that the client cannot intercept the initial request and insert a different user’s email, prevent query variable spoofing is on by default. This ensures that the parameterized statement that arrives at the server contains the same current_user.email as the client that's logged in.
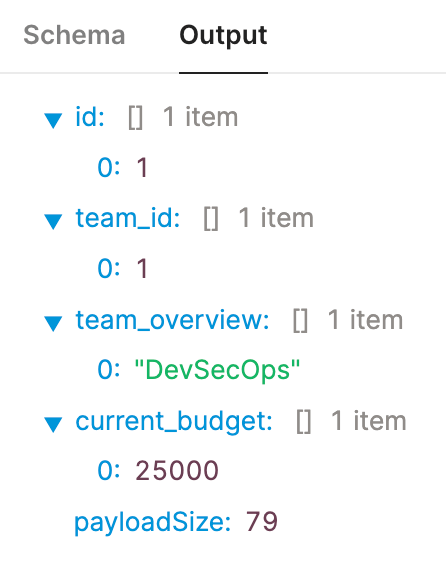
- Select Preview to see if you get the following result returned:

When executed the following preview shows that only data that matches the team_id = 1.
Change team_id value
Let's confirm that if the user mapping is updated, the query returns a different result.
- Select the Retool icon > Go to home
- Select Retool Database.
- Select the
billing_userstable. - Change the team_id for your user from
1to3. - Select Retool icon > Go to home
- Select App > row-level-security
- Select Code and run
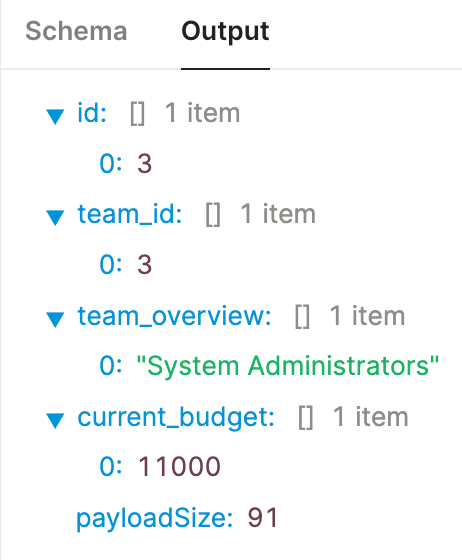
queryUsingMappingTable. It should display a different result as shown below:

Row-level security using user attributes
In the second example, rather then use a mapping table and a JOIN, we can associate a user attribute that identifies the team_id the user is a part of. This metadata can then be accessed in queries to only display rows that match that team_id.
Create User attributes
To create a user attribute, an administrator will need to access User settings.
- Select Settings > User Attributes
- Create a user attribute called
team_idand have the default value be0.
Update current user's attribute value
Next we need to associate a value for your user that is currently logged into Retool.
- Select Settings > Users
- Search for your user using your email address.
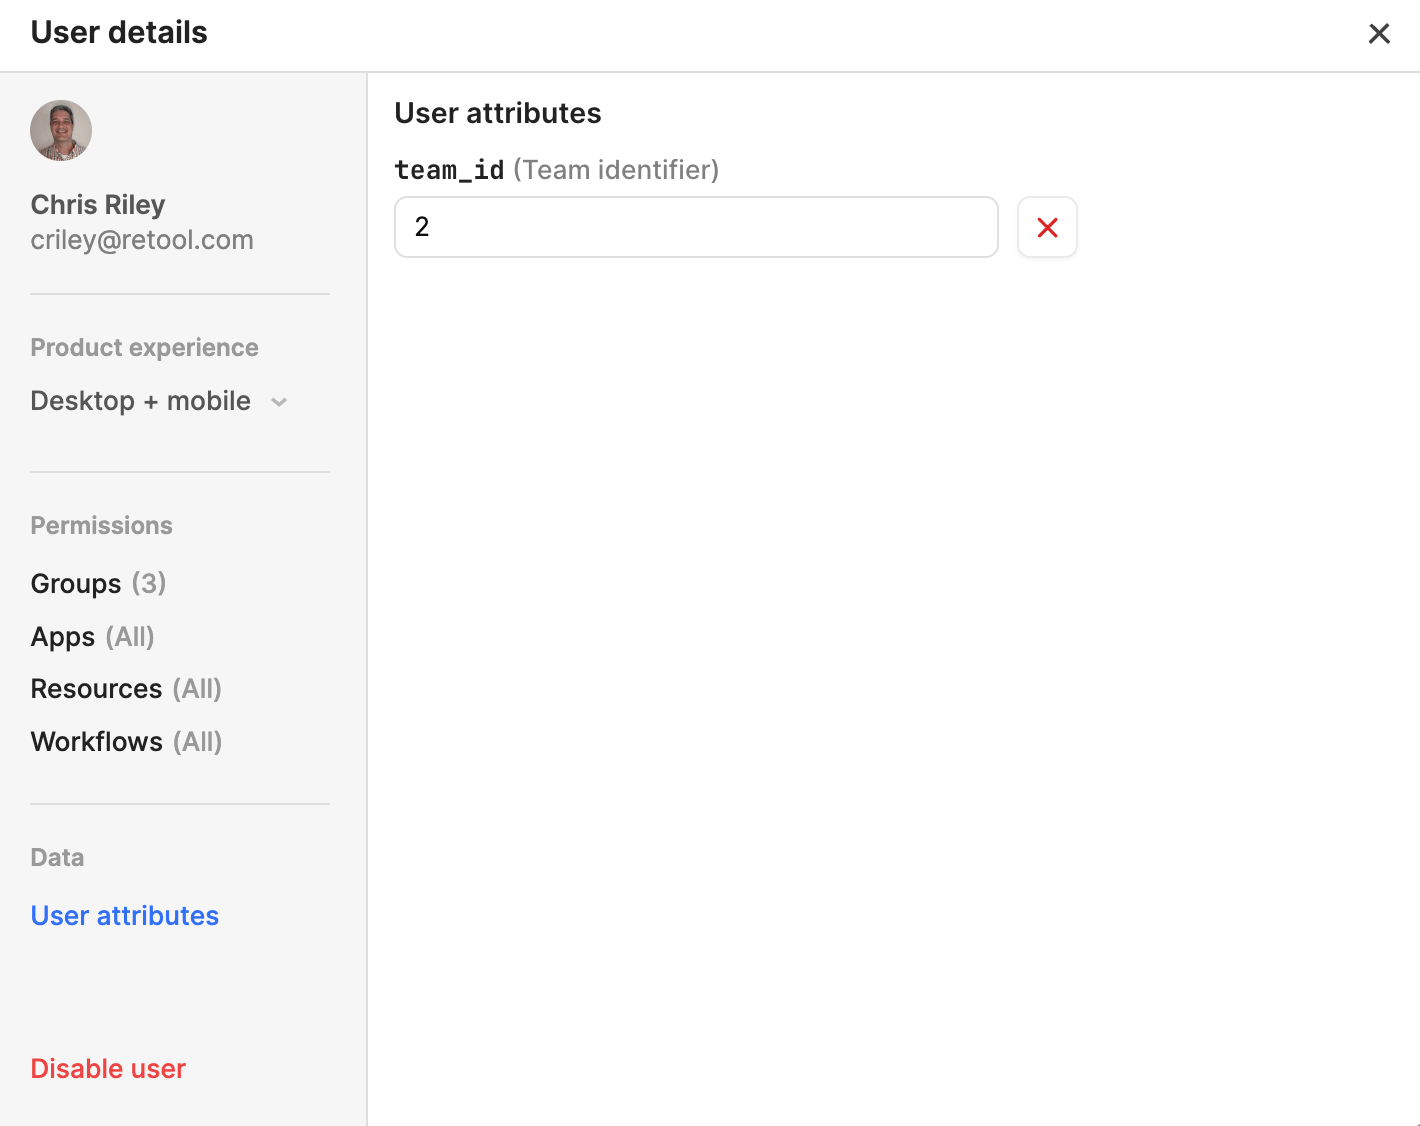
- Select Edit to edit the user details.
- Select User attributes and change the value of team_id from
0to2.

Create query using user attribute
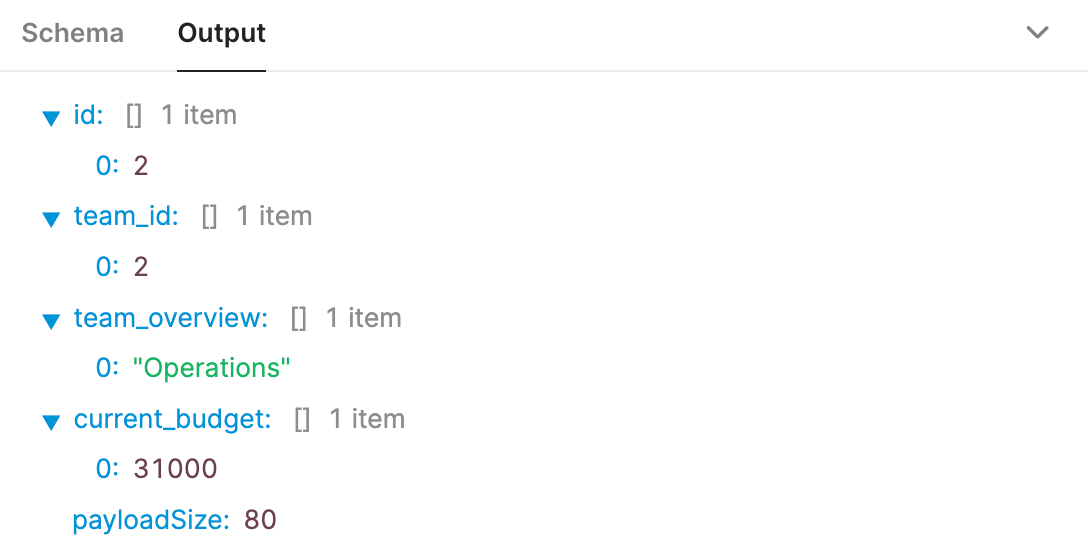
The last step is to create a query that searches the billing table and only returns values where the team_id matches the user attribute.
- Select Code > + > Resource query
- Change the resource query name to
queryWithUserAttr - Enter the following SQL:
select * from billing where team_id = {{ current_user.metadata.team_id }}
To ensure that the client cannot intercept the initial request and insert a different user attribute, prevent query variable spoofing is on by default. This ensures that the parameterized statement that arrives at the server contains the same user attribute value defined by current_user.metadata.team_id as the client that's logged in.

Completed Examples
You can import the following examples and compare with what you have built.
row-level-security app