Configuring Retool with Single Sign-on (SSO) using OIDC
This laboratory focuses on configuring Retool with Auth0 Single Sign-On (SSO) for user authentication using Auth0 as the Identity Provider and its support for OpenID Connect integration. Additional documentation is provided here.
Requirements
To configure SSO you will need:
- Retool Enterprise Cloud or Self-hosted
- Retool Enterprise Cloud or Self-hosted that has been configured with a resolvable domain and SSL/TLS certificate.
- Auth0 free-developer account
- Retool Administrator permission either via Admin permission group or Role.
Steps
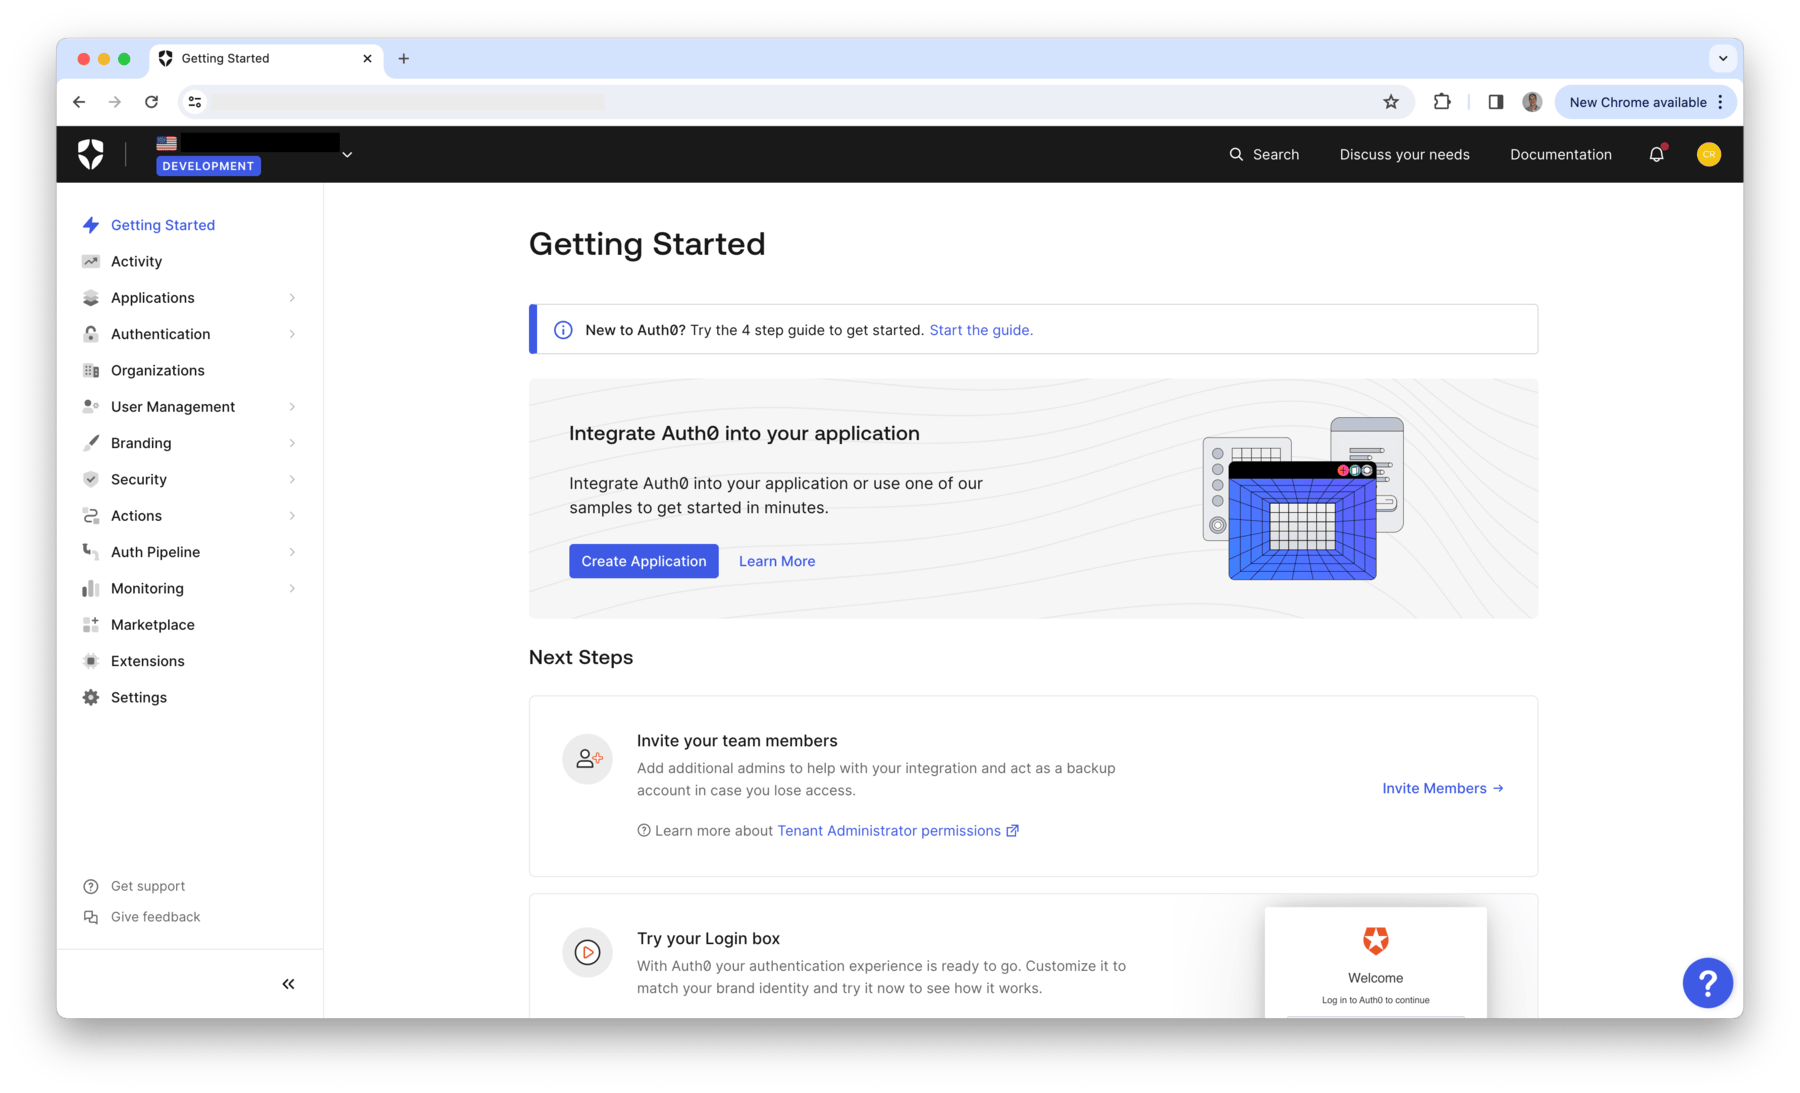
Create a free developer account within Auth0 by going to: https://auth0.com/signup. Complete the signup information. This will then provide you with a free account to then complete the following steps and should appear as in the following figure.
Create Auth0 Application
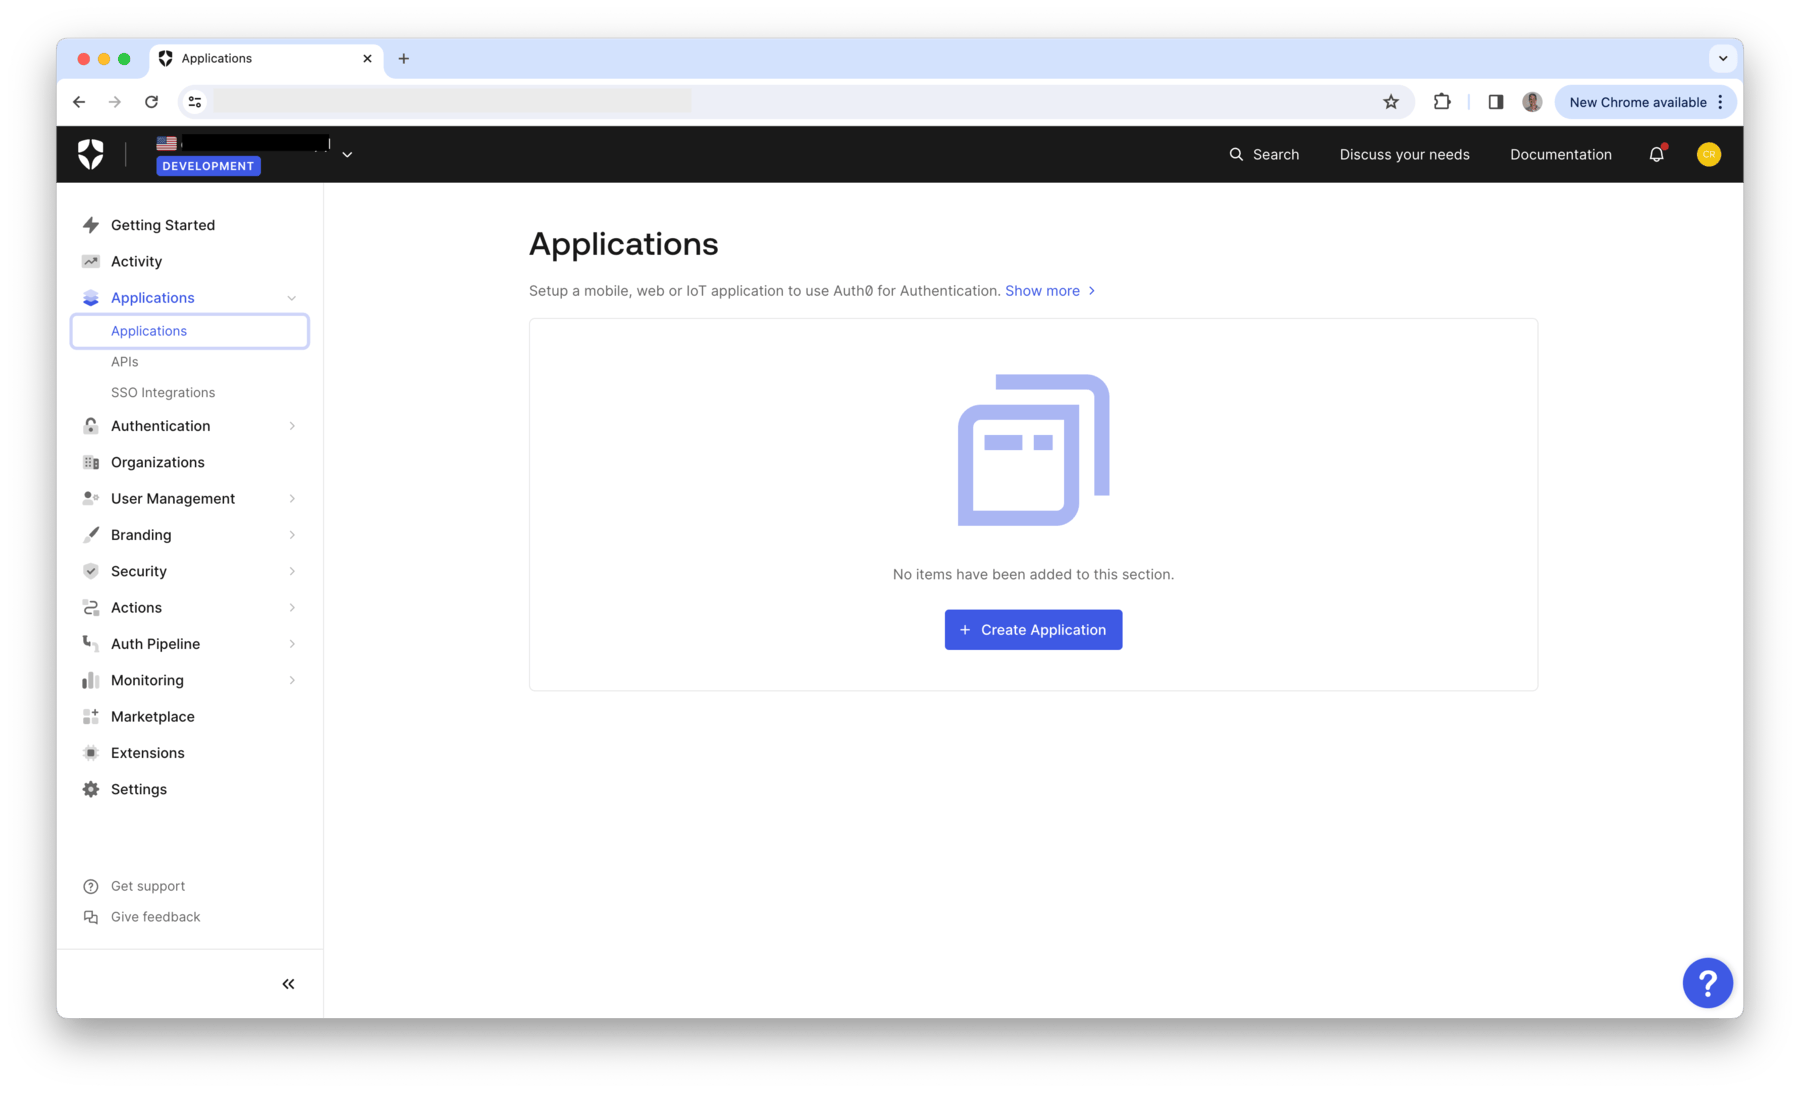
- Within your Auth0 account, select Applications > Create Application.
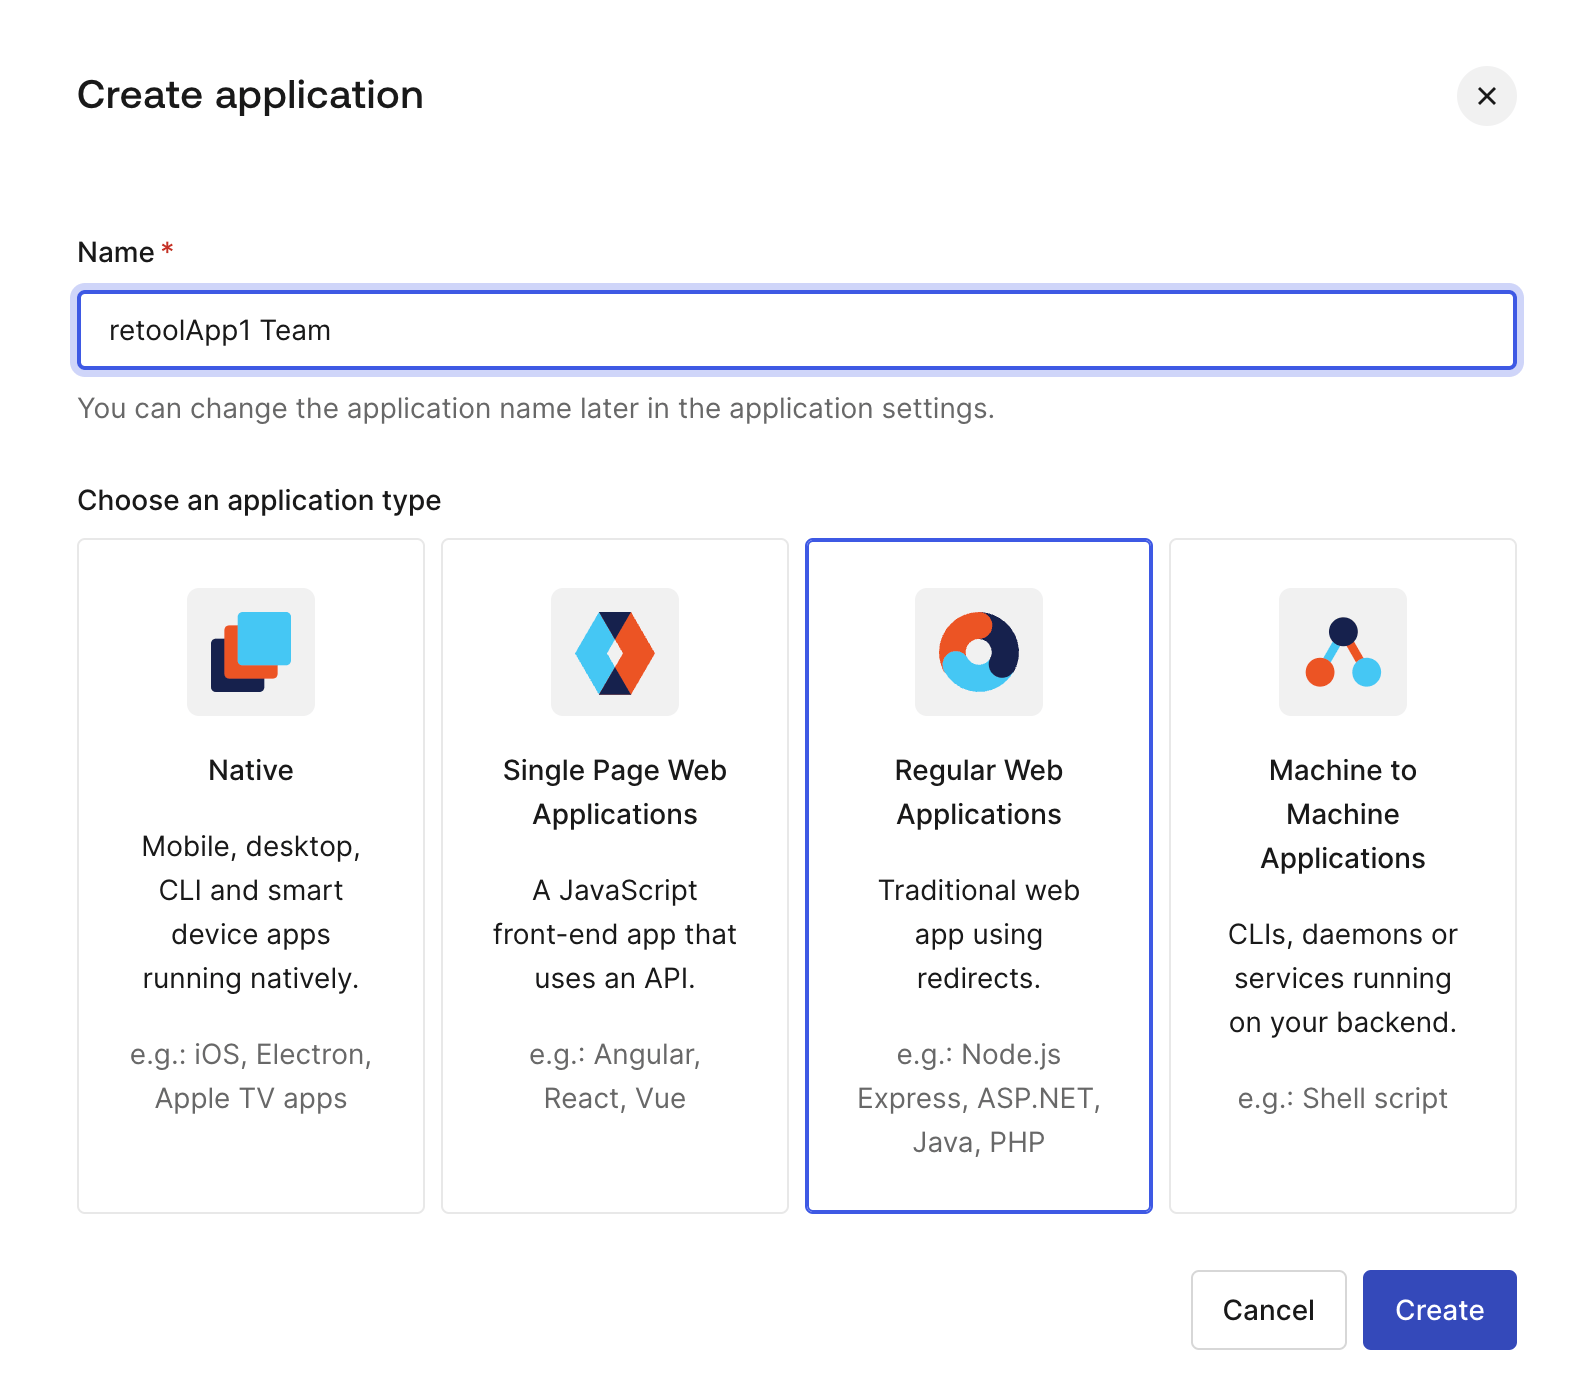
- Select Regular Web Applications and specify a name,
retoolWeb1and then select Create.
- This will create an
Applicationand associatedClient Id,Client Secret, and other resources as shown in the following figure.

- Selecting the Advanced tab displays additional information for SSO integration purposes such as
AuthorizationandTokenURLs.
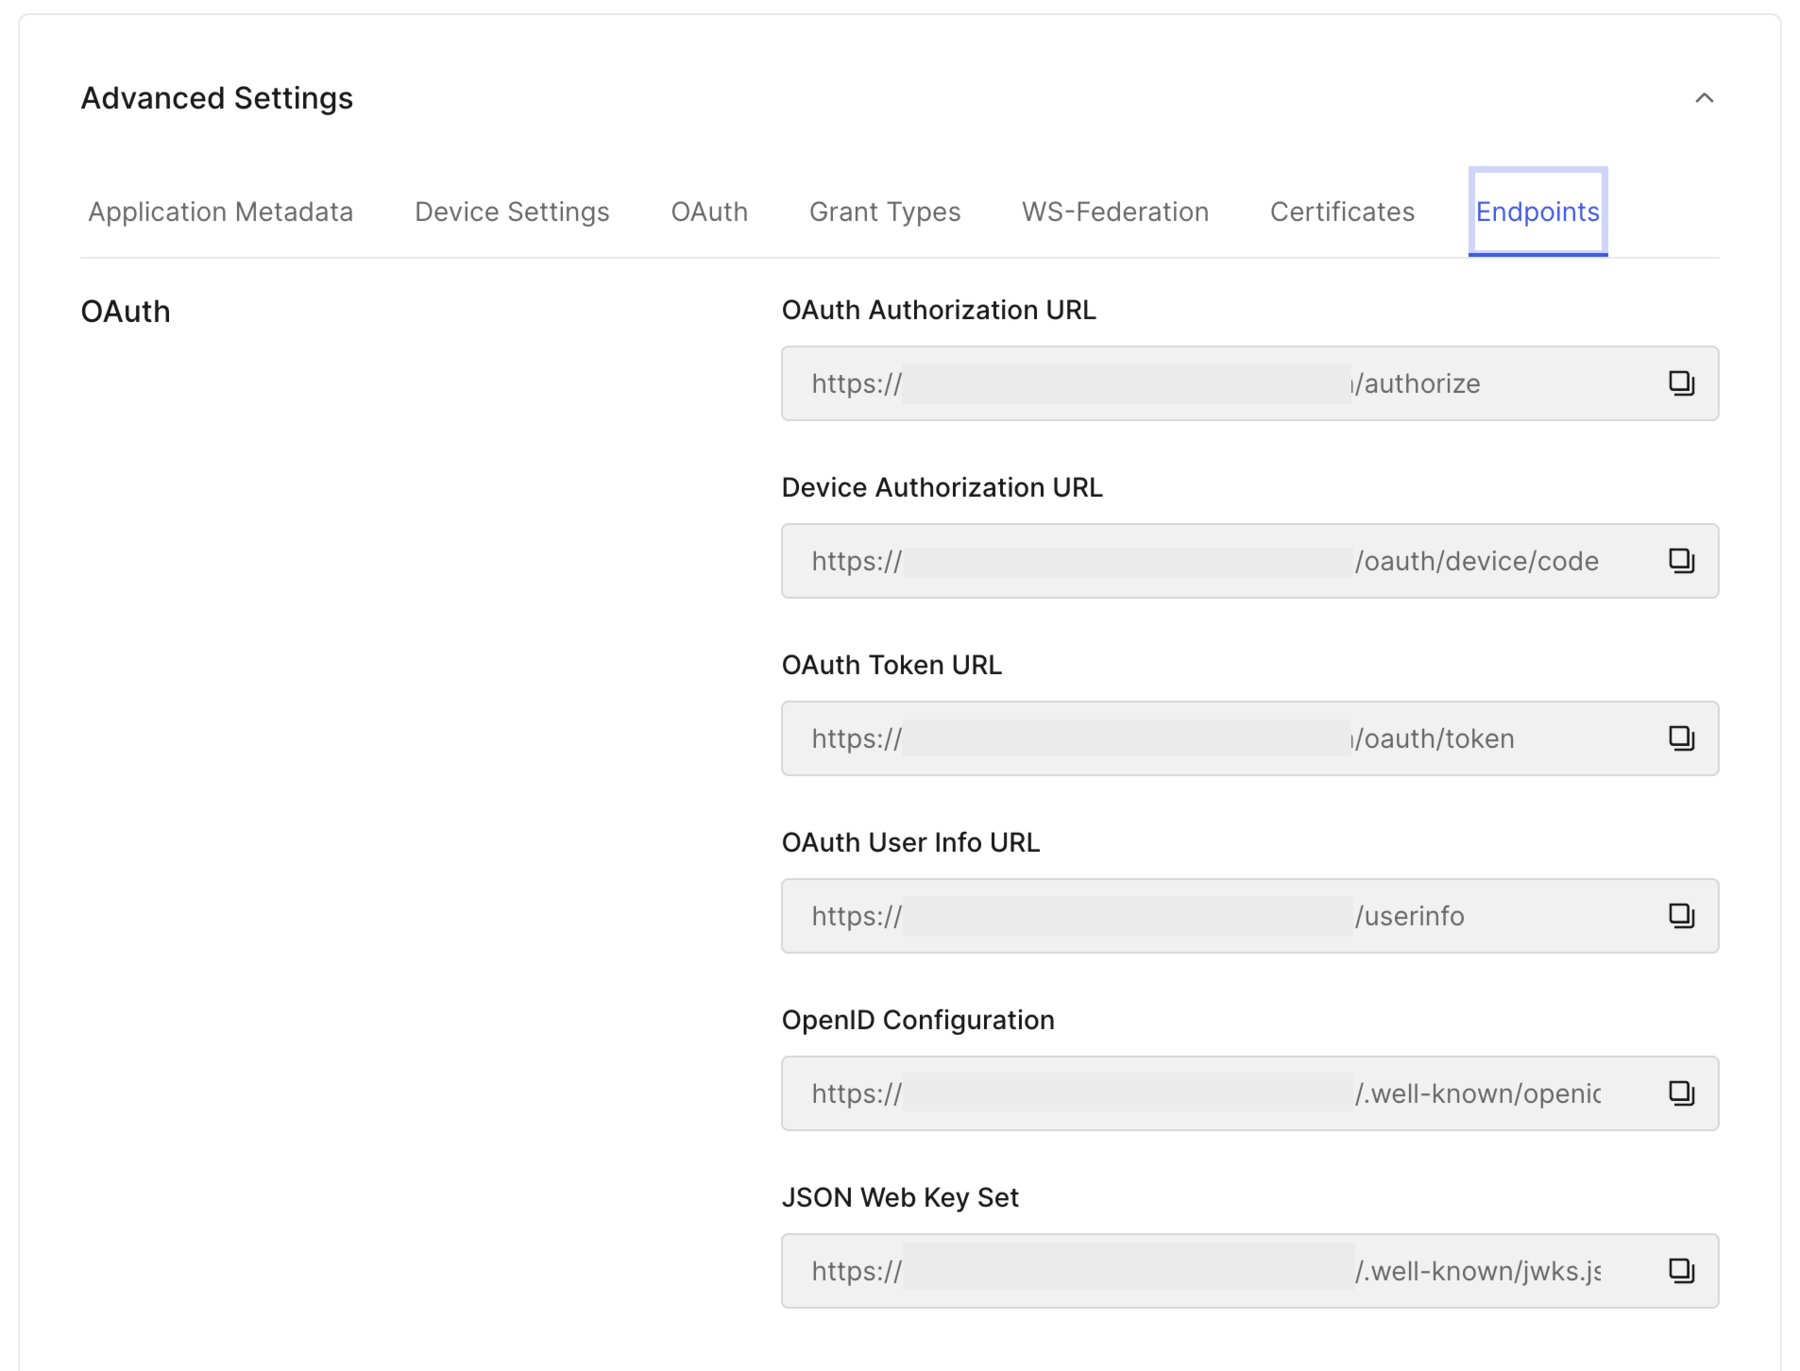
NOTE: These values will be required later to be able configure Retool SSO properly.
It is important to configure Auth0 with a callback URL on Retool. This value should correlate with the domain that a Retool Space is configured under. For example
https://<subdomain>.<your_domain>.com/oauth2sso/callback
Example: https://dev.example.com/oauth2sso/callback
- This is configured under Auth0 > Applications > Application URIs > Allowed Callback URLs as shown in the following figure:

Create Users and Roles
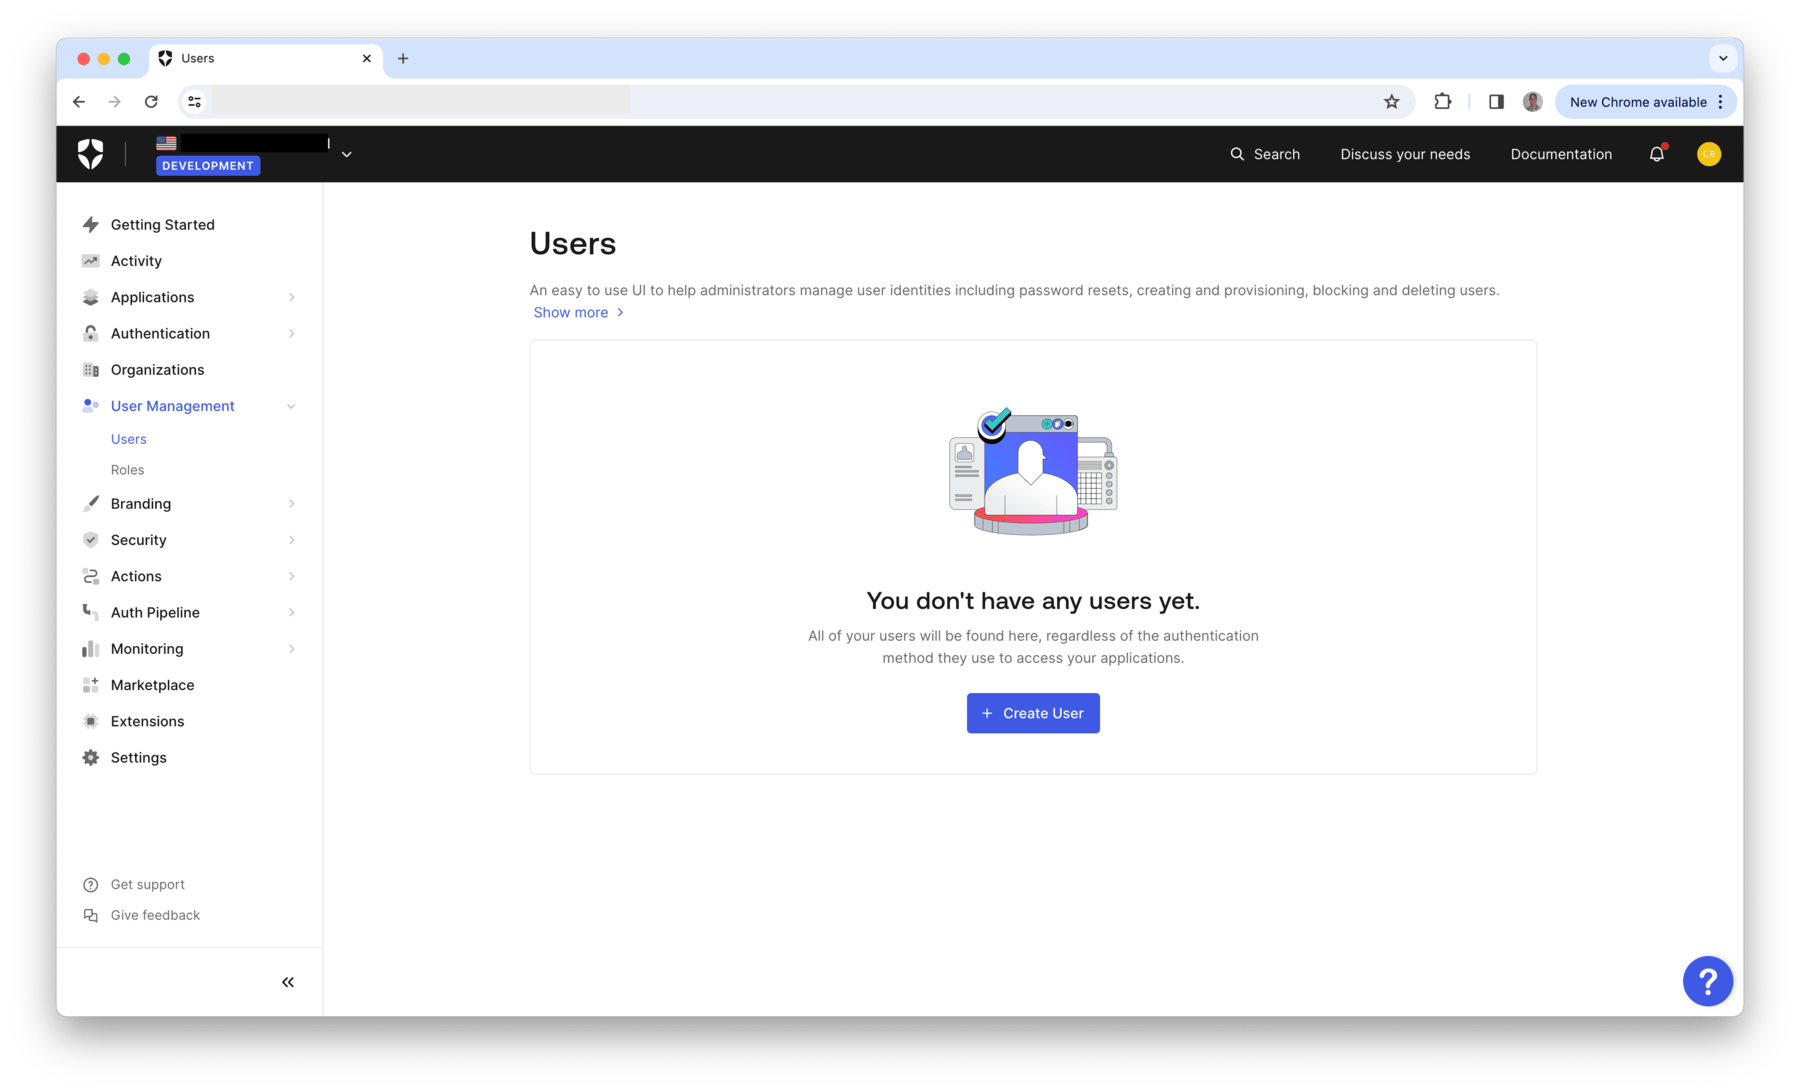
Auth0 provides a centralized identity solution for Retool users and roles that eventually will be mapped to Retool groups/permissions. This information will be shared with Retool via Open Identity Connect (OIDC) to Retool via its OIDC integration. Users definition is accessed via the User Management selection in Auth0 as shown in the following figure.
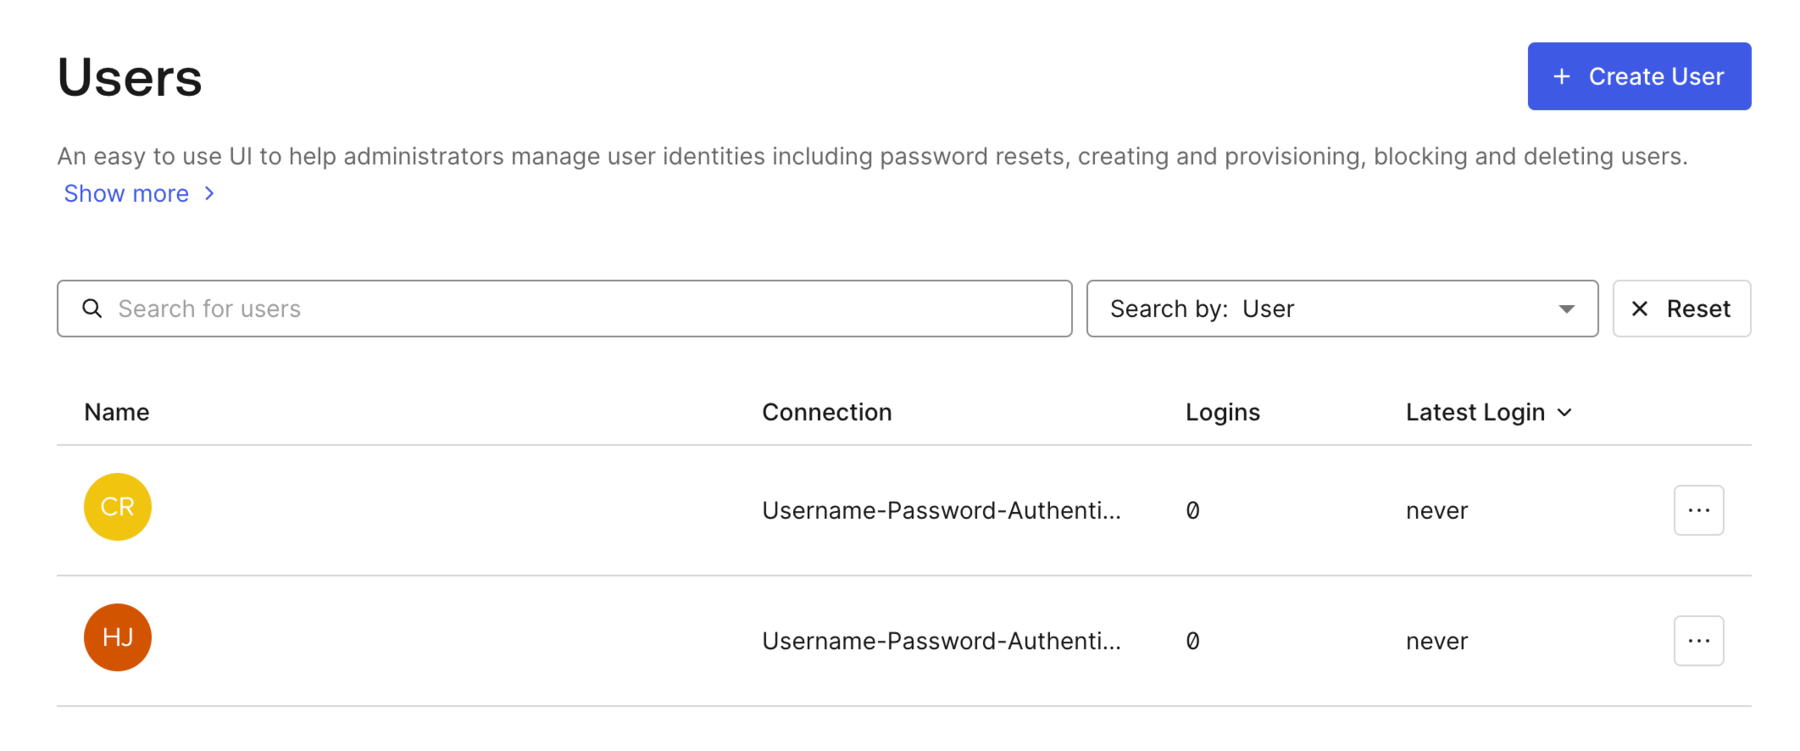
- Create two users by selecting User Management > Users > Create User. Add two users with valid email addresses. The Users will display similar to the following figure.
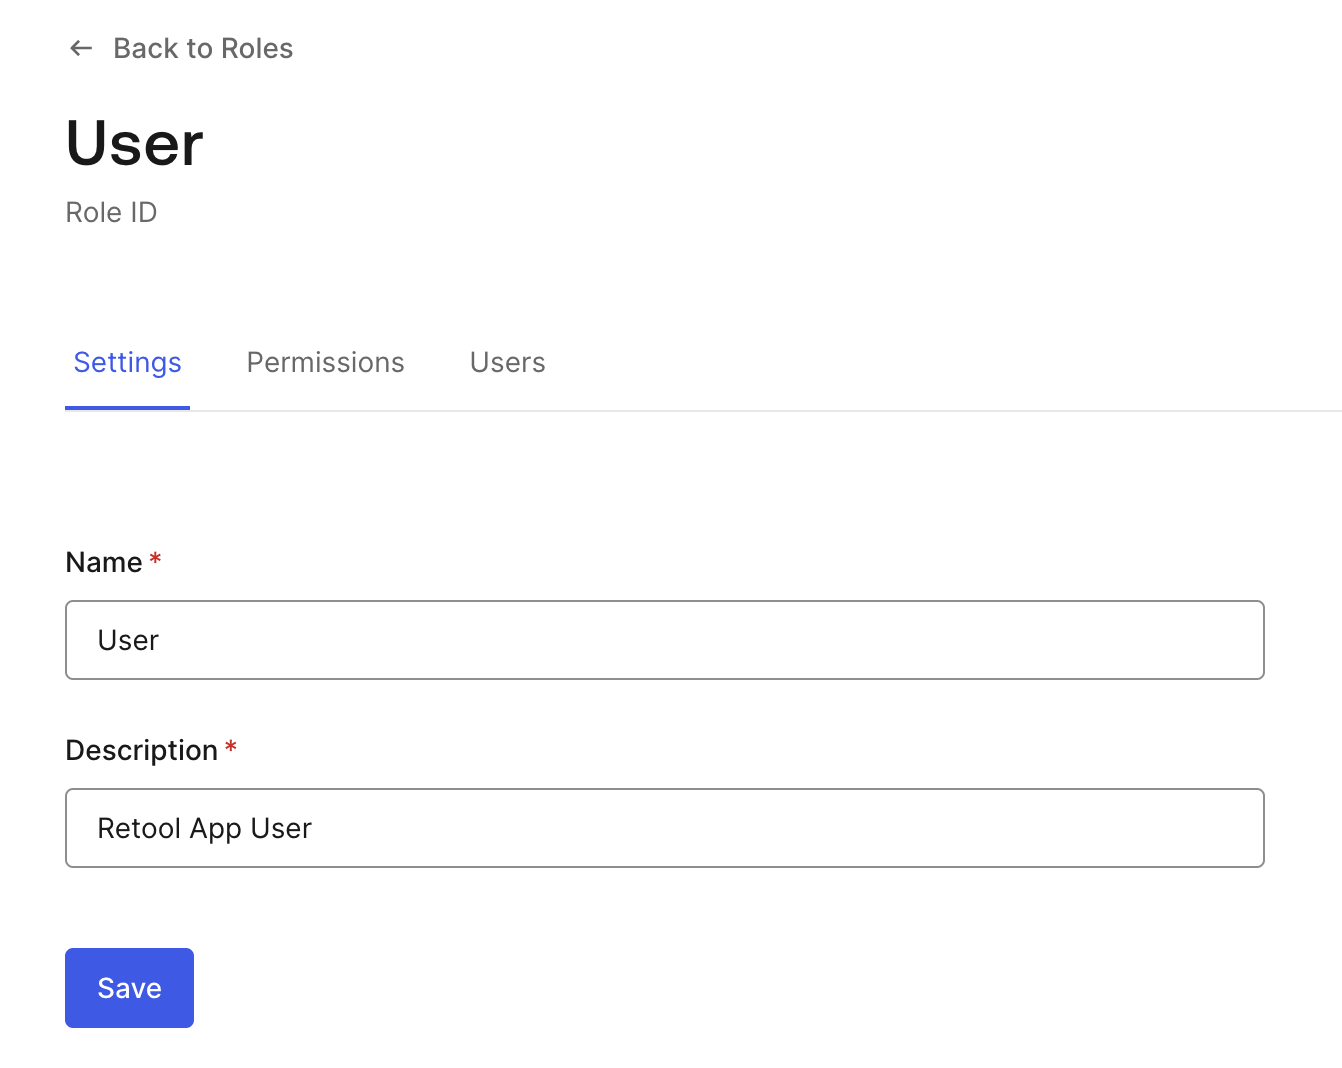
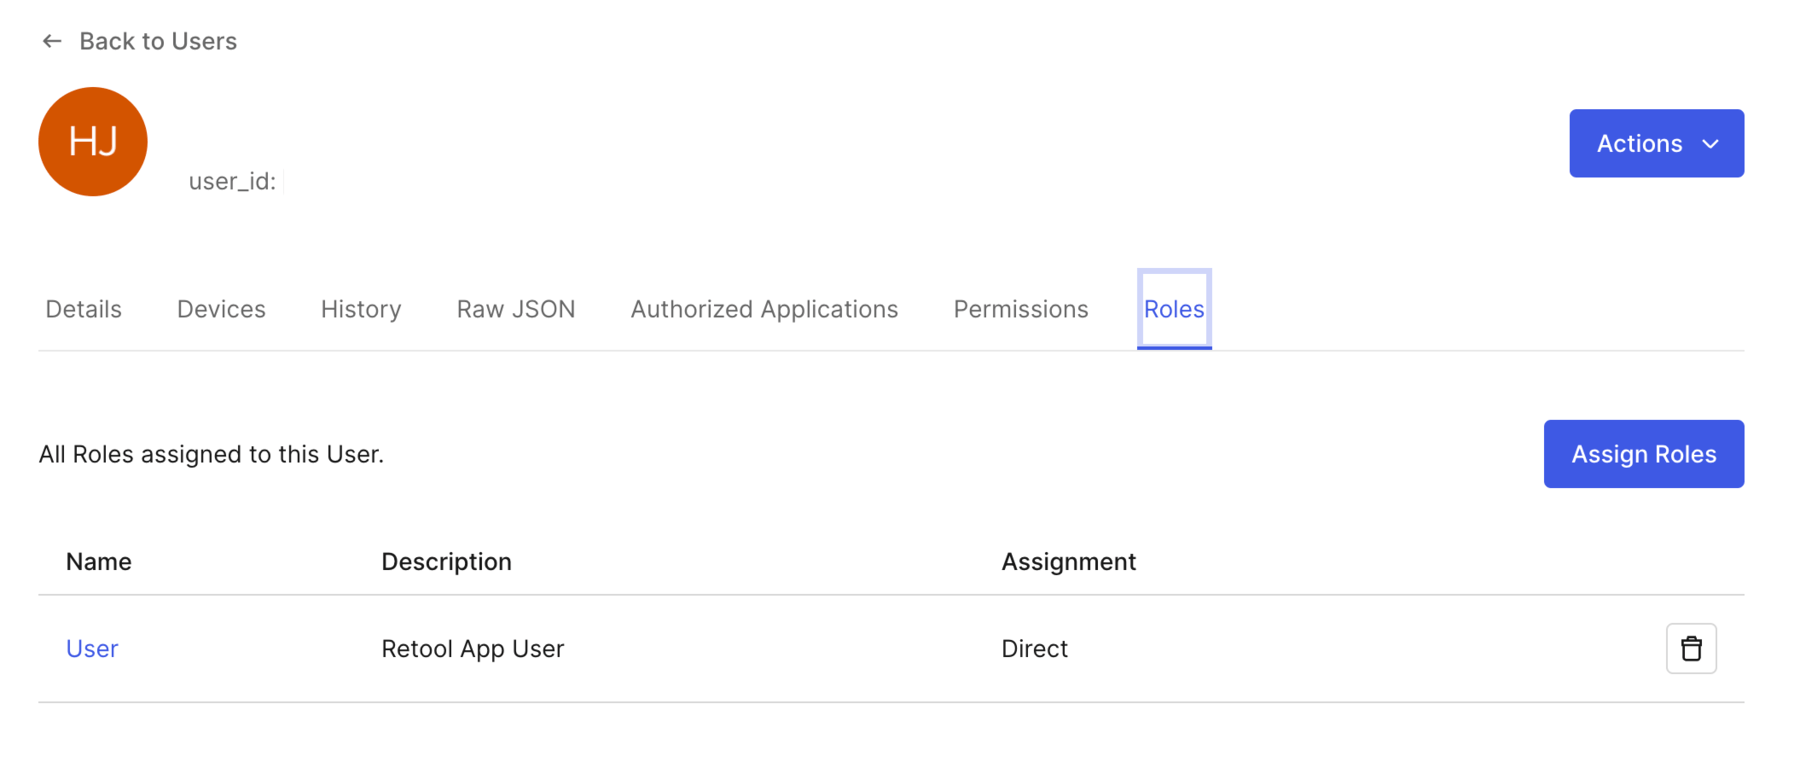
- Once two users are created, select User Management > Roles. Create a role called User and provide a description of Retool App User.
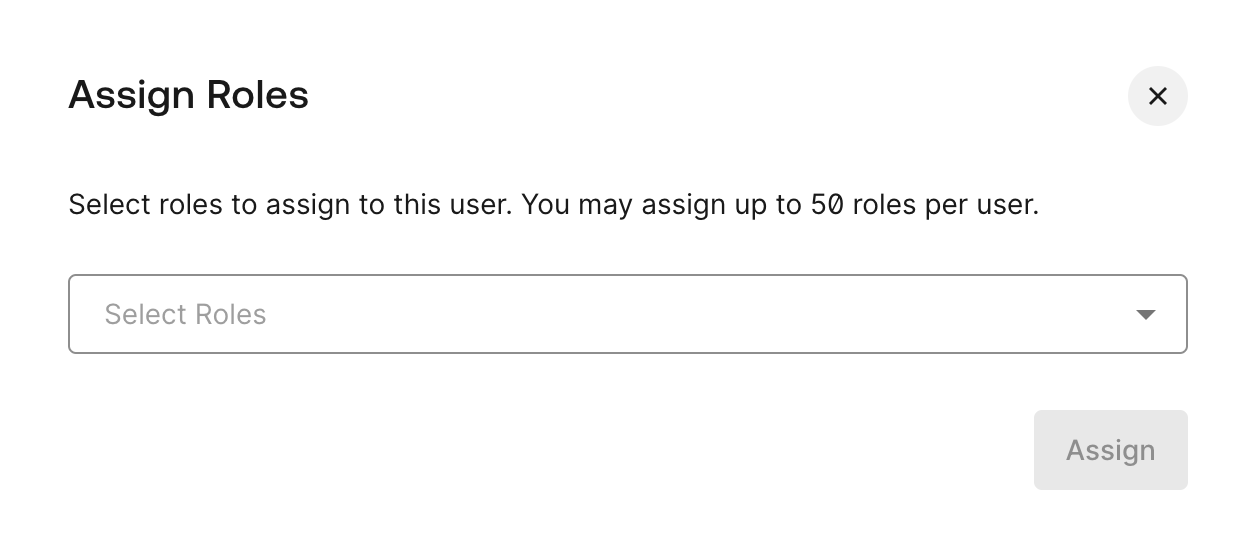
- Select one of the users to assign the User role. Select Users > … > Assign Roles. Identify the role to assign via the
Assign Rolesdialog and select Assign.
- One of the Auth0 users now has a Role assigned to User.
Configure SSO in Retool Space
NOTE: This lab requires that you have completed the Lab: Configure Spaces.
Retool by default is not configured to use Single Sign On, rather it provides user management directly in Retool via users, groups, and associated permissions. This information is stored in the Retool Database. For this example we want to configure a Retool space, dev, to have an Auth0 integration.
-
Log in to Retool as an administrator or space administrator.
-
Confirm the space is set to a space (e.g. dev) by examining the current space in the upper right hand corner.
-
Select Settings > Single Sign-On (SSO)
-
Select Custom SSO (SAML/OpenID) > OpenID SSO.
-
Configure the OpenID SSO details as described in the Retool Documentation for Auth0, specifically getting the following settings and then select Save:
- Client ID =
value from Auth0 > Application > your application > Client ID - Client Secret =
value from Auth0 > Application > your application > Client Secret - Scopes =
openid email offline_access profile - Authorization URL =
value from Auth0 > Application > your application > Advanced Settings > Endpoints - Token URL =
value from Auth0 > Application > your application > Advanced Settings > Endpoints - SSO Audience =
value from Auth0 > APIs > API Audience - Keys / Email Keys =
idToken.email - Keys / First Name Key =
idToken.given_name - Keys / Last Name Key =
idToken.family_name - Roles Key =
idToken.groups - Roles Mapping =
admin -> admin, user -> viewer
- Client ID =
-
Once the configuration is complete and saved, log out as an administrator in Retool.
-
Access the Retool login screen and it should display as seen in the following figure.
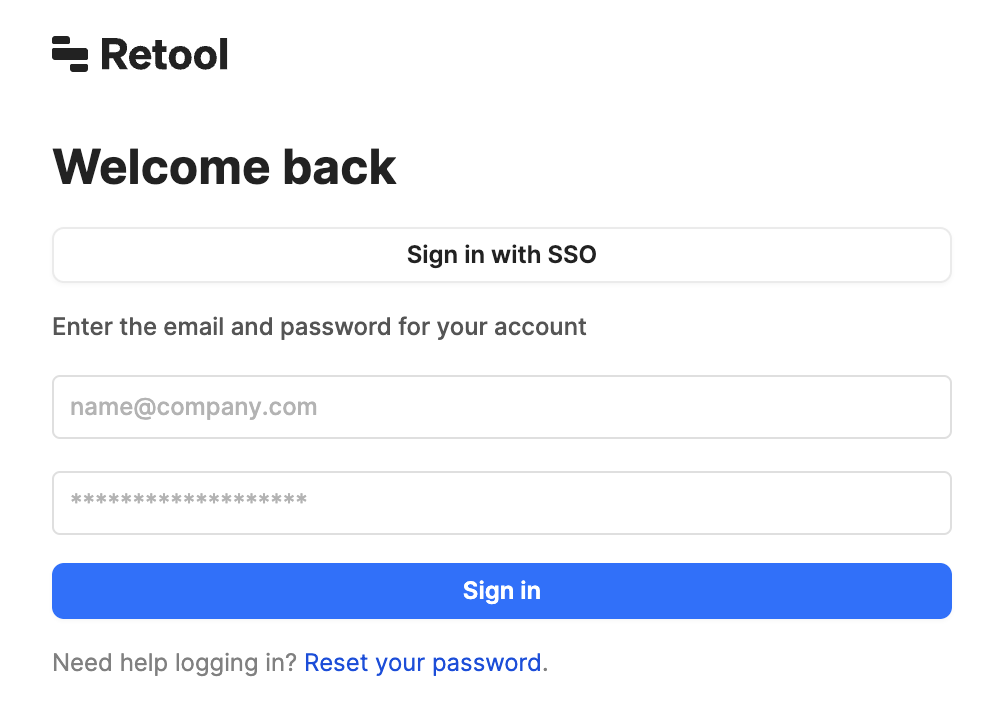
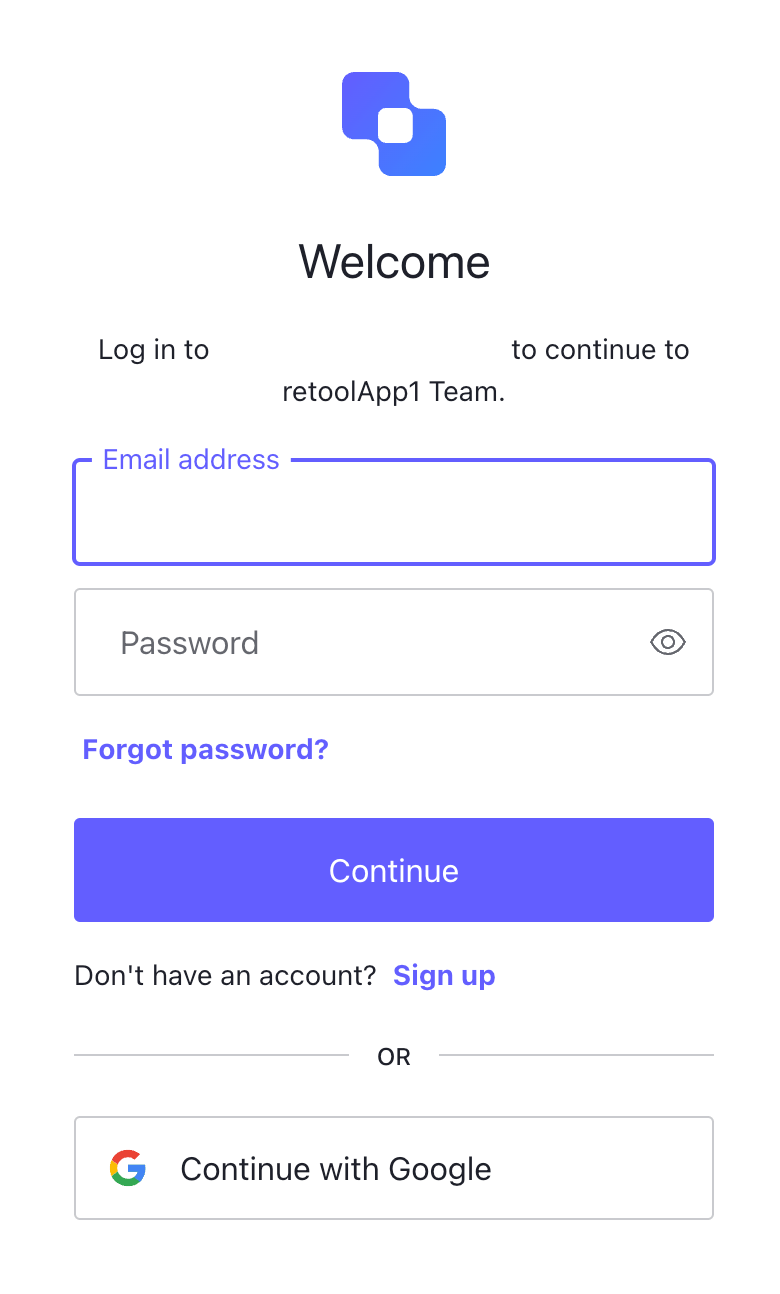
- Select Sign in with SSO. Auth0 will request the user authenticate:
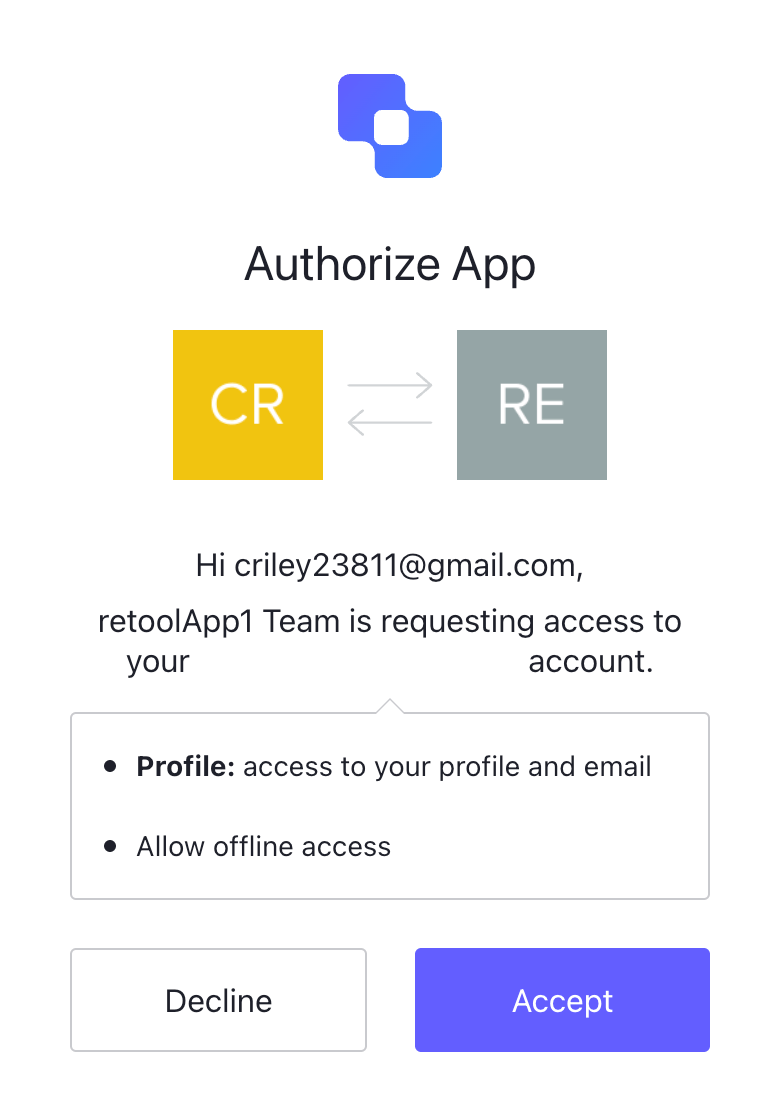
- Once authenticated, the following dialog will appear requesting a sync between Auth0 and Retool. Select Accept, to complete the login process.
The user will then be directed to the Retool Home Screen after successful login.