Protected Retool App (Beta)
This lab focuses on enabling protection for Retool Apps (Beta) and on how an externally configured GitHub account supports team collaboration. If you are interested in learning more about protecting Classic Apps, check out the following resource in Retool CoE.
Lab Requirements
This lab assumes that you have configured GitHub and integrated it with the Retool Platform. If you have not completed this, please refer to the following resources to configure GitHub.
Protected App Overview
Enabling protection on an app means that you are tracking changes to the app via an external Git provider. The protection process starts with doing an initial commit to the connected Git provider. Once this is complete, feature branches are employed to track updates to an app. Each feature branch is shared on GitHub during the creation of a PR. Once merged with main, this commit is synced back with Retool and is displayed within the Version History panel.
Protect a Retool App (Beta)
Once we have Retool configured for GitHub, a developer can decide to track a Retool App (Beta) via GitHub. This is referred to as protection.
- Find an existing Retool App (Beta) in the App page and select … > Protect app.
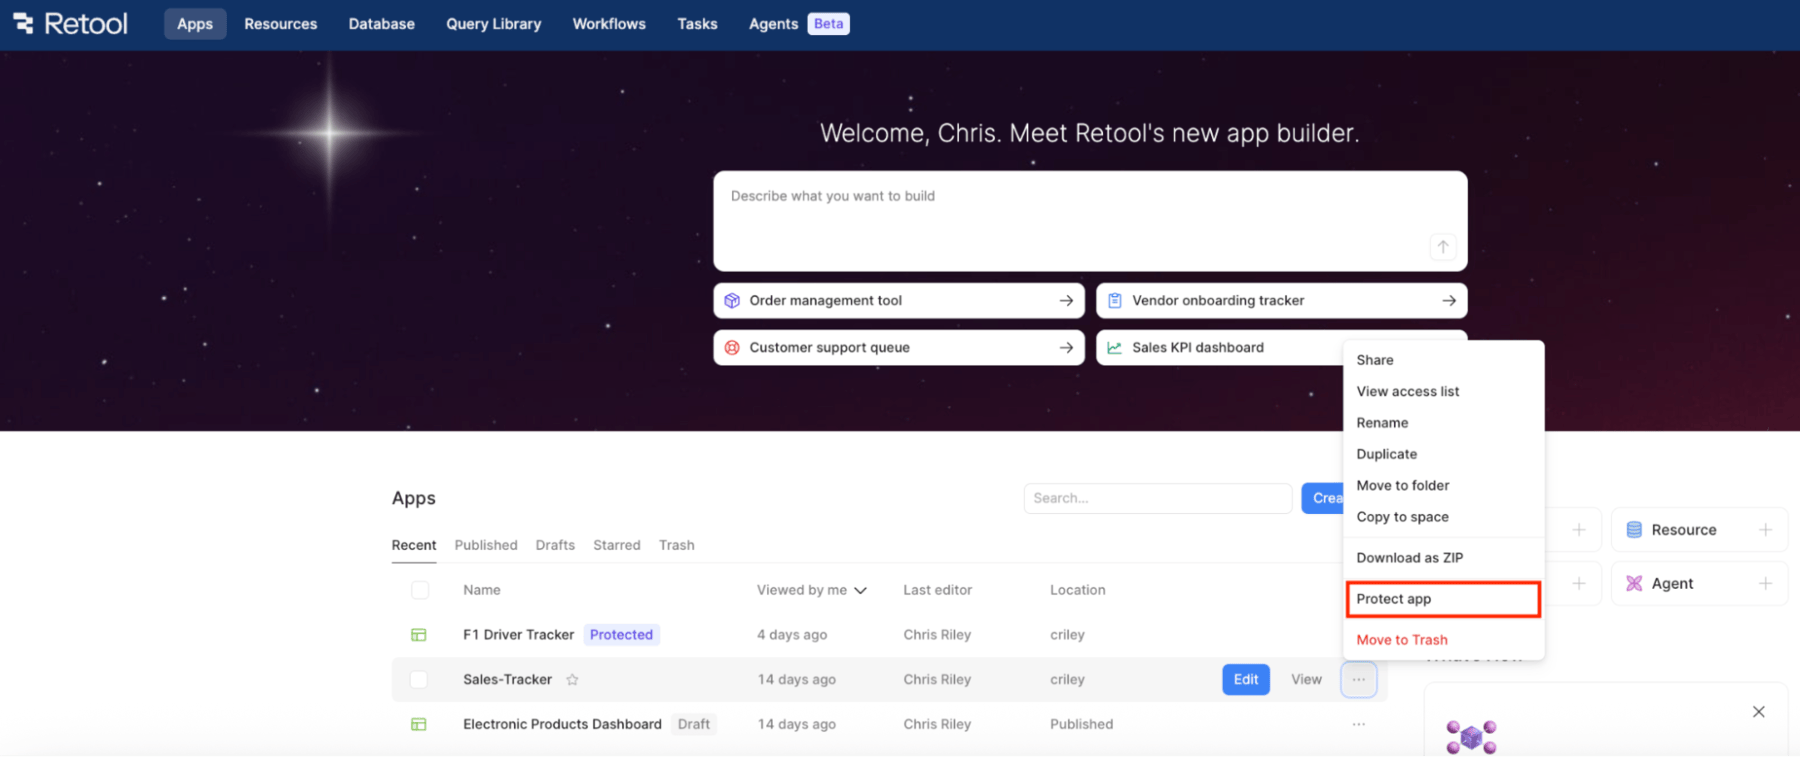
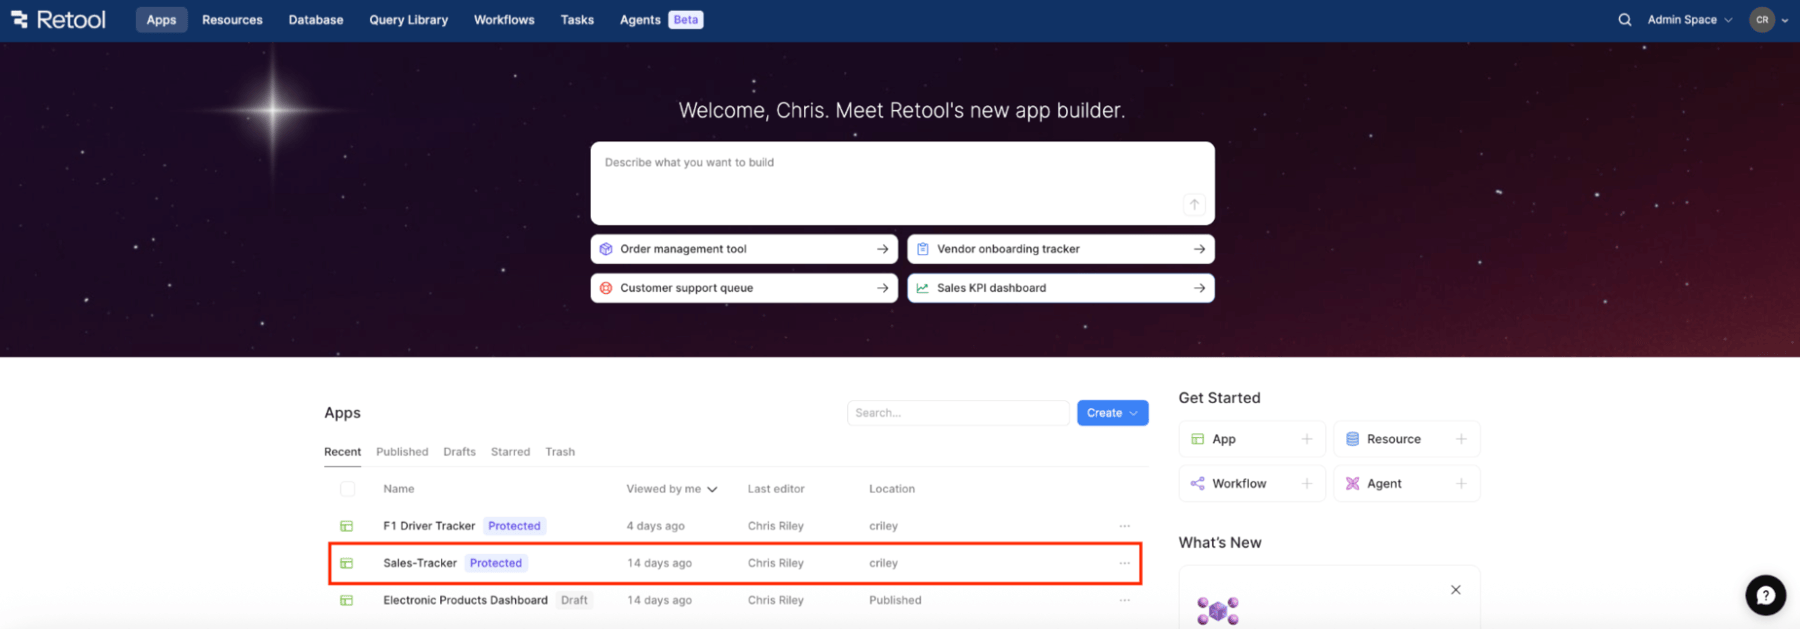
In the image above, you can see the F1 Driver Tracker is displayed as Protected, meaning that it is tracked by a Git provider, in this case, GitHub. Sales-Tracker is not yet protected and will be the target in the following steps.
Initialize GitHub Repository
The following dialog displays what Protect app provides, as well as an information notice that a dependent resource must exist for all instances referring to this app/repo.
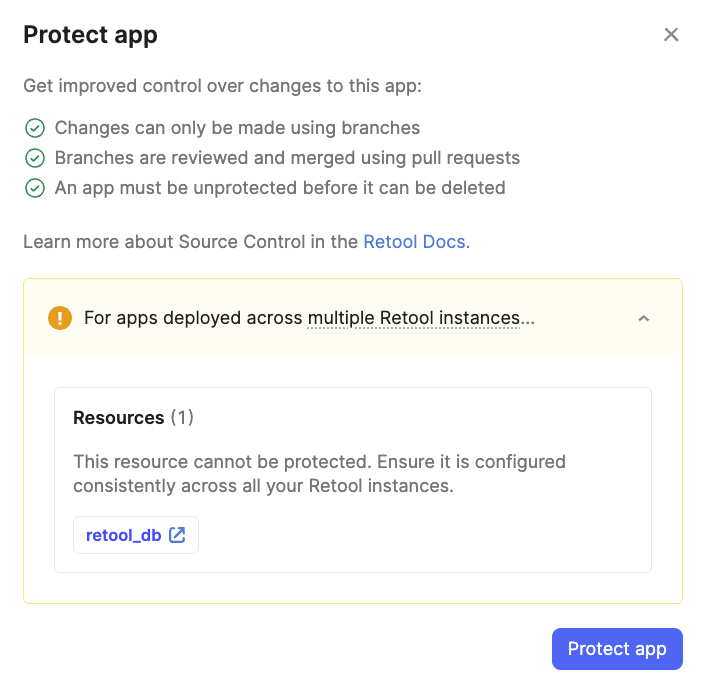
- This will create a branch with the app and then display a dialog to Open pull request.
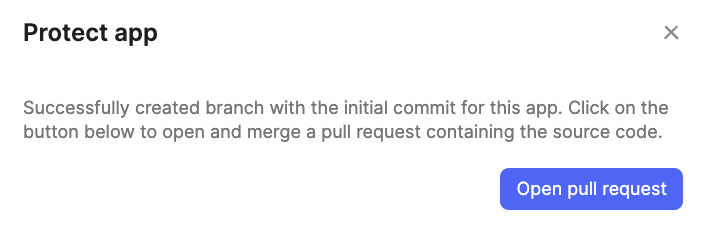
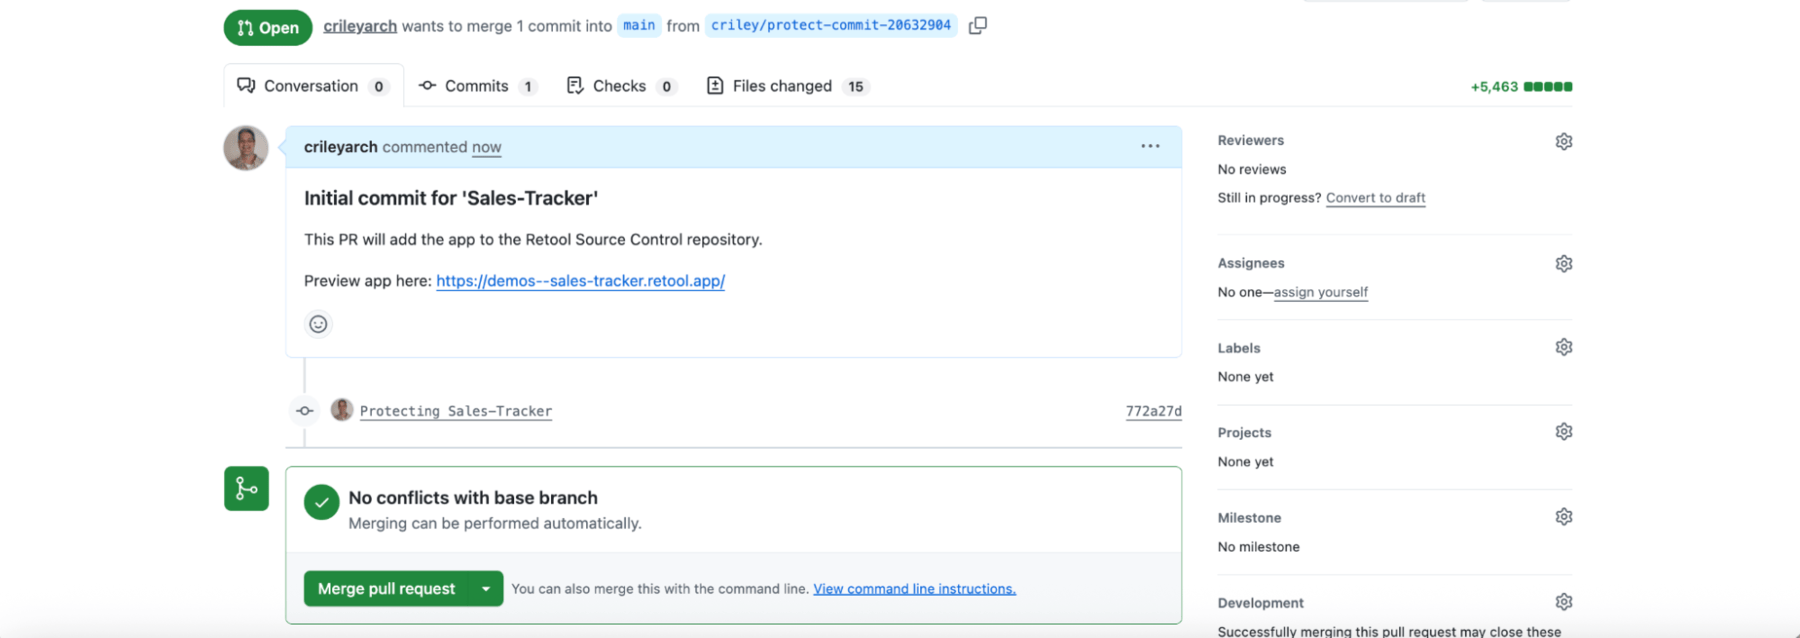
- Select Open pull request. This will open the configured Git provider (e.g., GitHub or GitLab) with an initial commit, as shown below.
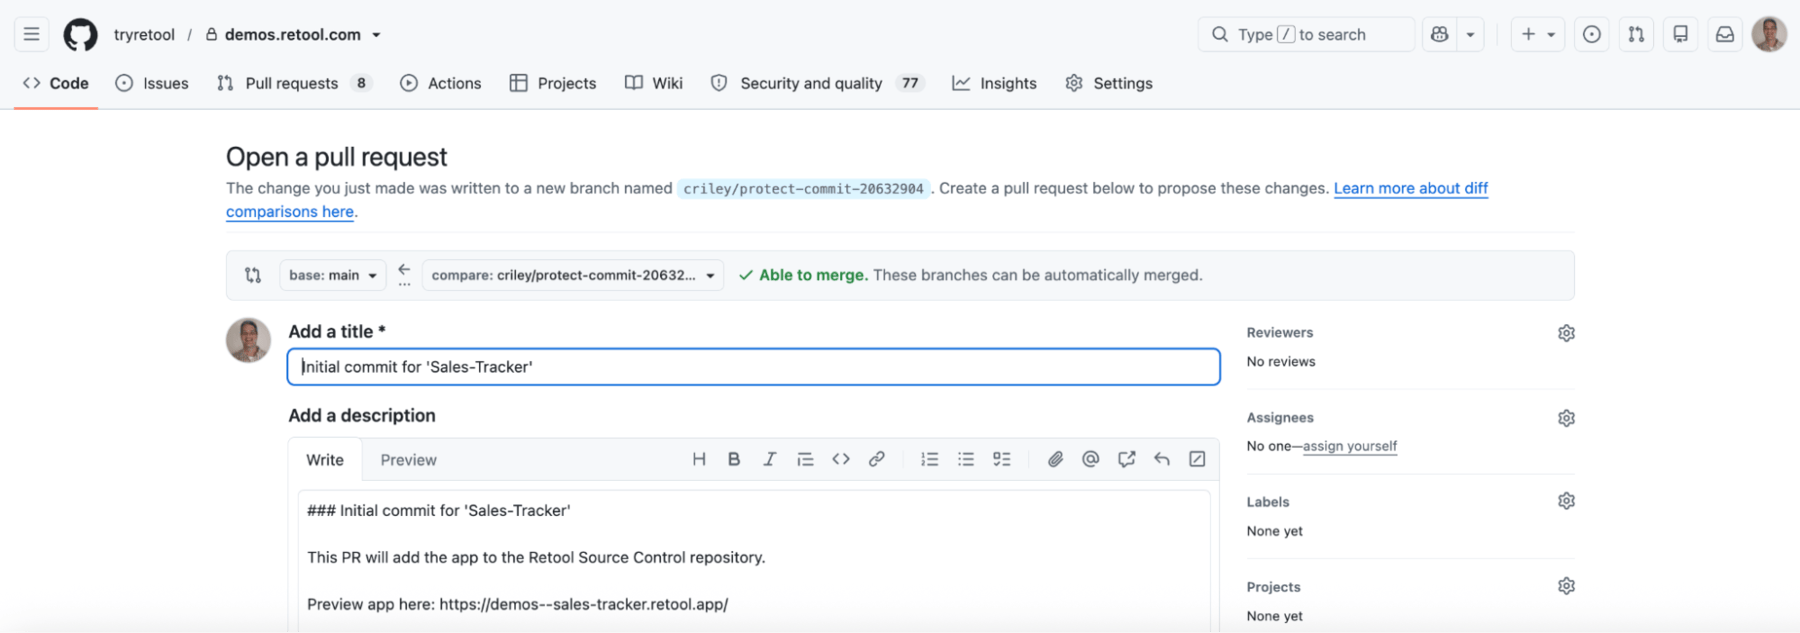
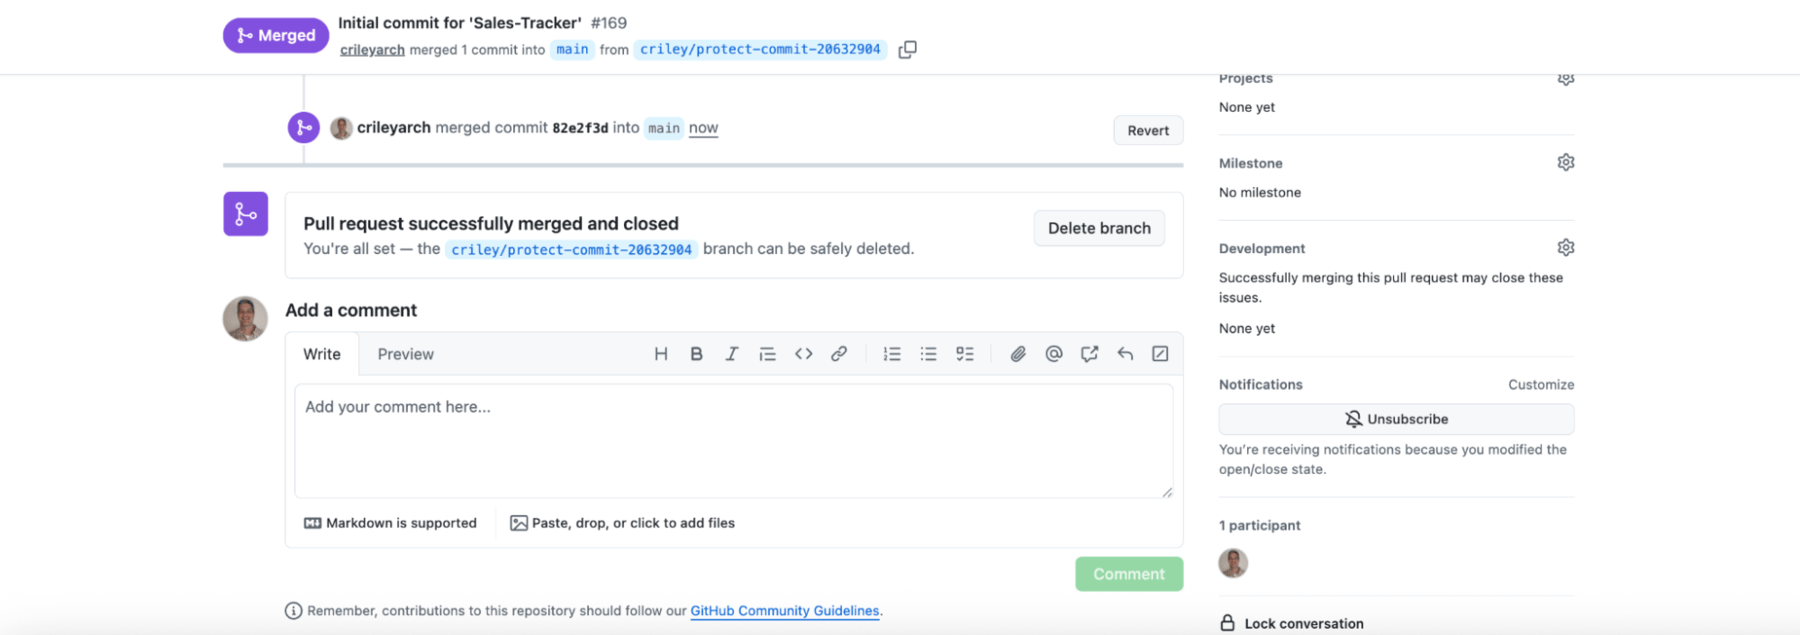
- Select Create pull request and then Merge pull request > Confirm merge.
- GitHub will display that the PR has been successfully merged and closed.
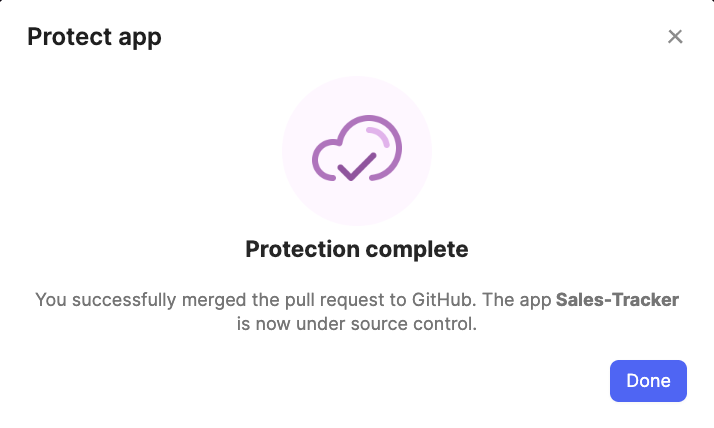
- In Retool, the dialog will display Protection complete.
- Select Done. The application will now display the Protected tag.
Create a New Feature in a Retool App (Beta)
Once the app has been protected, you can now move to editing the app for a new feature. The following steps demonstrate the UX experience of a protected app.
The Chat panel displays a green dialog where we can start a new chat to develop the next feature.
- Select Start new changes.
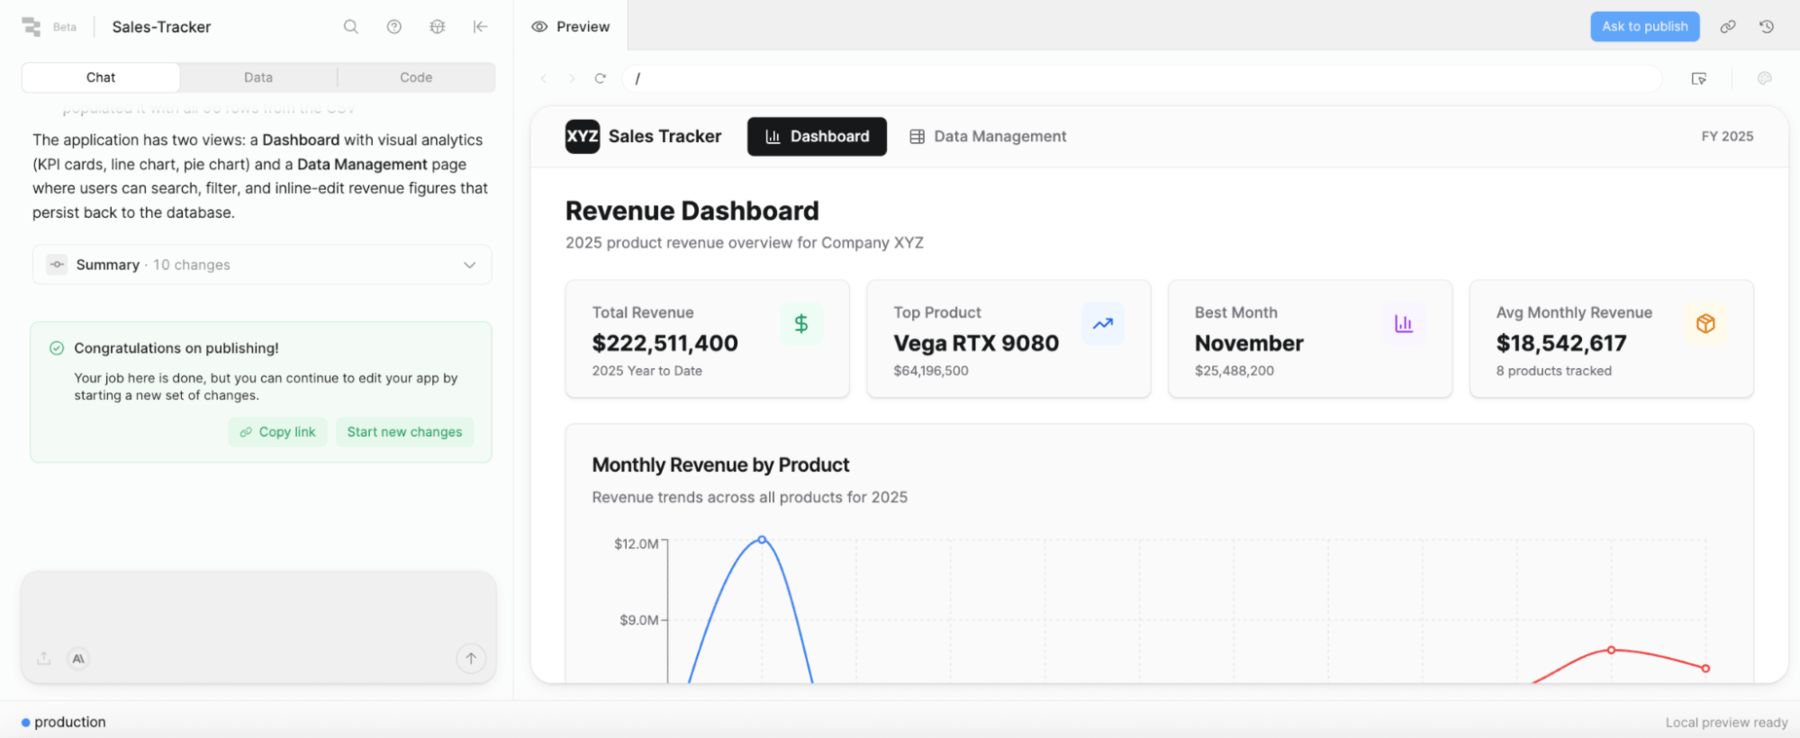
- This will create a fresh chat session and update the preview pane. The following image shows a new prompt to update the Data Management tab.
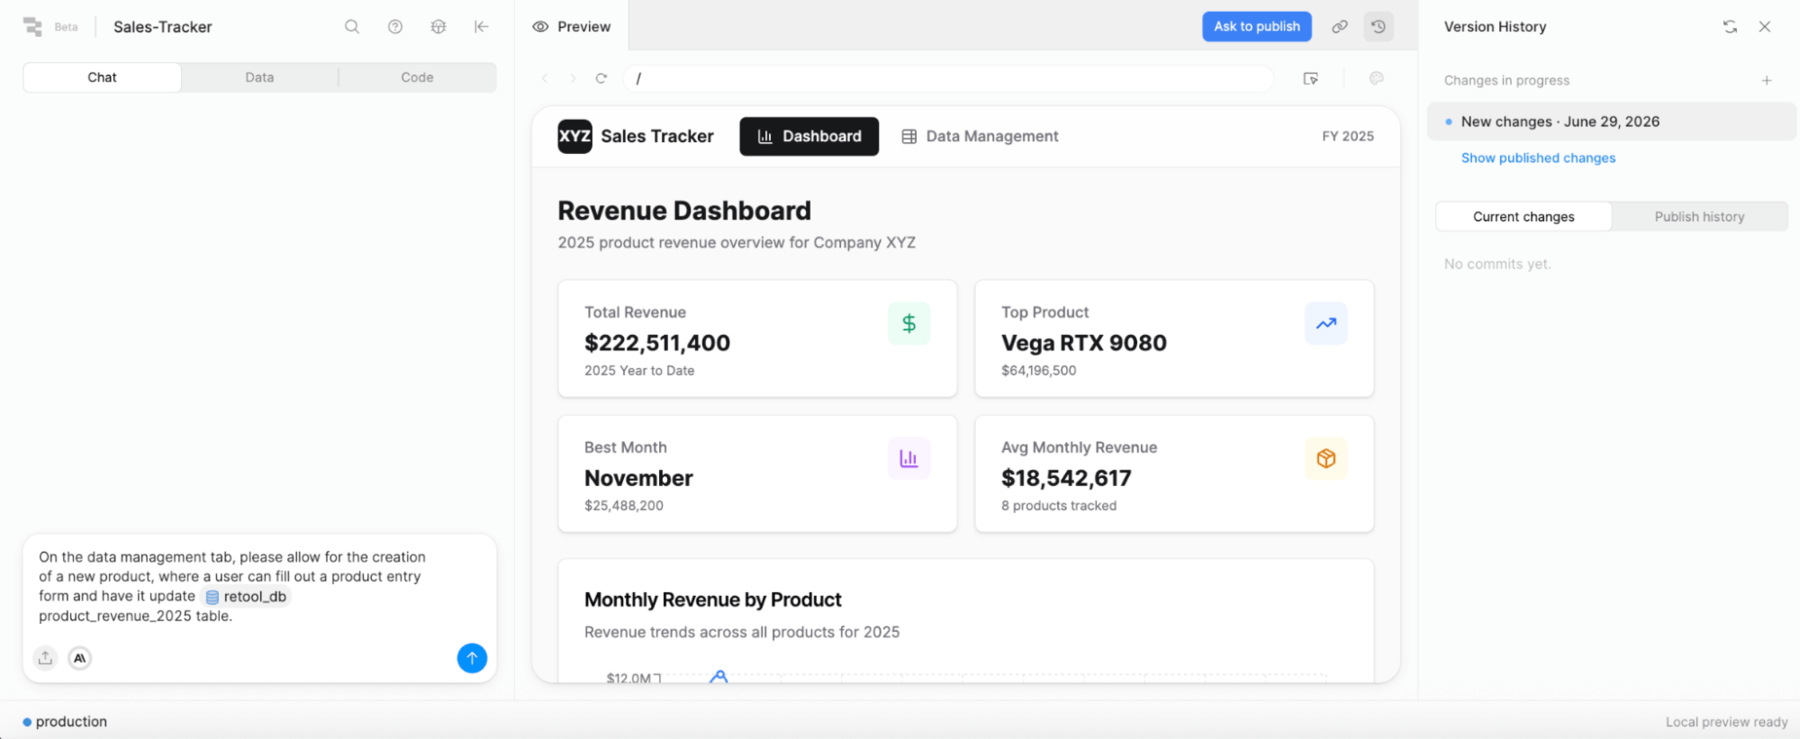
- Once the prompt is completed, the preview pane shows the change to the app.
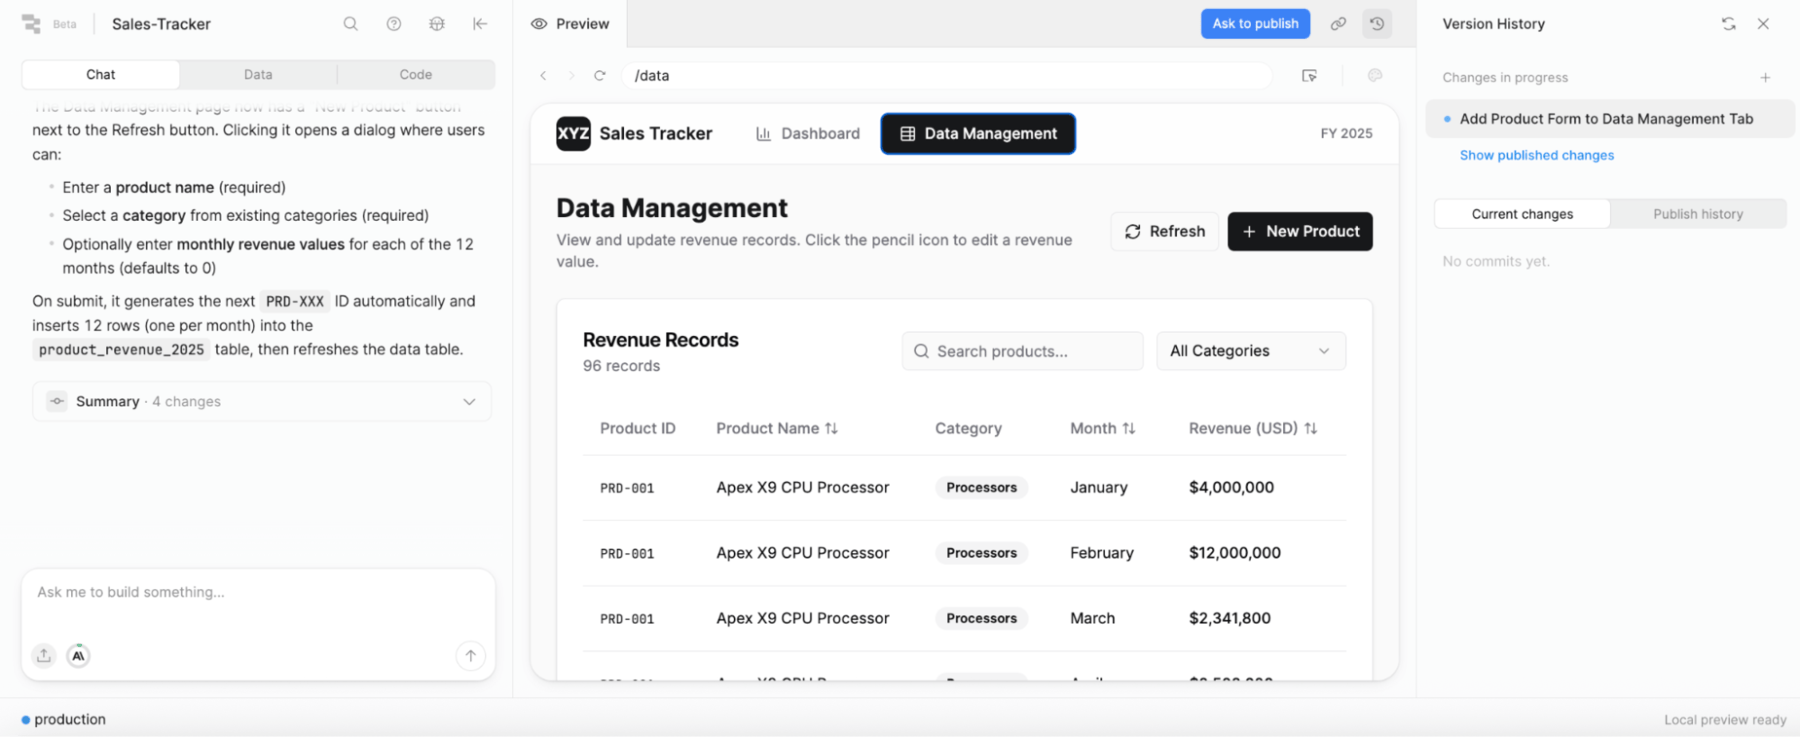
- In the right pane, Version History > Changes in progress displays the current chat thread underway. This thread will add a new function to create entries in Retool Database.
- Select Ask to publish to push this update, a local feature branch, to GitHub.
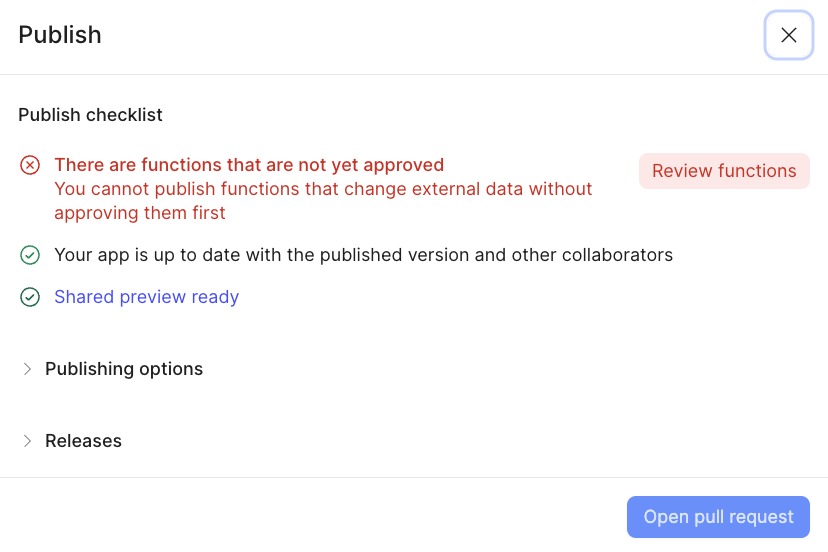
- We can see in the Publish checklist dialog that there are functions that need to be approved by the builder. This checklist prevents commits that are unsafe or have conflicts with other changes in the repository.
- Select the Data tab to see what functions require approval. The following image shows createProduct as needing review.
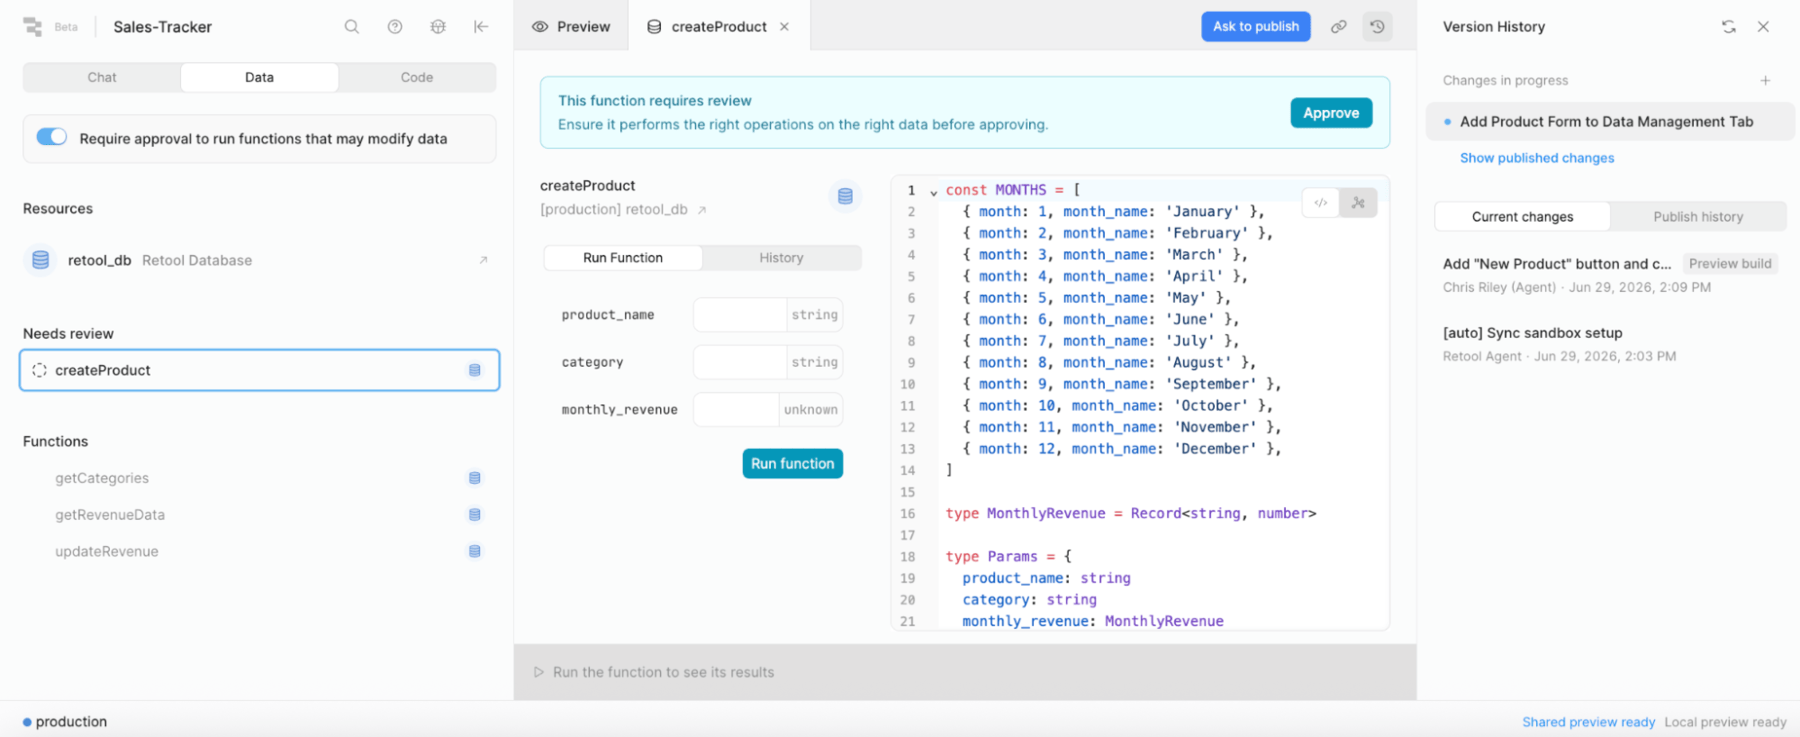
- Select Approve once you are satisfied that the function is safe and operates properly. You can leverage the form and Run function button to test the creation.
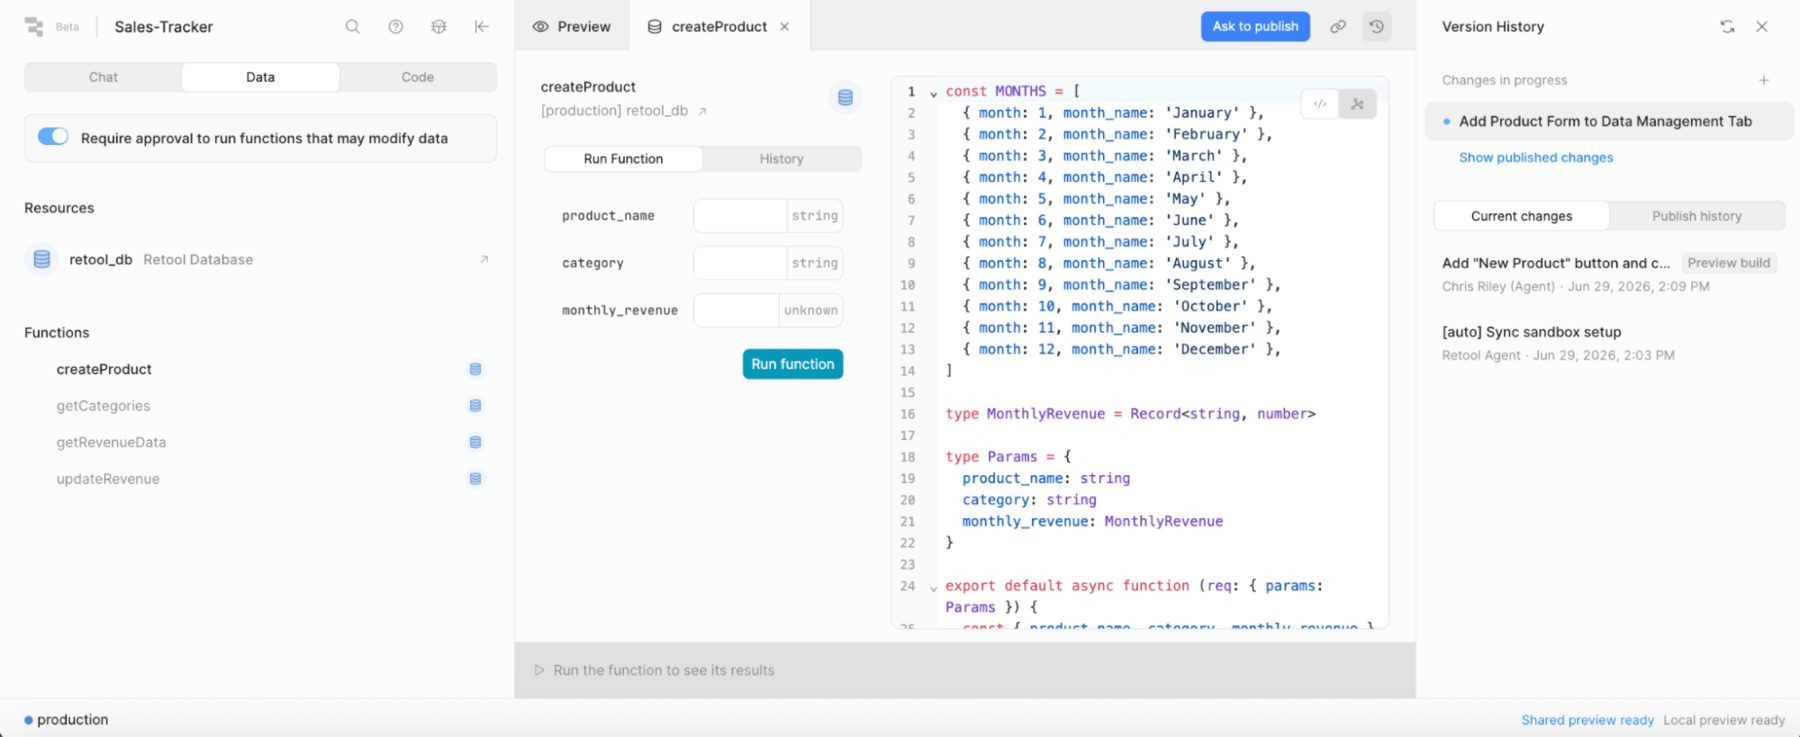
- Select Ask to publish to promote the change to GitHub. The same publish checklist is run again, and the results are displayed.
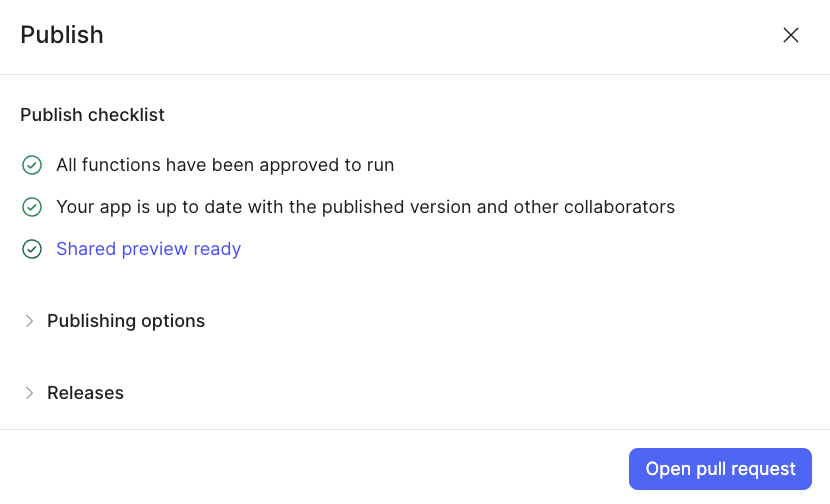
- Select Open pull request to initiate the PR in GitHub.
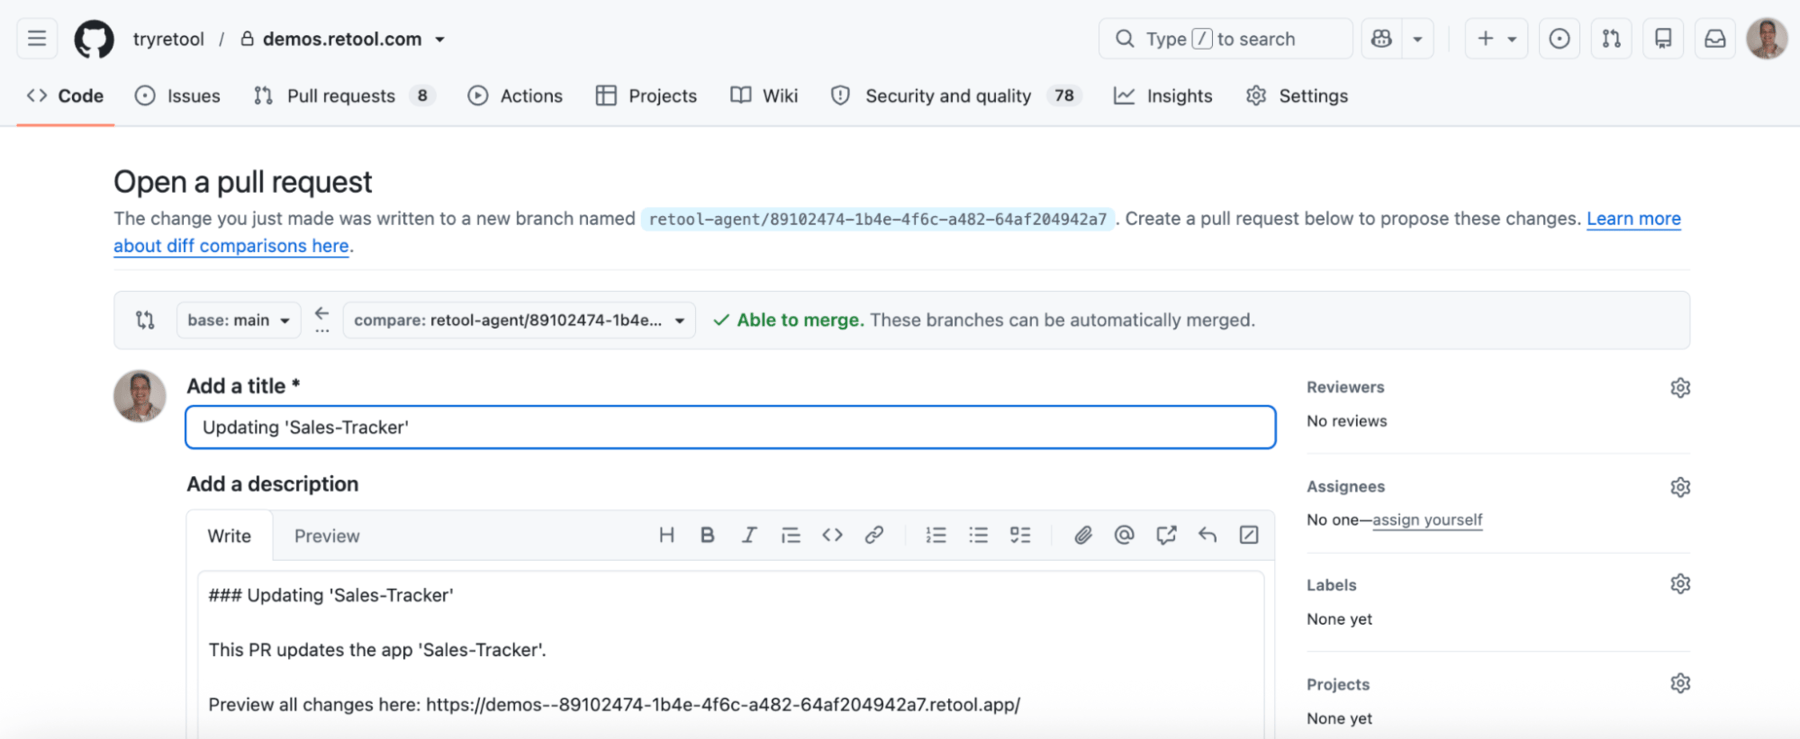
- Within GitHub, create the pull request and merge the pull request. Once this is complete, Retool syncs with GitHub every 10 seconds, and updates will appear in the Version History panel.
To the right of Version History, the Sync with GitHub icon allows for manually initiating the refresh.
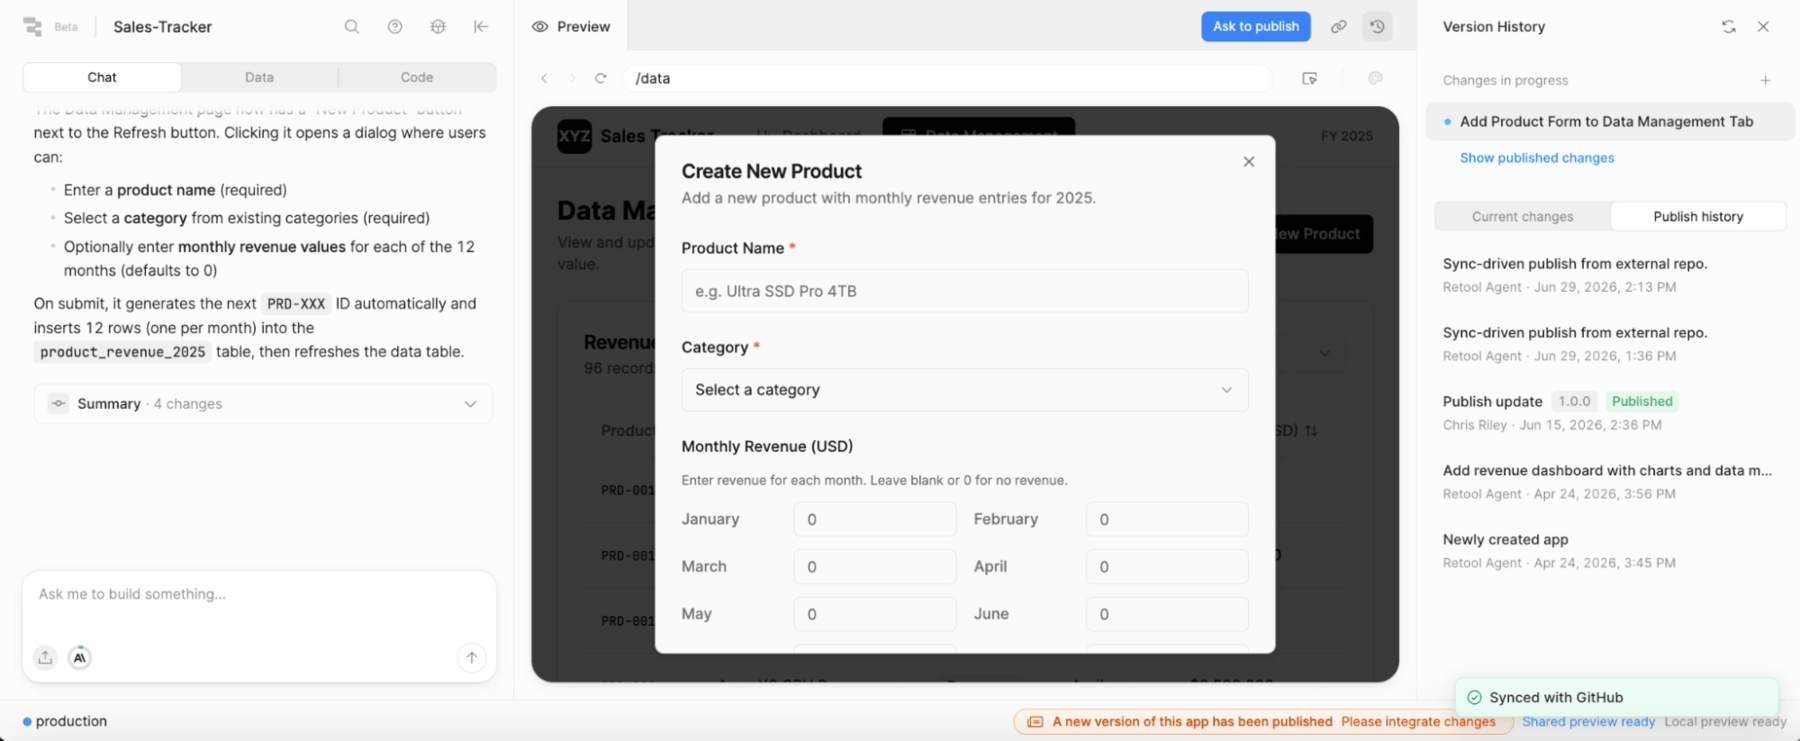
- Select the notification (A new version of this app has been published. Please integrate changes) to update the displayed app. This performs a git pull of the GitHub main commit to the local repository and updates the Preview Panel/Publish History entries.
- Once the Preview Panel is updated, in Publish History, hover over the commit to access the Release tag.
Publish History
In the previous image, we can see that Publish update 1.0.0 is Published by viewing in the Publish history. This would be the active version of the application for users who access it.
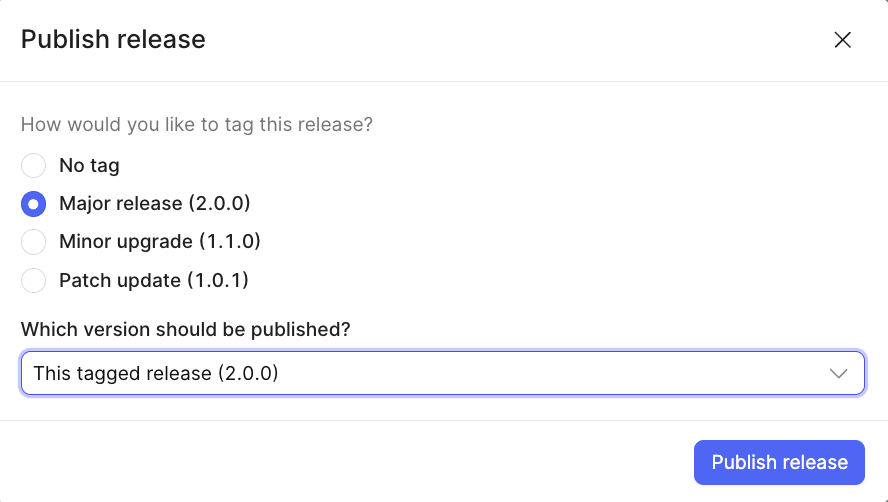
- If you want to publish a different commit, select it in the Publish history tab and specify the tag to publish.
Summary
This lab demonstrates the basic flow of protecting an application and adding a new feature.