Kanban Board Example
Create a Kanban Board App
This lab demonstrates the basics of building a simple Kanban Board to demonstrate the Retool App Builder experience.
Lab Requirements
This lab requires that you have permissions to Retool Database and have builder access/permissions. Please confirm with your Retool Administrator. If you are unable to request this, replace in your prompt "@retool_db" with "mock data".
Steps
Execute the following steps to plan, generate, test/approve, edit, and publish the Retool app.
Plan the App
Before we generate an application, it is recommended that you plan what it is that you want to do. This helps create a specification that you can then review/edit and use as input into the app generation.
- Login to Retool and select Apps > Create > App. This will display the app builder with an empty app.
- In the chat panel, switch from Build mode (default) to Plan mode to collaborate with the agent on an app definition.
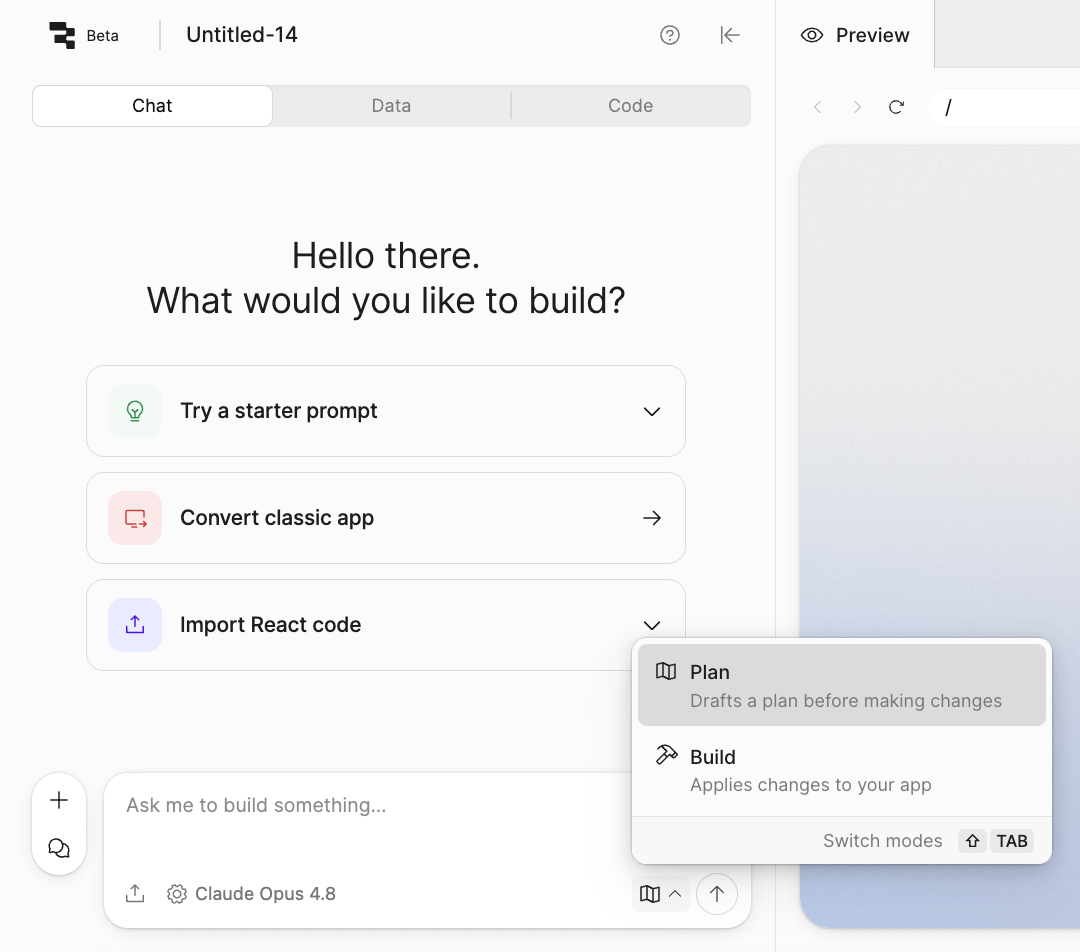
- Use the following prompt to initiate the plan creation.
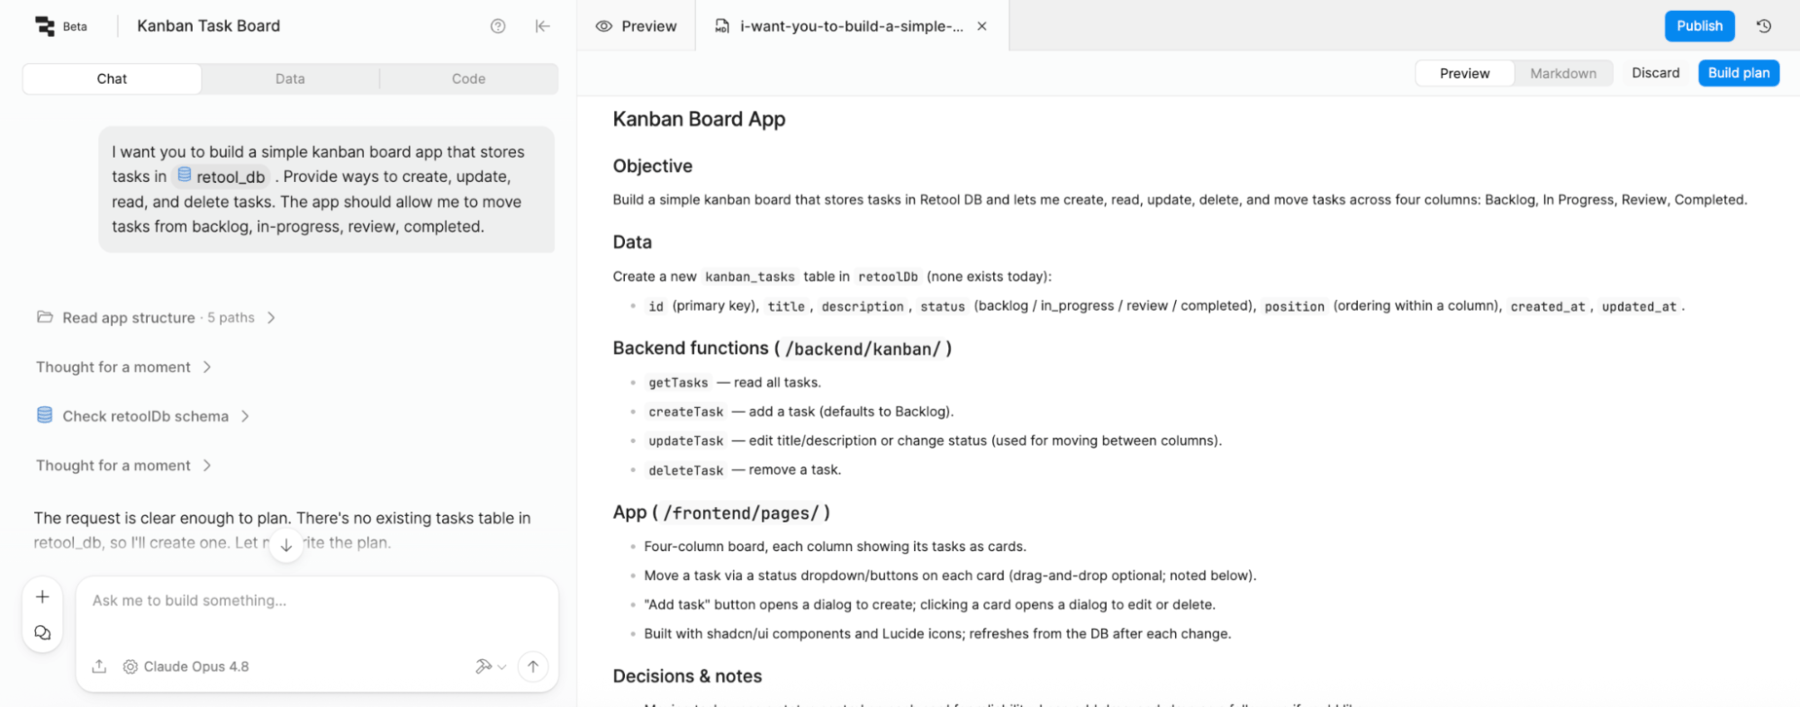
I want you to build a simple Kanban board app that stores tasks in @retool_db. Provide ways to create, update, read, and delete tasks. The app should allow me to move tasks from backlog, in-progress, review, and completed.
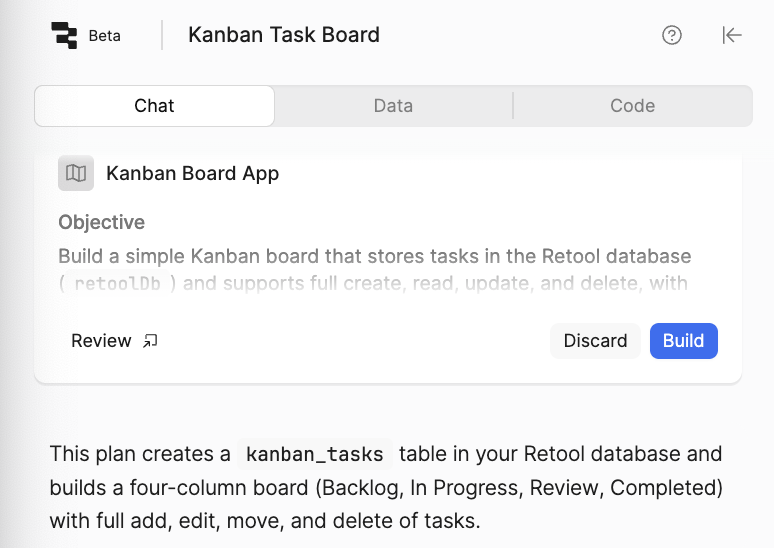
- This will generate a plan definition as shown in the following figure. To review the plan select Review, once the plan is generated.
- The plan will display in the right-hand pane as shown in the following figure.
- If you want to edit the plan, select the Markdown tab. You can then update it to match your expectations.
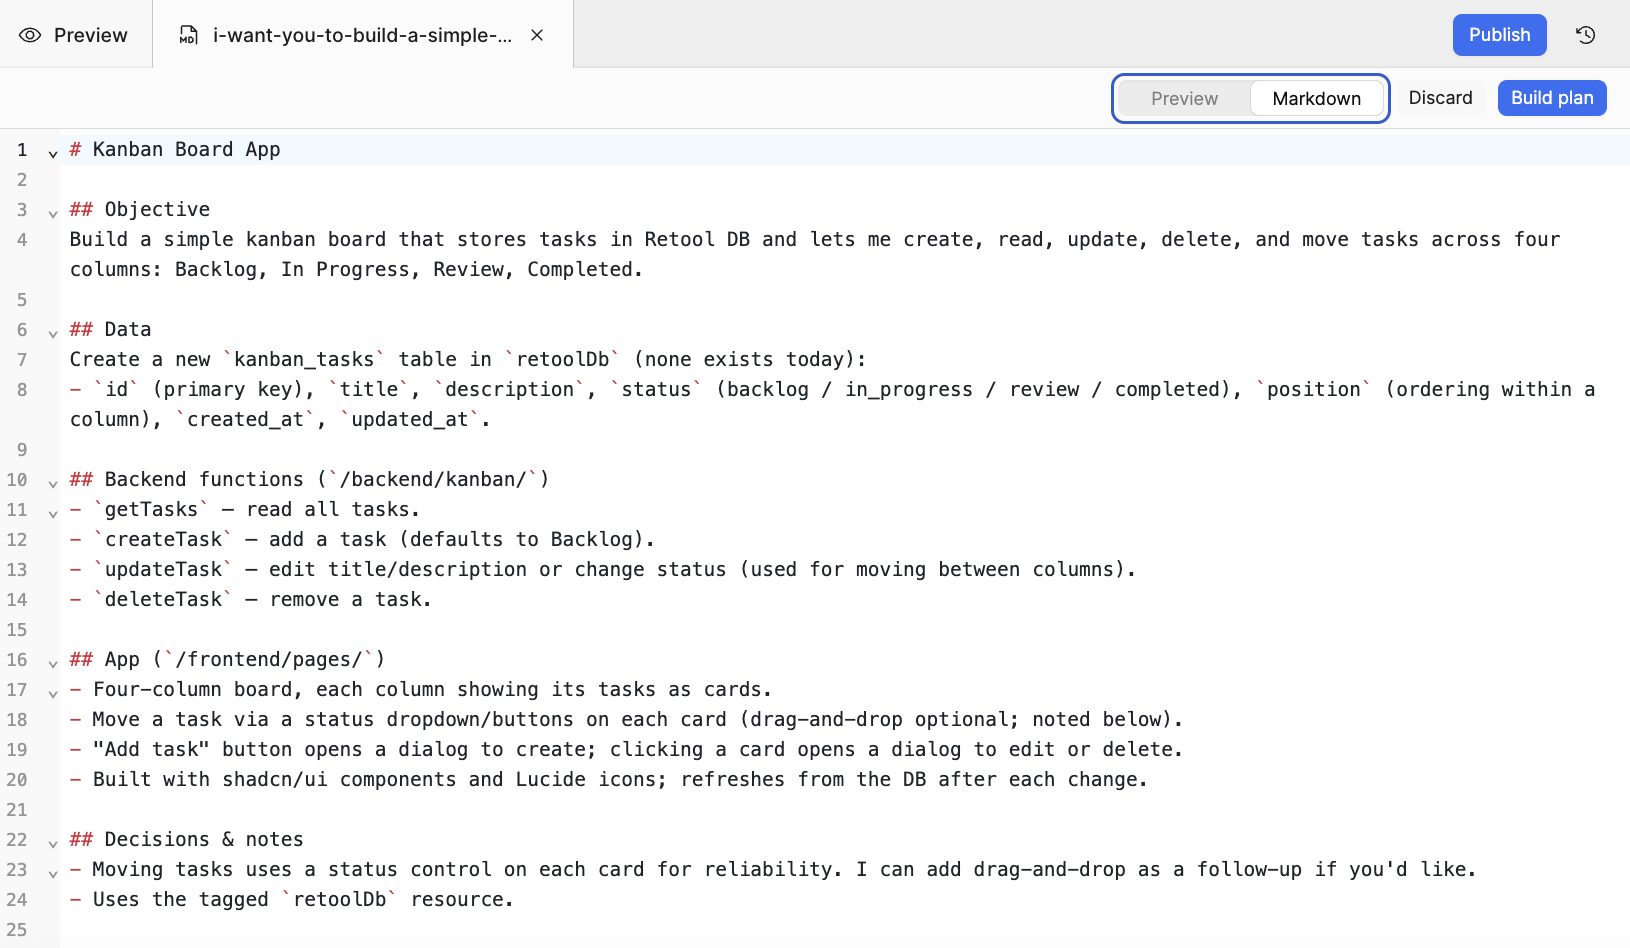
- If you want to start from scratch, select Discard. If the plan matches expectations, select Build plan to initiate the build process.
Generate the App
Once the build plan is executed, the agent will display the build process in the Chat window. At a certain point, the agent will want to create a database table. This requires your approval and the JavaScript/SQL it wants to run is displayed.
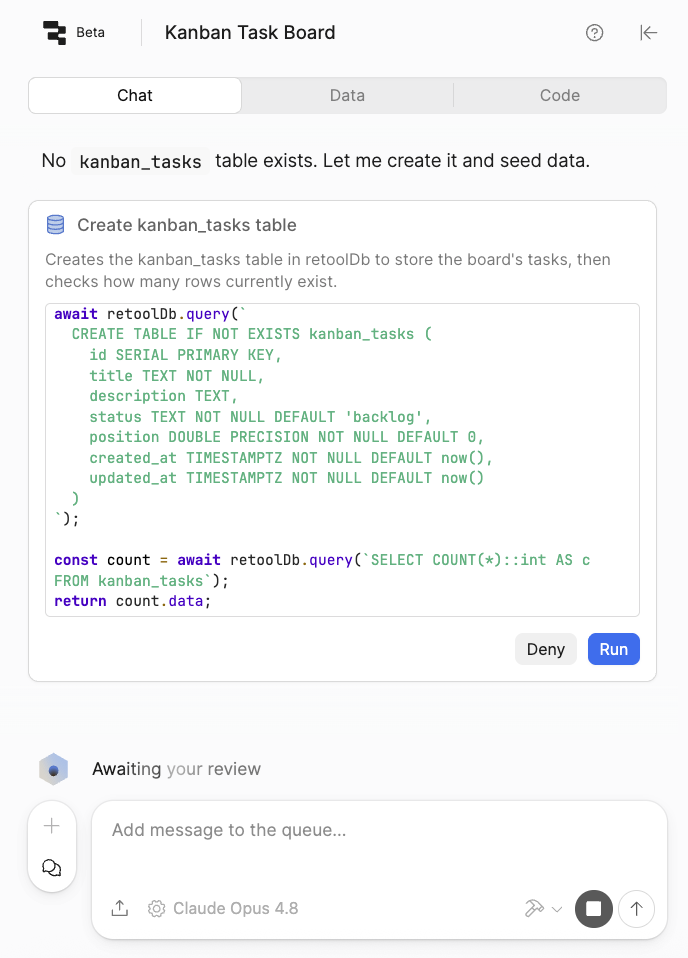
- Review the code and select Run. This will create the table,
kanban_tasks, that the app will use to store tasks. - After a few minutes, the generation will complete and provide a summary in the chat window.
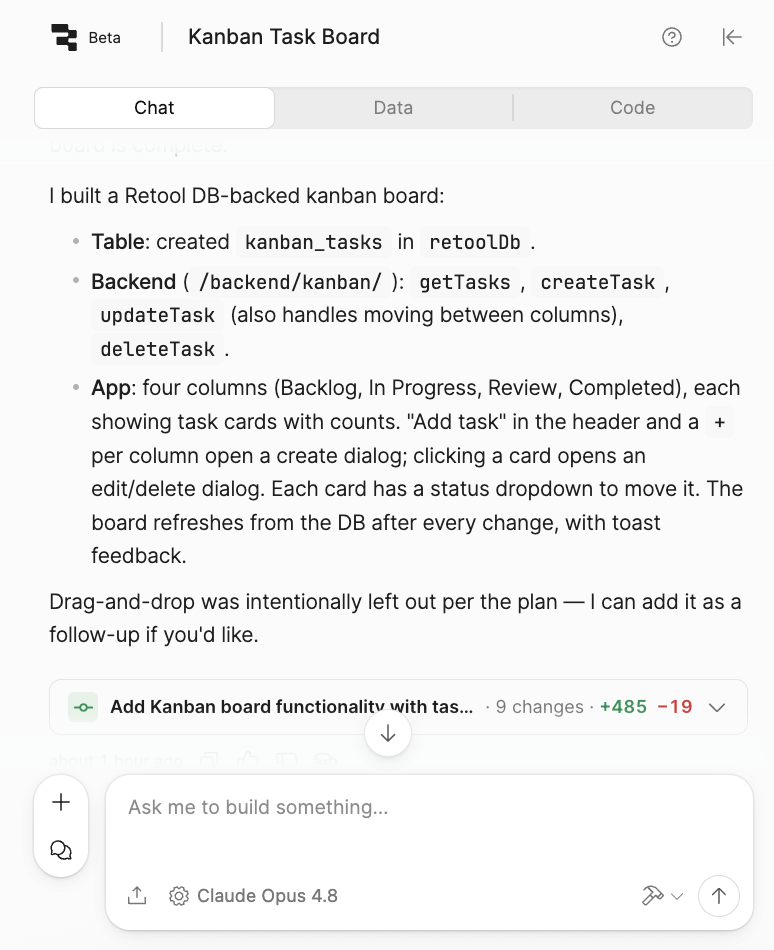
The generated output appears in the Preview panel (right-side).
Your app may or may not have sample entries in it.
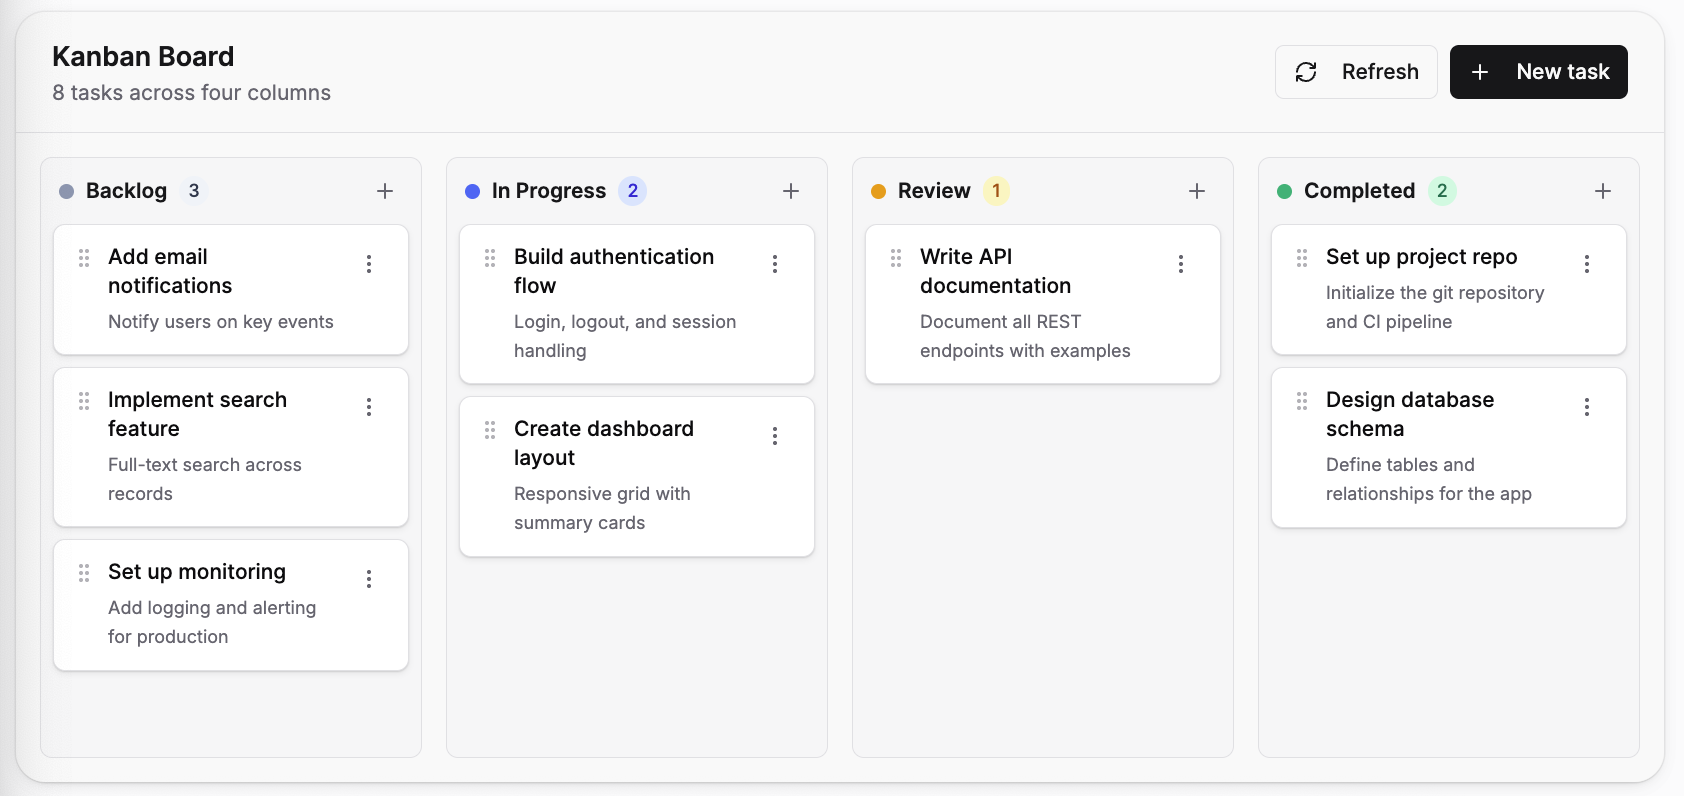
Test and Approve Functions
Go ahead and now create, read, update, and delete tasks to different stages (e.g., Backlog, In Progress, Review, Completed) to verify the functions work.
- Select + Add task and enter a title, description and column and then select Create.
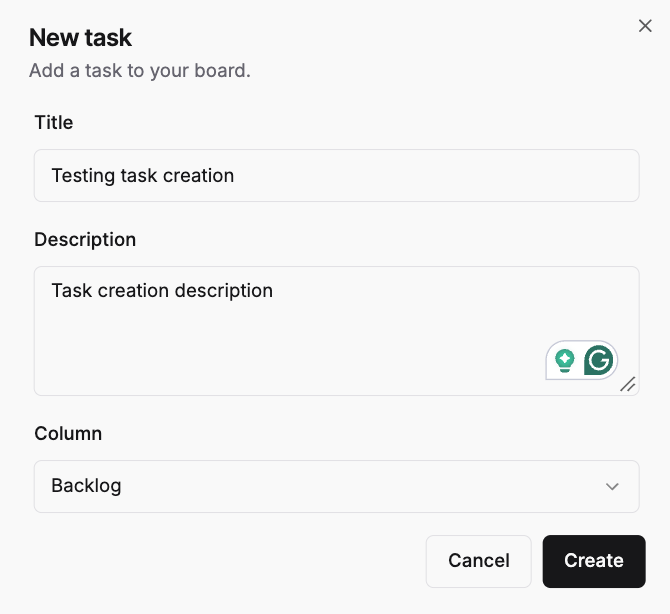
- This will then display a dialog asking to run the
createTaskfunction. Select Approve and run.
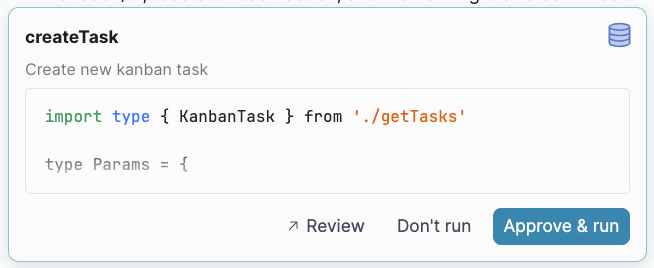
NOTE: If you are using mock data, you will not need to approve the running of the function.
- Verify that the task is created in the correct column. Then select the task and modify it to update the task from Column =
BacklogtoCompleted. Another dialog forupdateTaskwill appear asking for approval, select Approve & run. - Now try deleting a task and select Approve & run. Once you have completed testing, all the functions will be approved and is a requirement for eventual publishing the app.
Customize the App
You have now confirmed the requested functionality works appropriately. Let's now learn three different ways to customize the app. The first is targeted/general prompts and the second is the code directly.
General / Targeted prompts
When you built the app, you used a general prompt/plan to interact with Retool App Builder. If you want to just modify one specific thing use a targeted prompt by enabling Selection mode. This is shown in the purple box in the image below.
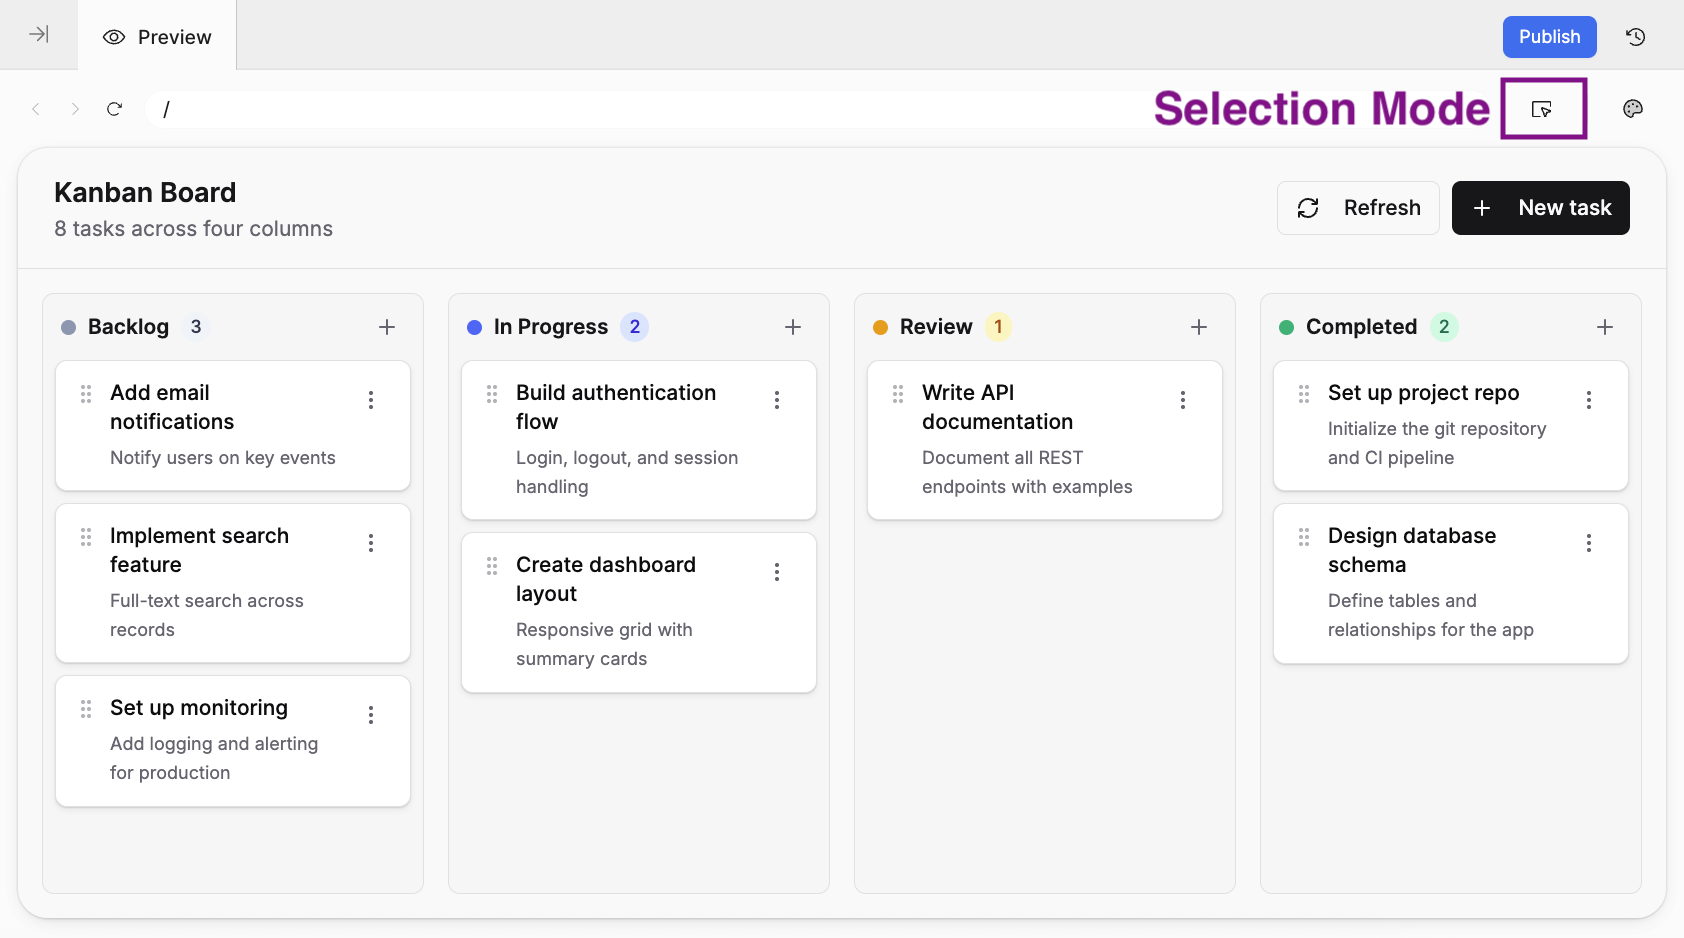
Once enabled, the icon turns blue and you can then select a specific component you want to modify via prompt shown in the following image.
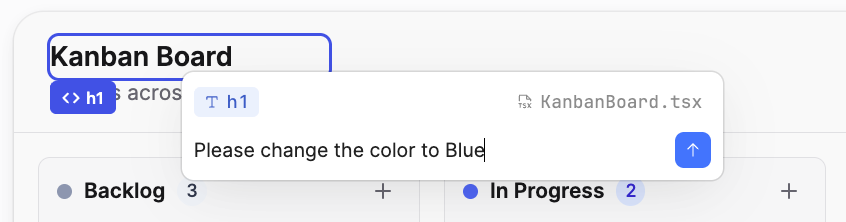
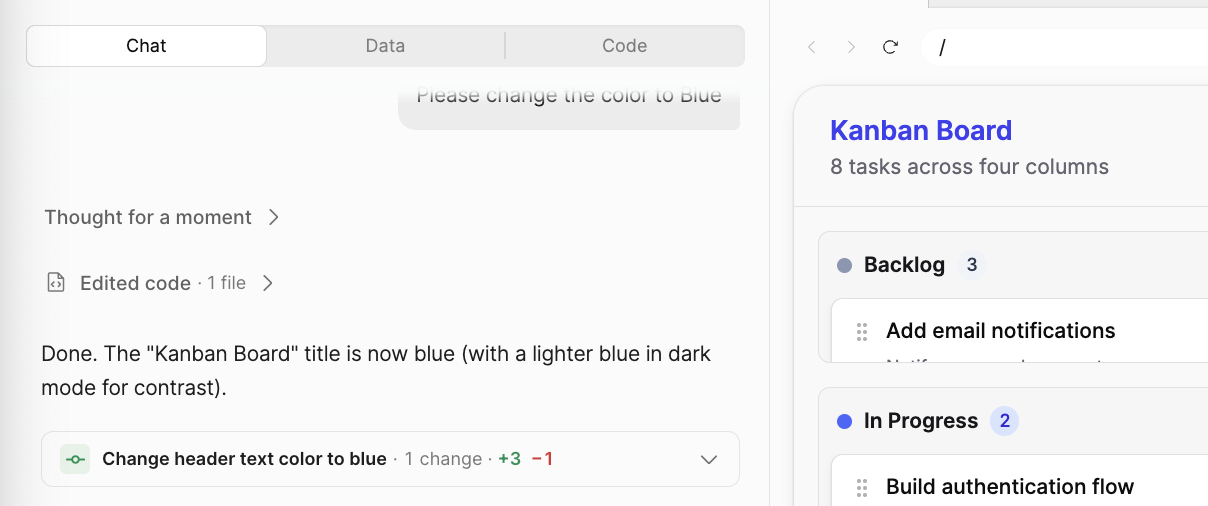
That will then trigger the agent to update the element.
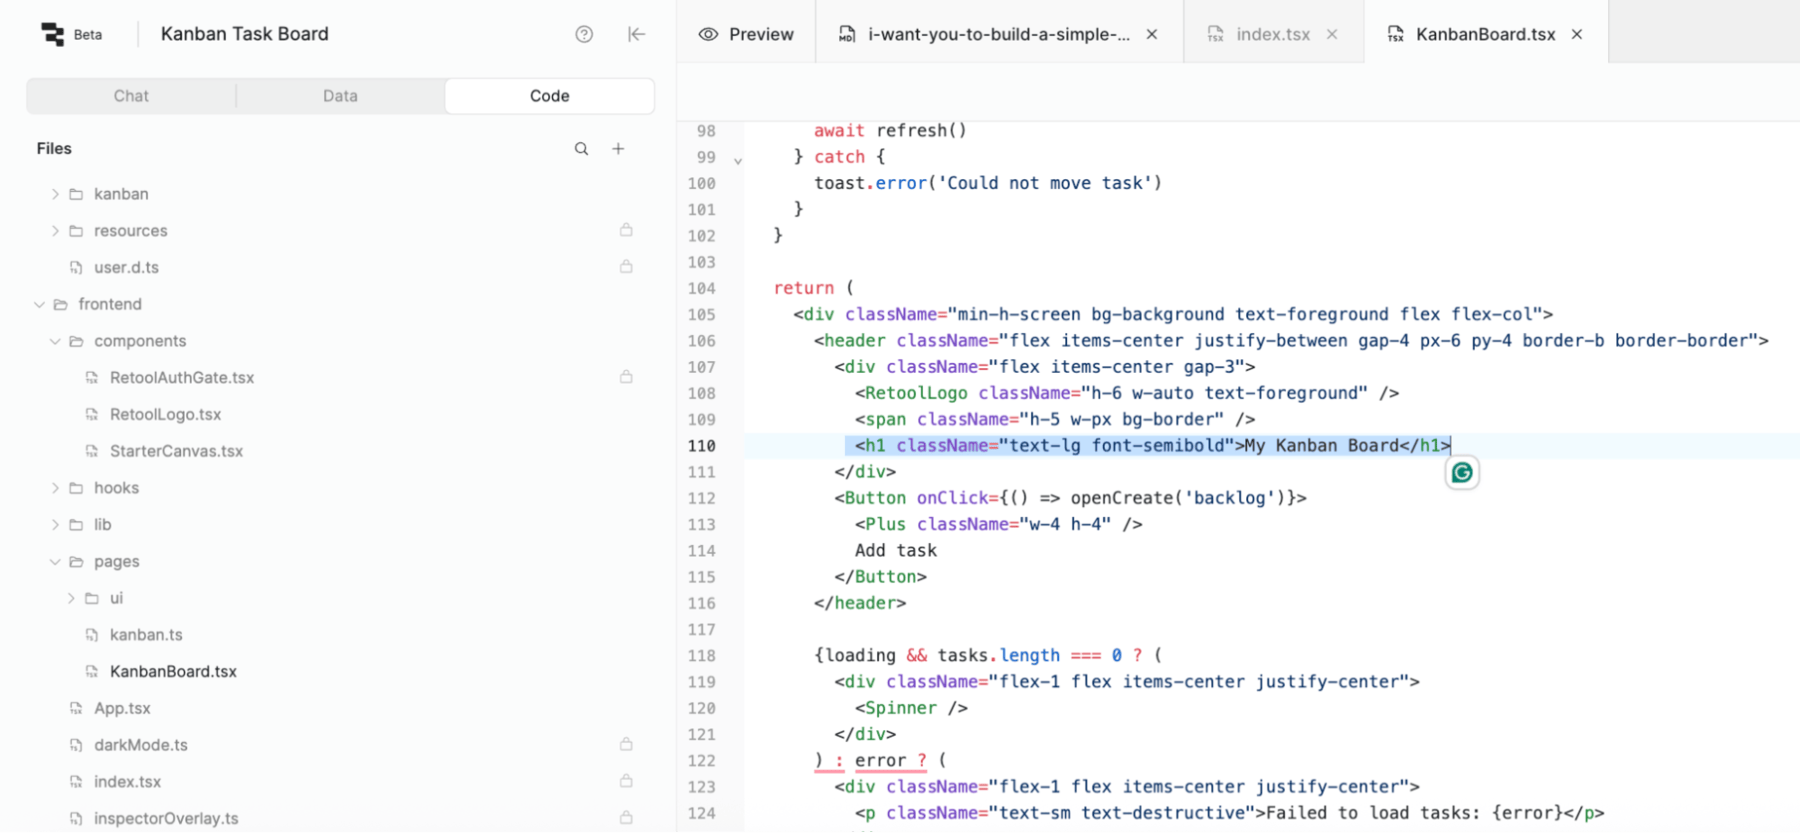
Direct code manipulation
For builders familiar with React / TypeScript / CSS, you can select the Code tab and alter items directly. In the following image, the /frontend/pages/KanbanBoard.tsx is modified to have it say "My Kanban Board" versus "Kanban Board".
Publish the App
You have now planned, generated, edited, and approved the application. At this time, you want to share this application with the broader Retool Users and Groups. This is done by publishing the application and following a series of steps.
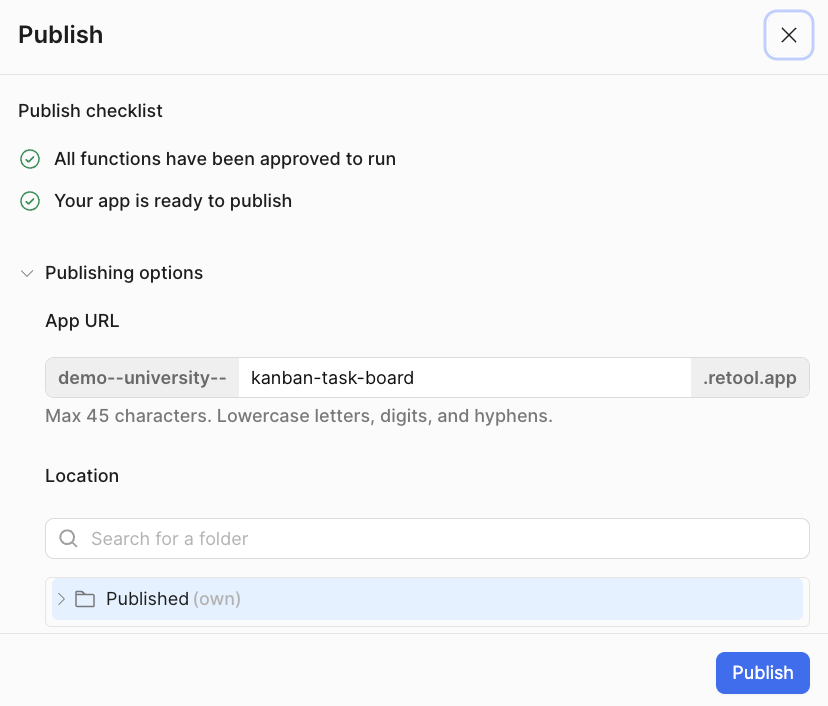
- Select the Publish button in upper right of the App Builder. This will display the following dialog:
- Confirm the
Publish checklistis checked off. - Within
Publishing options, verify the App URL. - Scroll down and expand
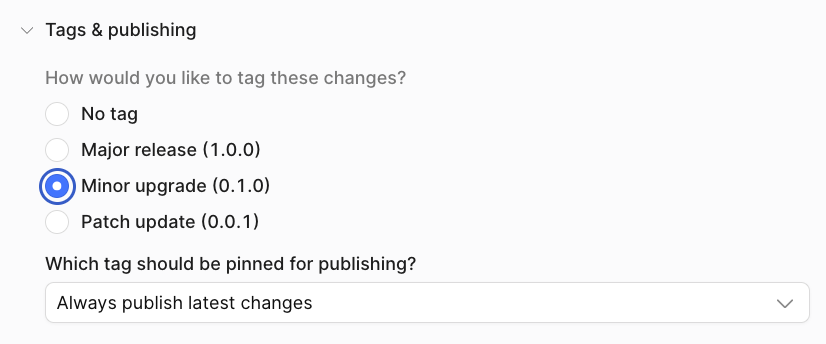
Tags & Publishingand select Minor upgrade (0.1.0) and select Always publish latest changes.
- Select Publish to initiate the process. Once completed select Copy link and open a new browser tab to display the application.
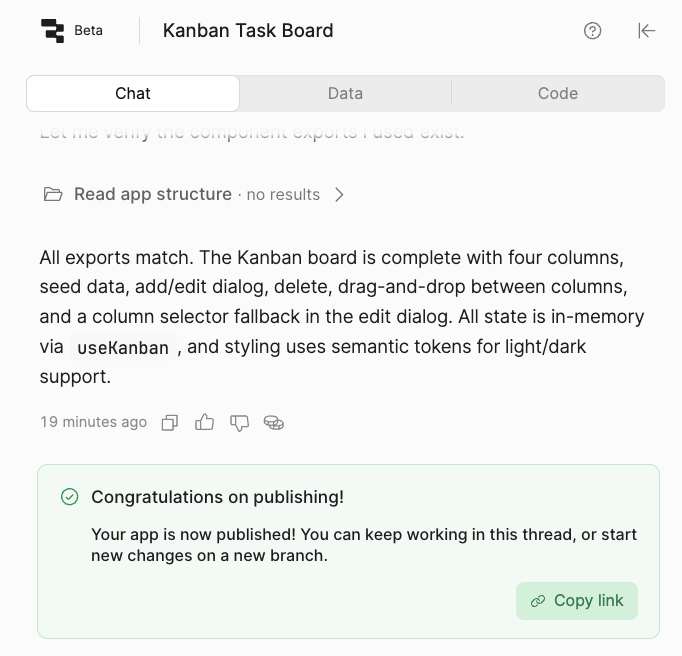
Share the link to your team so they can review it as well!
Summary
This example demonstrates the use of the Retool App Builder experience. If you want to learn about alternative building experiences, check out the following labs: